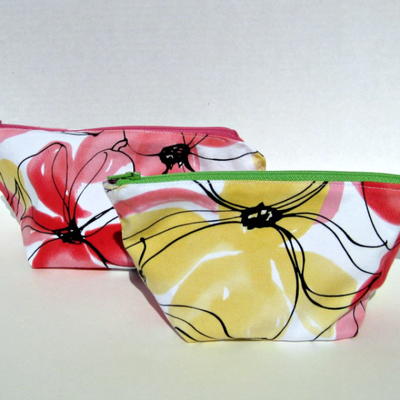
Oilcloth Box Bag
Keep all your toiletries organized with this Oilcloth Box Bag. You can make a sturdy zippered bag from oilcloth or laminated cotton with this bag sewing tutorial. You'll love this cute bag that's perfect for traveling.

Materials:
- Oilcloth (or laminated cotton)
- Zipper (length depends on how long your rectangle is)
Instructions:
-
You need to decided how big you want your box bag. For this tutorial I used a rectangle that was 12" x 18". My finished box bag is approx. 3.5" tall x 5" wide x 8" long. I also used a 14" zipper.
-
Cut your oilcloth to your desired size - you will want a rectangle.
-
Take your zipper and place your oilcloth (the shorter measurement) right side down on top of your zipper.

-
Sew along edge as shown below. I used my walking foot for the whole project. If you want to use your zipper foot, you will need to put a piece of painter's tape on the bottom so it doesn't stick to the oilcloth. I've found the walking foot is perfect for this and you can just move your needle to the desired position.

-
Turn oilcloth over and using your finger, crease oilcloth down at seam.
-
Topstitch.

-
Place remaining edge of oilcloth face down on the other side of the zipper. Sew along edge as shown.

-
Turn oilcloth wrong side out. You will have a tube at this point.
-
Open the zipper up about halfway and then lay the tube flat, with the zipper in the middle. You want to have the oilcloth right sides together.
-
You are going to sew the two open ends closed using a 1/2" seam allowance. I like to stitch the line a few times for extra stability especially where the zipper is.

-
Trim all threads and a little of the seam allowance (I used pinking shears).

-
Repeat on other side.
-
Now you will take your rectangle and mark a little square in each corner. This is going to "box" your bag. Depending on the size of your rectangle, you may want a smaller square. I used a 1.5" square for each of my corners.
-
Draw the square using a ruler and pencil and then use your scissors to cut out each corner. Repeat for all four corners.

-
Take your cut corners and sandwich them together so they are flat and line up. You may have to fiddle with it a little so they line up together.

-
Hold them flat with your fingers - you can use a pin of you want to but it will leave a hole in the oilcloth so I just did one at a time and held them closed with my finger.

-
Sew along each edge using a 1/4" seam allowance. Trim threads and a little of the seam allowance.

-
Repeat on all 4 corners.
-
Turn right side out, push corners out to make your box shape and you are done!

Read NextFabric Scraps Tote Bag