Protect Your Folders
Create a beautiful folder cover from C&T Publishing. Stay organized while having fun making it. You can create these folders in different colors and patterns. Tristan Gallagher shows us how to make your life a bit more tidy.
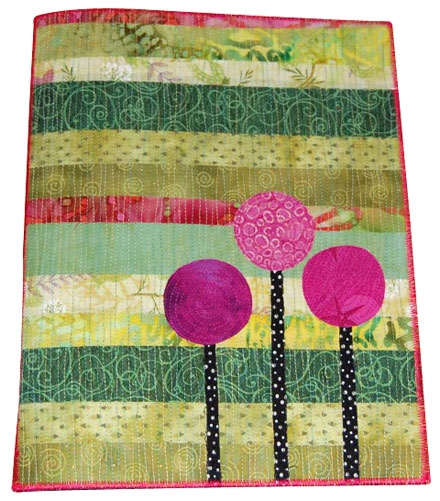
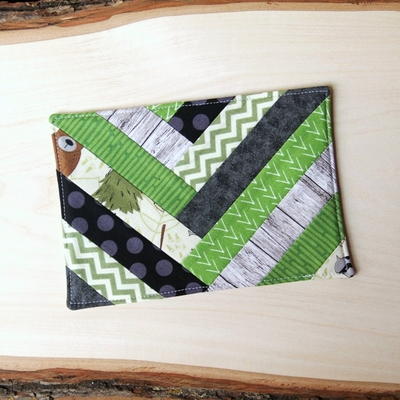
Keep those papers organized! And have fun making it happen. Terri Stegmiller of Two Creative Studios has shared this clever project with us. The folder-folio is a great carry along item to store paperwork for meetings and appointments. Add in a notepad and rest assured your notes won’t stray far. What a great way to add some color and creative flair to a meeting. Step back manilla folder!

Materials:
Fast2fuse:- 2qty 10″ x 12.5″ pieces
- 1qty 3/4″ x 12.5″ piece
- Fabric:
- Outside - strips in varying widths
- Inside - 2qty 10.5″ x 13″
- - 1qty 1 ¼” x 13″
- Pockets:
- 11″ square
- 9.5″ x 12.5″ rectangle
- Fabric fusing (Mistyfuse or Wonderunder)
Steps:
- Cut strips of coordinating fabric into 11″ strips in varying widths.
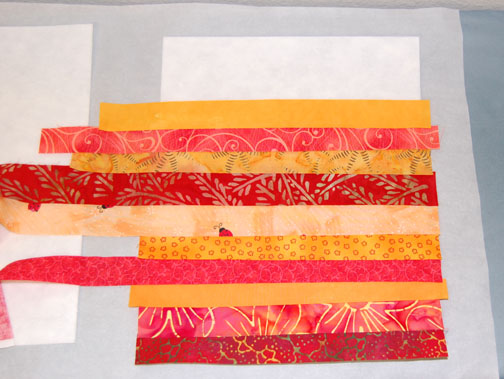
- Place your strips horizontally on one side of each 10″ x 12.5″ piece of Fast2Fuse, starting at either the top or bottom edge. Overlap your fabric strips so no interfacing is showing. Following manufacturers instructions, Press to bond. Turn over and use a rotary cutter to trim overhanging fabric from all 4 sides.
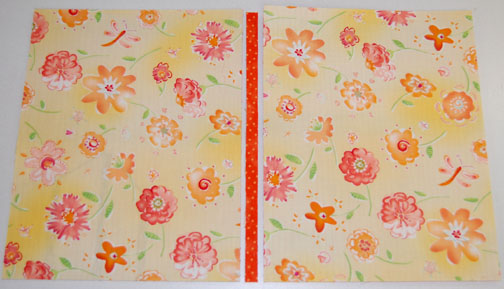
- Cut a strip of coordinating fabric approximately 1″ x 13″ and fuse it to one side of your narrow interfacing piece (spine). Trim away excess fabric.
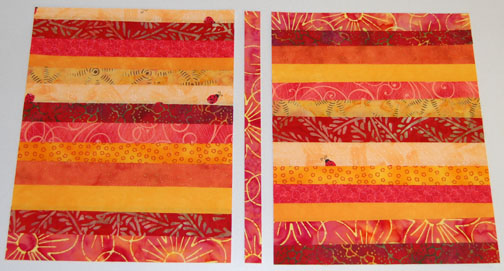
- Using a coordinating thread, quilt the three pieces useing a straight stitch, stitched in wavy lines that run perpendicular to the fabric strips.
- Iron on fusing to the backside of applique fabrics following manufacturers instructions. Cut out circles and stem. Arrange appliqué shapes onto the front cover and iron in place. Stitch raw edges using free-motion, zigzag or satin stitch.
- Trim each cover piece to 9.5″ x 12″ and the spine to 1/2″ x 12″.
- Choose a coordinating fabric to cover the backsides of all three pieces. Cut fabrics approximately 1/2″ larger on all sides. Iron fabric pieces into place.
- Diagonal pocket - Fold the 11″ square diagonally and press. Align the raw edges of the pocket fabric to the raw edges of the front cover; making sure that the appliqué design on front is in the right direction with the pocket. Pin in place. Trim away small section that extends beyond edge.
- Square pocket - Fold the rectangle fabric piece in half creating a pocket piece measuring 9.5″ x 6.25″. Press. Align raw edges and pin in place on back cover.
- Zigzag stitch the edges of all three pieces. Set machine to a 4.2 mm width and a .8 mm length. (your sewing machine settings may vary from designers).
- To assemble, Push one cover piece and the spine piece together so they touch, but don’t overlap. Zigzag stitch (5.5mm stitch width and .8mm length) down the center of these two pieces from the top edge down to the bottom edge. Now flip the unit over and zigzag stitch over the same area again.
- Push your remaining cover piece up against the other side of the spine and repeat the zigzag stitching again.

- The final stitching will be to zigzag stitch around the outside edge of the entire three-piece unit
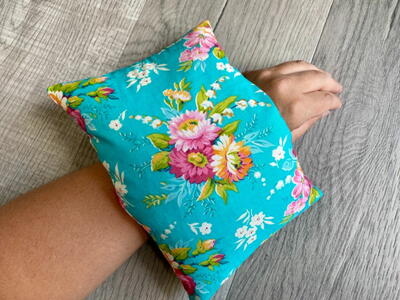
Read NextHomemade Heating Pad With Rice
Your Recently Viewed Projects

Thanks for your comment. Don't forget to share!
Freckle Dots
Aug 12, 2010
Oh I love this! How cute for back to school, too. A little individuality with all those uniforms. Wonderful.
mamasita18
Jul 02, 2010
Great idea! Thanks, Fave Crafts for sharing your projects with us. All of them are very inspiring and wonderful. More power to you!
Report Inappropriate Comment
Are you sure you would like to report this comment? It will be flagged for our moderators to take action.
Thank you for taking the time to improve the content on our site.