Vintage Jello Mold Pincushion Free Sewing Pattern

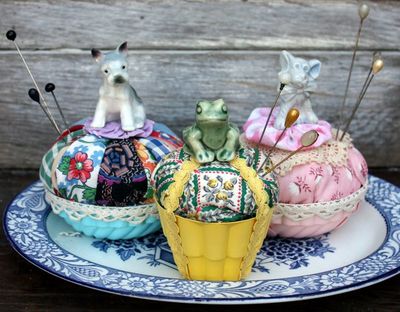
Use items from your basement or the back of your cabinets to create this Vintage Jello Mold Pincushion Free Sewing Pattern. Spray paint the molds and use scraps of vibrant fabric to make your piece stand out. A Styrofoam ball and polyfil batting give these pincushions a nice shape. If you've just learned how to sew or want to take a break with an easy sewing pattern, this is a fun project to try. For a fun and festive touch, add ceramic animal figurines to the top of each pincushion. Be sure to add fun embellishments like ric rac, too - you'll love the finished look. Whether you love to sew or just want to create a decorative piece to display, this is the perfect project to make.
Primary TechniqueSewing

Sewn byHand
Materials:
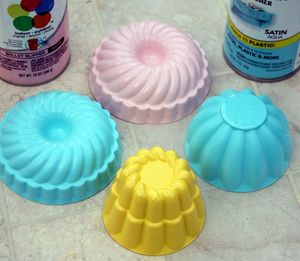
- Aluminum molds
- Spray primer
- Spray paint in various colors
- Fabric
- Styrofoam balls in various sizes
- Hot glue
- Needle and thread
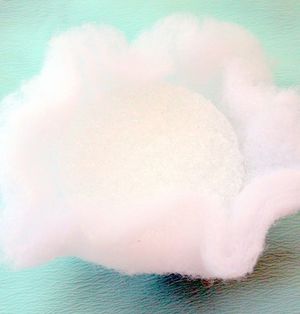
- Polyester fiberfill or batting
- Dried beans (for weight in the bottom of the mold)
- Ceramic figures
- Ric-rac, crochet, or braided trim for embellishment
Instructions:
- Select your molds and wash them in hot soapy water to remove any kitchen grease or food residue.
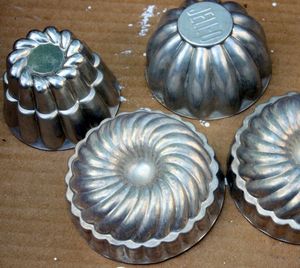
- Spray your aluminum molds with primer. I sprayed mine on the outside and inner rim.

- Once the primer has dried, coat the molds with your colored spray paints. Again, make sure the inner rims have a coat of paint:
- Next, cut the fabric in circles about twice the circumference of the mold openings. Sew a running stitch around the outer edge of the fabric, but don't tie it off yet:

- (As you might notice, the fabric I selected for this mold was very sheer, so I layered in with a piece of muslin. This wasn't necessary with the other fabrics I used):

- To prevent the mold from being top-heavy, place a handful of dried beans in the bottom of the mold (not shown).
- Select a styrofoam ball that will fit into your mold. Cut in half with a knife.

- Cover the styrofoam with a layer of polyfill batting:
- Next, cover the polyfill covered styrofoam with your fabric, pull the thread to tighten it and tie it off. Run a bead of hot glue around the interior edge of the mold and place the fabric covered styrofoam piece into the mold, pressing down all around.
- Use hot glue to add embellishments and the ceramic figures.
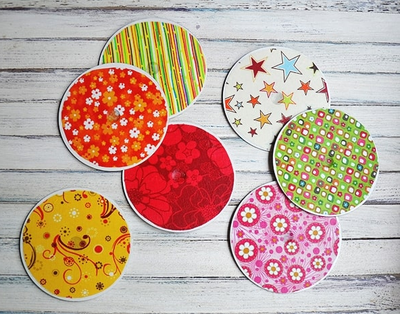
Read NextRound Quilted Patchwork Coasters

Thanks for your comment. Don't forget to share!
Marilyn B
Jun 05, 2017
I have the very Jell-o molds pictured that were my mother's from many many years ago! I still use them for dry sorting, because they have tiny holes in them now from age. This project is so cute and such a nice way to give these little molds a new life! They look cute just as decor or even paper weights in addition to being pin cushions! Thank you for such a pretty project and easy to follow instructions!
Report Inappropriate Comment
Are you sure you would like to report this comment? It will be flagged for our moderators to take action.
Thank you for taking the time to improve the content on our site.