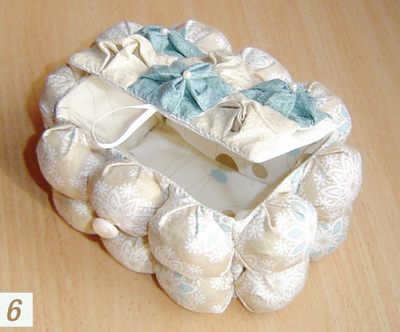
Puff Memory Box
This memory box from Clover USA is a special box you can create for yourself or a loved one. Put your most precious things in this box that you can cherish forever. There's a secret pocket in there too.

Materials:
- 1 rectangle 3 1/2” x 5” Contrasting fabric for box base
- Assorted scraps 4 1/8” square for Puffs (top fabric)
- ¼ yd. muslin for Puffs (base fabric)
- 1/8 yd. for Lining
- Shape ‘n Create Art No. (9503 white or 9505 black)
- Puff Quilting Clip Set Small Art No. 8400
- Button
- Needle and Thread
- Tassel
- Sewing machine with zipper foot OR Hand sew
Cutting Instructions
- From Assorted Scraps for Puff Tops
- Cut 26 squares each 4 1/8” x 4 1/8”
- From Muslin:
- Cut 26 squares each 2 ¾” x 2 ¾” for Puff Bases
- Cut 2 rectangles each 3 ½” x 5” for the box lid and base
- From Lining Fabric:
- Cut 4 rectangles each 3 ½” x 5”
- Cut 2 squares each 3 ½” x 3 ½”
- From Shape ‘n Create
- Cut 4 rectangles each 3” x 4 ½”
- Cut 2 squares each 3” x 3”
Sewing Instructions
- Following the instructions from the Clip Set package make 20 assorted small stuffed puffs and 6 dimensional puffs; 3 using the rose motif and 3 using the cross motif.
- Using a whip stitch, sew 6 stuffed puffs together twice to form the front and back of the box and 4 stuffed puffs together twice to form the sides. (Ill. #1)

- Whip stitch the sides to the front and back of the box at the four corners.
- For the box base, with right sides together stitch a muslin rectangle to the contrasting base fabric rectangle leaving an opening at one short side. Turn right sides out, insert a 3” x 4 ½” rectangle of Shape ‘n Create and stitch the opening closed.
- Whip stitch the base to the bottom of the box.
- For the lining, sew the sides to the front and the back; then sew in the base. Press the top raw edges ¼” to the wrong side; insert the Shape ‘n Create under seam allowances to the corresponding front back and sides and top stitch into place. Place the lining and stabilizer into the box wrong sides together and whip stitch the lining to the top edges of the puffs.
- For the lid, sew the 6 dimensional puffs together. With right sides together, stitch the last muslin rectangle together with the last lining rectangle leaving an opening at one short side. Turn right sides out, insert the 3” x 4 ½” rectangle of stabilizer and stitch the opening closed. Whip stitch the puffs to the lid base (inserting the tassel at the center front) on three sides only, leaving one sort side open for the pocket.
- Whip stitch the lid to the top back edge of the box.
- Sew on a button in the top center front puff for the tassel closure.
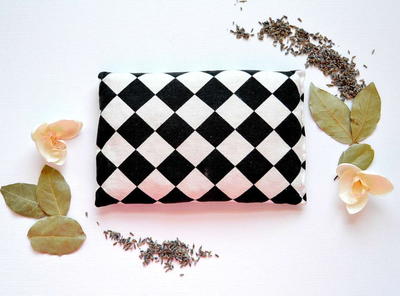
Read NextLast Minute DIY Hand Warmers