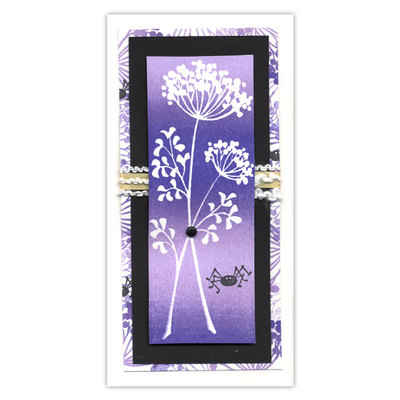
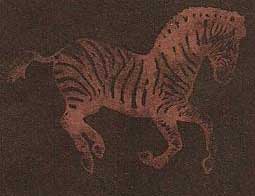
How to Stamp with Bleach
Rubberstampers are always looking for “new” inks to try. Bleach can be used as an ink creating an image with its color removing qualities. Practice this technique and you’ll love the unique results.
The Right Stamp
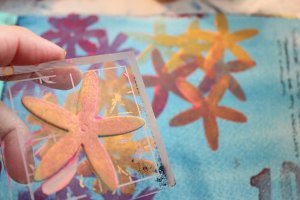
A stamp with intricate details might not be the best stamp to learn bleach stamping. You can use a stamp with intricate details, but you need to be very careful not to “over ink” the stamp with bleach. You’ll lose all those tiny details you love. Start with a stamp that has some solid design and as you learn to control inking your stamp with bleach, go for the stamp with more detailing.
The Right Paper
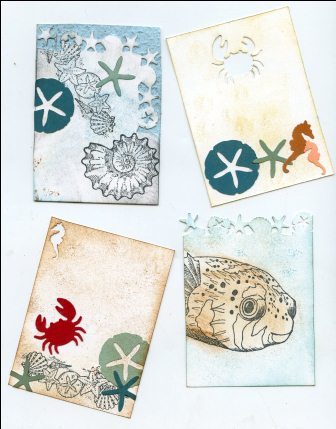
Bleach stamping is created when the bleach removes the color of the paper leaving an image. Dark papers are best when learning the technique, but experiment as you feel more confident with the bleaching process.
Pad Method
Using an un-inked purchased inkpad or a piece of thick felt placed inside bowl or container pour enough bleach over pad to moisten it. You don’t want the bleach inkpad to be sloppy or have bleach seeping over the side of the contain. Test your pad with a rubberstamp. Too much bleach and you will get a white blob with no image details and too little bleach will only yield you a very faint shadowy image.
Brush Method
Apply the bleach direct to your stamp using a soft bristle brush. A light touch and you’ll get the results you are looking for. Again, you don’t want to overload the stamp with bleach as it will drip or give you a blotchy image. Many stampers use water pens filled with bleach, but don’t leave the bleach in the pen after you finish for the day.
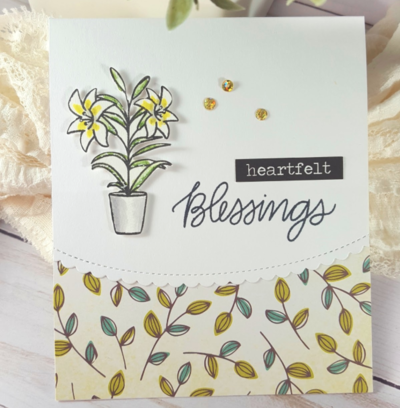
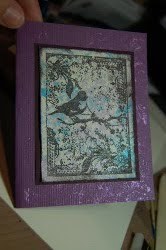
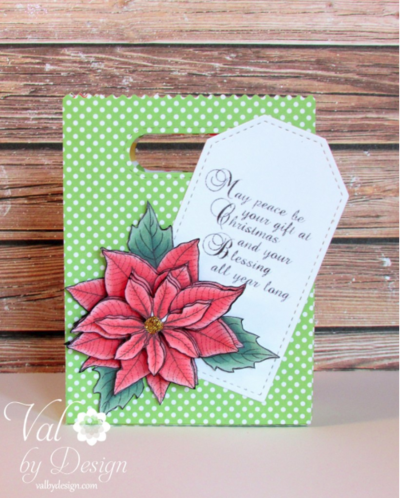
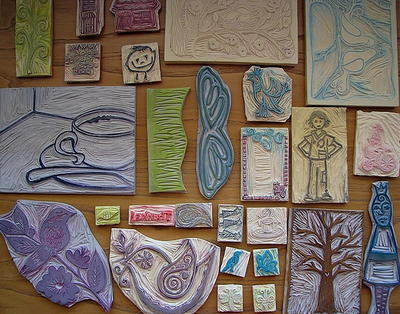
Your Recently Viewed Projects
Thanks for your comment. Don't forget to share!
Artsy Grandma
Jan 27, 2011
I've never heard of bleach stamping. I'll have to give this a try. Thanks for info.
Nemo 15
Sep 02, 2010
Please remember to wear protective eye wear anytime you use any caustic materials!
msjid
Sep 02, 2010
Combine this with a rubber stamp you make from a favorite photo. Done on dark cardstock it makes an impressive and very personal greeting card.
Flopper85
Aug 22, 2010
If you keep a spray bottle of vinegar with you when using bleach on fabric once you've achieved the look you want spritz it with the vinegar and this will stop the bleaching progress
mitch1066
Aug 19, 2010
I actually want to try this on a denim skirt,they sell the bleach pens that have a thick gel bleach in them here too.
Crafter 17617
May 29, 2010
You can use Cascade with bleach dishwasher soap. its thicker and you don't have to worry about runs. There are other dishwashing soaps that have bleach in them.
lomatemba
May 21, 2010
OOhhh! I can hardly wait to try this...should work on fabric as well. Thanks
Report Inappropriate Comment
Are you sure you would like to report this comment? It will be flagged for our moderators to take action.
Thank you for taking the time to improve the content on our site.