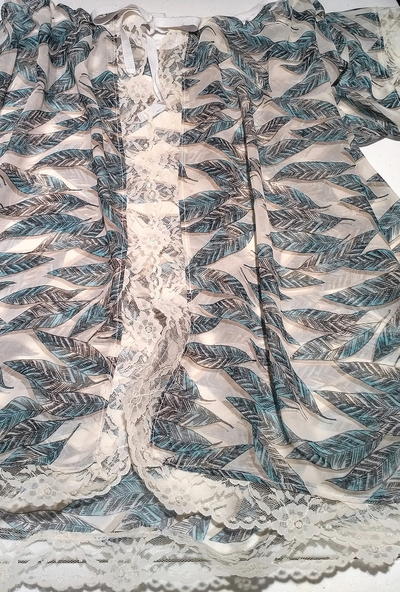
Hooded Long Cloak

The long cloak adds a mystical touch to the druid, especially if you use a color palette that evokes natural settings of the forest or mountains. For this project we have chosen a kind of dark druid, keeping the priestly proto-Celtic inspiration, but in a fantasy context, in which these priests could preach in and about nature.
The length of your cloak will depend on the width of the fabric you choose, as it must be equally long at the front and back with the minimum number of seams to make it easier to assemble. The amount of fabric needed will be double the width of the chosen fabric. For example, if the fabric you choose for this project is 55 inches (140 cm) you will need double that amount in length (110 inches [280 cm]) plus an extra 2 inches (5 cm) of margin.
Materials List
- Wool or any other thick fabric in a natural color
- Coat or braid-type fastener or brooches, eyelets, or closure of your choice
- Flat rivets (optional)
- Measuring tape
- Chalk to mark fabric
- Needle and pins and/or sewing machine
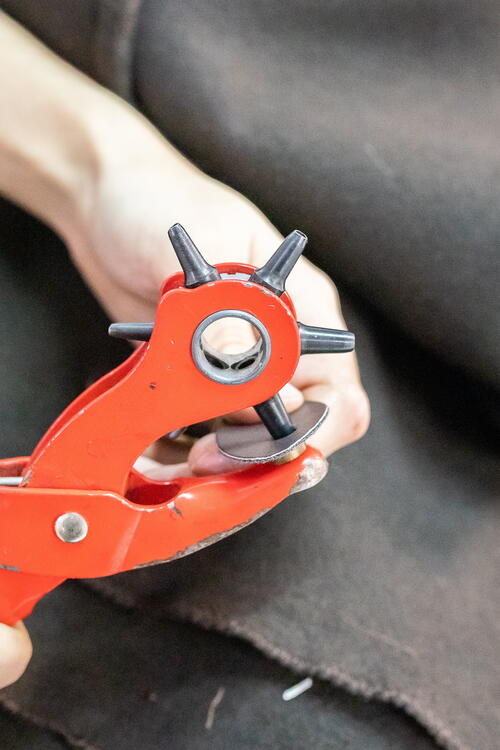
- Eyelet hole punch
- Hand or table riveter
Instructions:
-
Fold your fabric in half along its longest side to make a square.
-
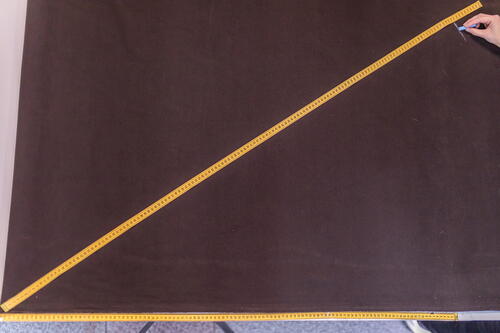
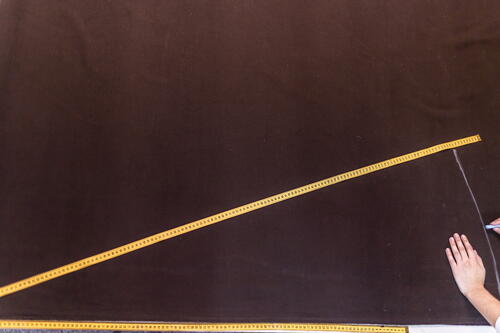
From one of the corners where the fabric is folded on itself, place a measuring tape and mark with a pin or chalk a length of 55 inches (140 cm) or the width of the fabric you chose.
-
Move the measuring tape as if it were the hand of a clock and continue marking the same measurement of the width of the fabric. This will trace a curve from one corner of the fabric to the opposite corner.
-
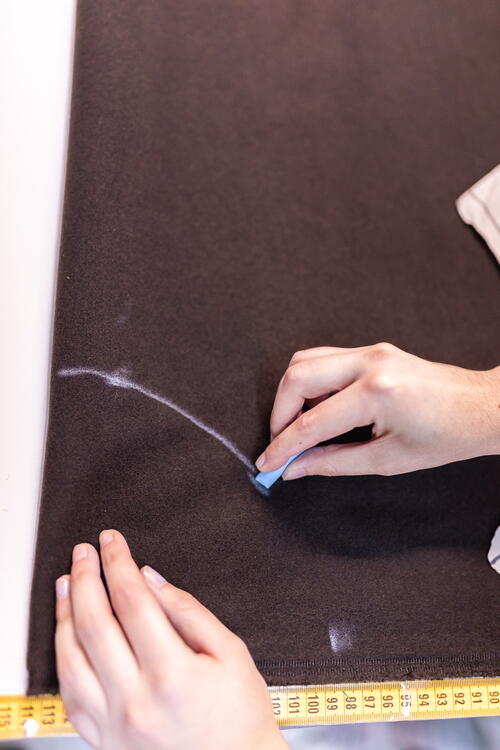
To trace the neckline, starting at the same corner from which you started on the folded side of the fabric, mark 6 inches (15 cm) at several points and join them together, making a curve drawn with chalk.
-
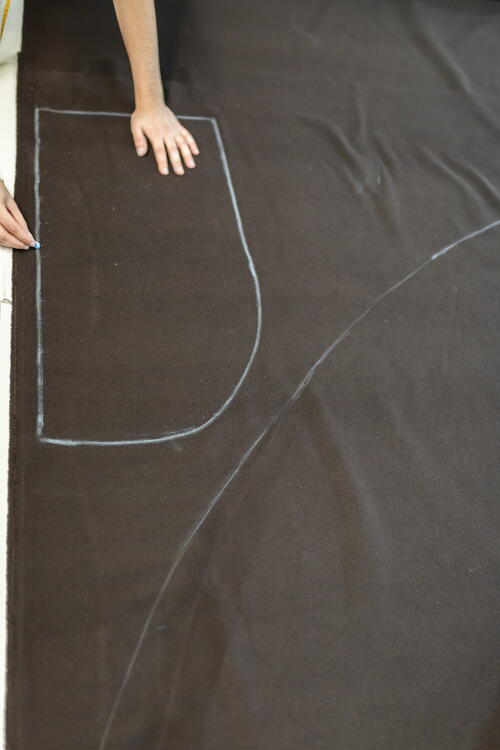
To draw the pattern for the hood, turn to the project patterns. Trace it onto paper and cut it out. Then place the pattern in the triangle of fabric that is left over after drawing the curve in step 3. Cut out the two hood pieces.
-
Join the two pieces of the hood with a French seam. Join the hood to the neck also using a French seam.
-
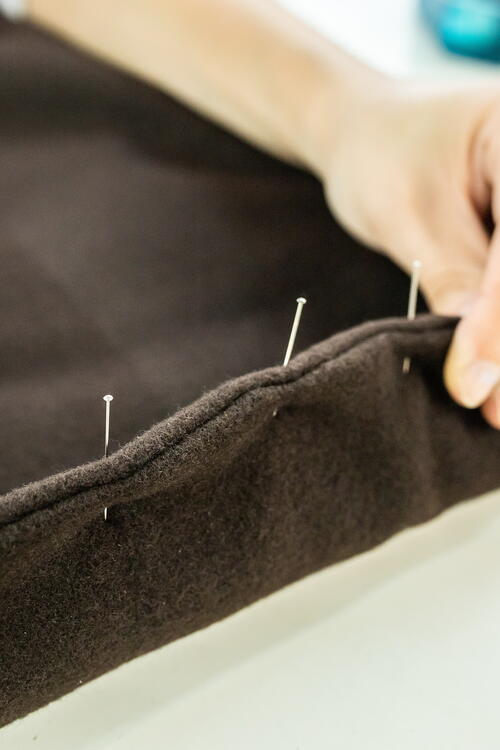
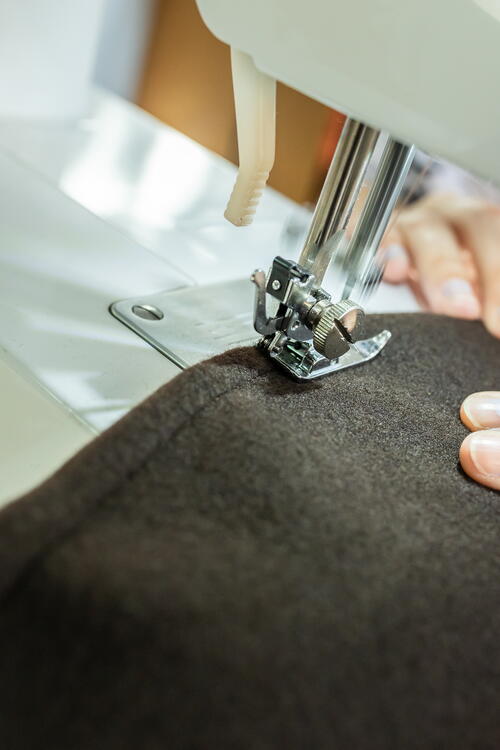
Make a 3/8-inch (1-cm) double hem down both sides of the front of the cloak by making two consecutive 3/8-inch (1-cm) folds, then stitching a topstitch seam.
-
Using an overlock or narrow zigzag seam, sew the bottom hem so that the fabric does not fray.
-
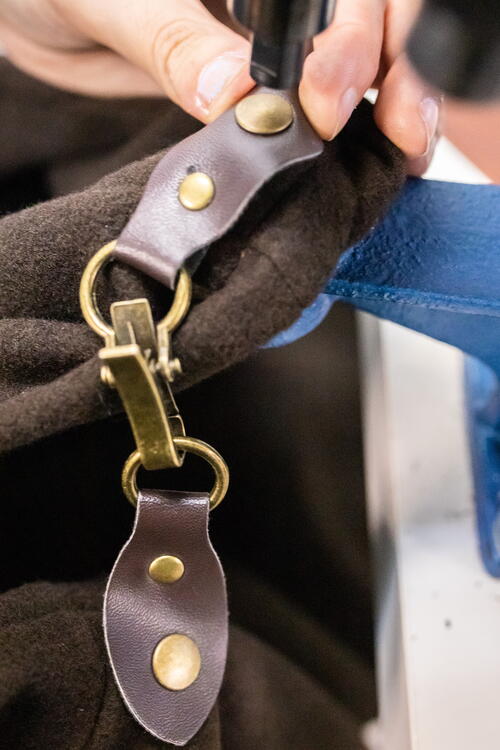
Attach your chosen closure to the upper part of the cape. For our project we chose a pair of metal clasps with leather or leatherette pieces that are attached by rivets to the cape. To attach this type of closure, first make holes both in the leather and in the cape, then join them with flat metal rivets.

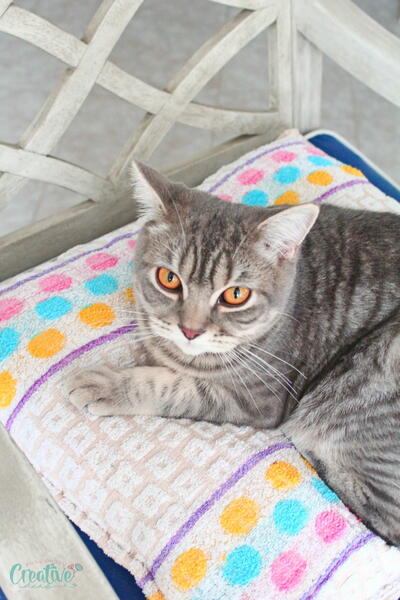
Read Next10 Minutes Sew Cat Bed