Mix it up Scrapbook Album
Design this scrapbook to your taste! Traci Armbrust shows us how to make these great pages. Make memories, remember those special days and craft to perfection with this tutorial from AccuCut.
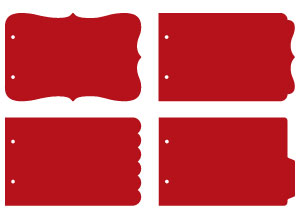
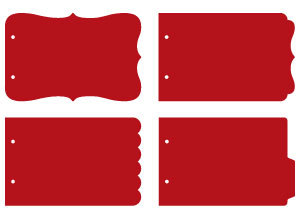
The Mix & Match Album #2 die is one of my favorites. With four different page shapes, there is so much you can do with it.
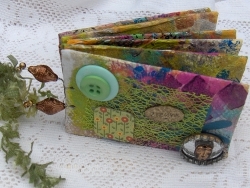
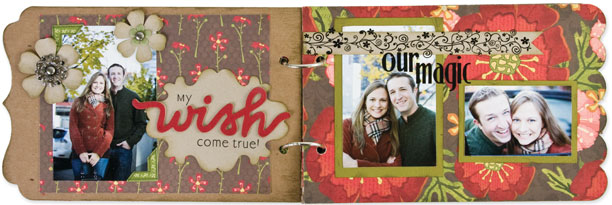
Designer Traci Armbrust showed me how to mix things up by using just one of the page shapes and cutting down each page to create a cute, summer-inspired flip album.
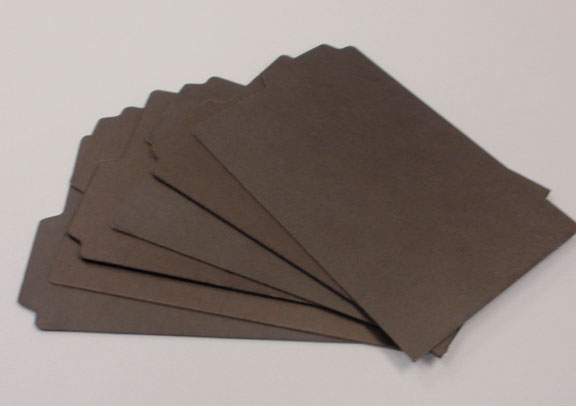
First, we began by cutting six tabbed pages out of black chipboard.
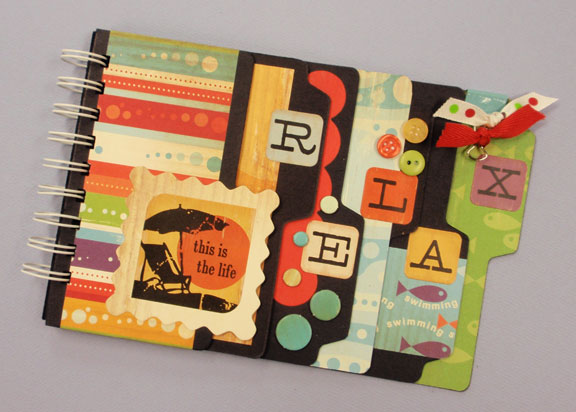
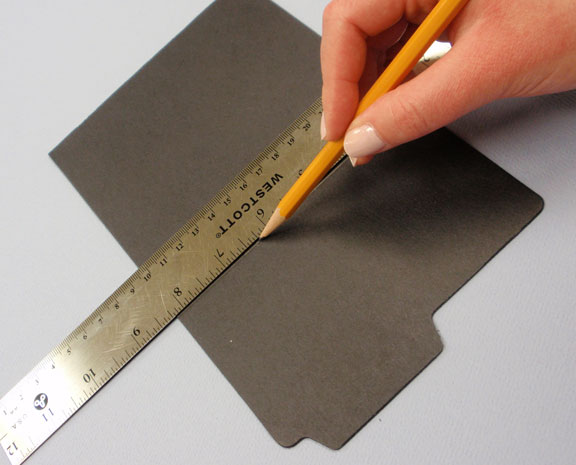
Starting with the first and smallest page of the book, we measured five inches from the edge and drew a line to mark where we needed to trim down each page. In one inch increments, we measured and cut the remaining pages, keeping the last page uncut. Make sure to alternate each page so the first tabbed-edge is at the bottom, the second tab is at the top, etc.
Next, we decorated the album pages with fun paper and embellishments and bound with the Zutter. Keep in mind this page trimming technique works best with the "no holes" version of this die to give you more freedom to bind in a variety of ways.
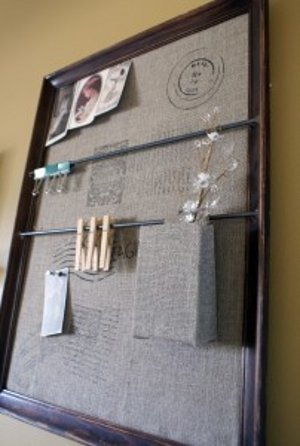
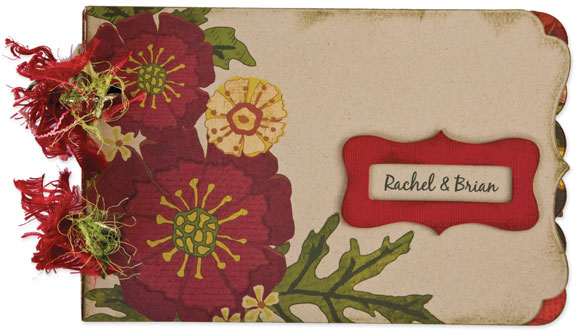
The Wavy Frame die is shown on the front. It makes a perfect border for photos and special messages. Retailers, this project would make an amazing class.

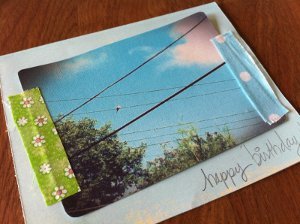
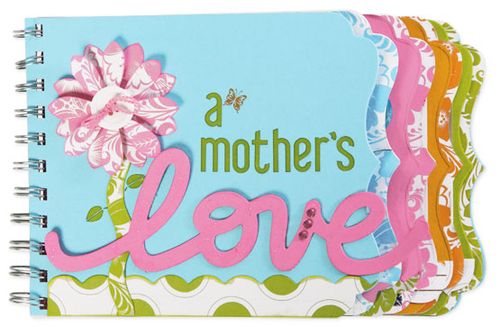
Here's a very cute project by Greta Hammond using the same technique with a different page shape of the Mix & Match Album. Other dies shown here include the long cut Love, Flowers #22 and Flowers #25 dies.
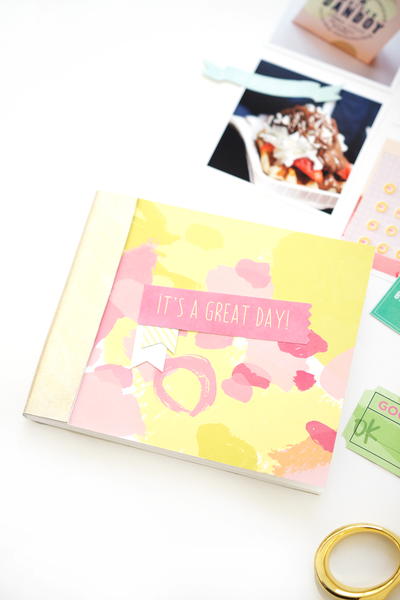
This album is so versatile! Here are a few more project ideas showing other ways of using it. This album mixes all four page shapes. I like how you can see the variety of pages edges behind the cover.
The new Nameplates #12 die is also shown here.
Here's an inside view that includes the small Wish, Vintage and Flowers #27. Notice this album is bound with rings.
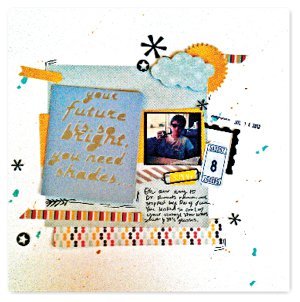
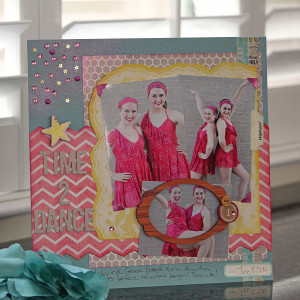
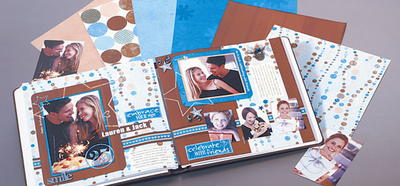
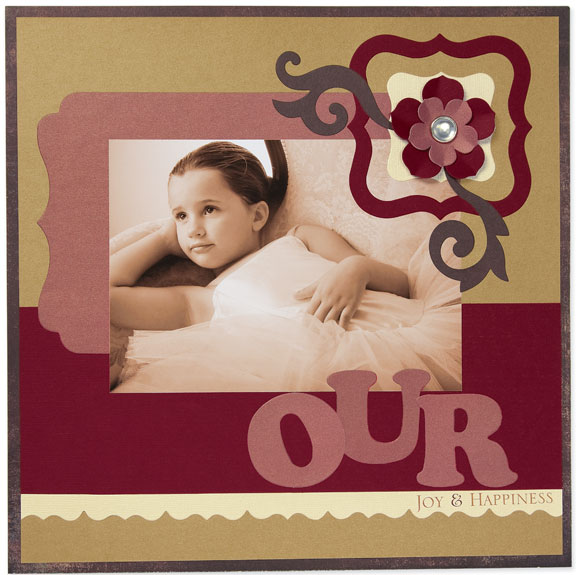
And, of course, you can also use the page shapes for projects other than albums! Here, Traci made a page layout that includes the bracket-edged page shape as a photo background. These shapes would also make great journaling blocks. Or cut them in half for smaller embellishments. You could even try folding them in half to create a note card!
Other dies used on this page include Antique Accents, Decorative Scallops Border, Flourishes #4, Flowers #28 and the 2" Uppercase Carefree Alphabet.
Your Recently Viewed Projects
Thanks for your comment. Don't forget to share!
lxjjwkc408ic0 1780 579
May 09, 2018
Love this idea. So warm to a diy an album for my family. Fab tutorial.
flowergirl
Feb 22, 2018
My mother recently decided to clean up the attic and we found years of memories from all her kids and I thought we should keep some of them in a scrap book. I know this is the best moment to introduce her to scrap booking as this tutorial has steps for her to follow so she can work on her organization skills.
Member 21208
May 01, 2010
Great idea for a slumber party as well. My daughter wants to make these so her and her friends can make scrapbook pages to put in an album from the party. Love the idea.
Crafter 18861
Sep 25, 2009
This is the most creative and easy project I have seen. How perfect for the holidays and how easy too.
Report Inappropriate Comment
Are you sure you would like to report this comment? It will be flagged for our moderators to take action.
Thank you for taking the time to improve the content on our site.