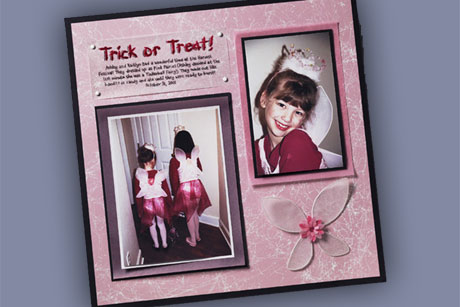
Trick Or Treat Scrapbook Layout
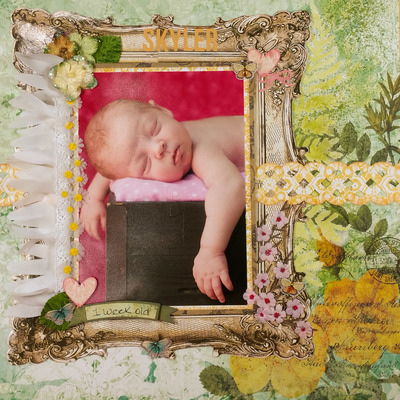
Delicate vellum wings glitter brilliantly against the soft pink and white webbed background in this layout from Krylon.
Materials:
- Krylon Webbing Spray - White Whisper (#602)
- Krylon Glitter Spray - Resplendent Red (#403)
- Krylon Glitter Spray - Magical Multi-Color (#405)
- Krylon Preserve It!® Digital Photo & Paper Protectant - Clear (#7027)
- Krylon Short Cuts® Hobby/Craft Paint Pens - Red Pepper (#SCP903)
- Krylon Spray Adhesive - Clear (#7011)
- Pink, white and black cardstock
- White and pink vellum
- White 24 gauge wire
- Medium Daisy punch
- Small daisy punch
- Micro beads
- Plain small paper fasteners
- Black Pen
- Pastels
- Mini Glue Dots
- Glue
Steps:
- Spray White Webbing onto pink cardstock. Let dry and trim approximately 1/4" all around. Glue to black cardstock background.
- Spray a sheet each of white and pink vellum with a coat of Multi-Color Glitter Spray; let dry, then add a coat of Resplendent Red Glitter Spray and let completely dry.
- Create wing outline shapes with wire. Cut out four rectangles approximately 1/4" wider and longer than each wing from the glittered vellum. Run a thin bead of glue over the top of a wing with a toothpick or brush and glue on vellum; let dry and trim close to wire. Repeat this process with the remaining wing shapes. Punch out 2 flowers in each size from pink glittered vellum; use pastels to shade underneath if desired. Layer and glue punches together; then glue micro beads to center. Attach to background with glue dots hidden underneath the flower design.
- Protect digital photos with Preserve It!® Spray; let dry. Mat photos onto black cardstock and white and pink vellums as shown; adhere to background.
- Print out title and journaling onto plain computer paper and place rectangle of white glittered vellum over top. Trace over the title with paint pen and journaling with black pen, let dry. Attach to background with paper fasteners.
For more project ideas, please visit www.krylon.com/projects.
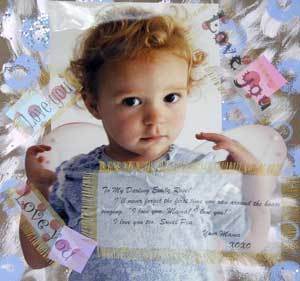
Read NextLove You Forever Layout