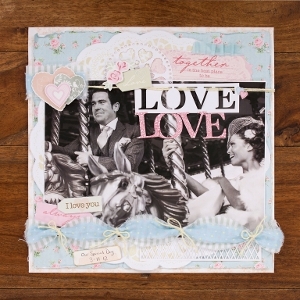
Click Click Layout
Looking for some cool scrapbooking ideas? This Click Click Layout is a great way to show a bunch of photos on one 12x12" scrapbook page. This layout is great for teens and scrapbooking everything from graduations to weddings. Best of all, many of the Design Sets for use with the Fiskars Fuse Creativity System® lend themselves well to the layered technique used to create this custom camera embellishment at the bottom center of the layout.

You can find this project, as well as many others, in our free downloadable eBook, Fuse Creativity System Project Guide: Fun Party Themes, Ideas for Handmade Cards, and More Paper Crafts from Fiskars!

Materials:
- Fuse Creativity System® Starter Set
- Medium Design Set100840 – Marquis
- Medium Expansion Pack 100920 - Marquis
- Interchangeable Border Punch Starter Set
- Up In The Clouds Interchangeable Border Punch Cartridge
- Detail Scissors
- Alphabet stickers – Thickers by American Crafts
- Cardstock - Bazzill Basics Paper
- Foam dimensional tape
- Jewel stickers - Little Yellow Bicycle
- Patterned paper - Echo Park Paper
- Stickers - Echo Park Paper
Instructions:
-
First, make four different die cut and letterpressed passes using the Medium Design Set – Marquis along with the camera letterpress plate from the Medium Expansion Pack – Marquis.

-
Keep one of the die cuts completely intact, while cutting apart the other three to give you the pieces shown.

-
Rebuild the image by layering the pieces using foam dimensional tape between each layer. Use extra pieces from your foam alphabet set to add black foam embellishments to add more dimension to the camera’s features.

-
Add a layer of glossy accents to the camera lens. Set aside and allow to dry completely before handling any further. You can use a pin to pop any bubbles that may develop during dry time.

-
Once the camera lens is dry, you can further embellish the ring around the lens with a strip of adhesive-backed rhinestones in a coordinating color. Add a clear adhesive-backed rhinestone to the open circle on the die-cut to give the piece more character.

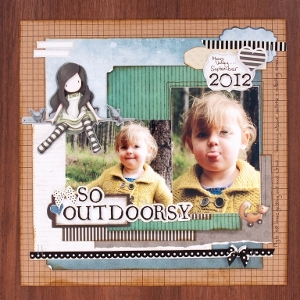
- Use the new layered, embellished and letterpressed die cut to embellish the title portion of a “click click” layout. The layout simply consists of an 8” x 10” collage of small instagram photos with a small strip of patterned paper and a decorative border punched strip allowing the fun, layered letterpressed die cut to take center stage.
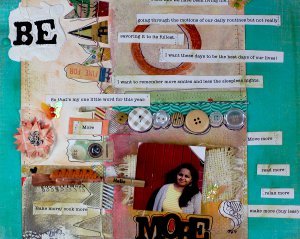
Read Next"Be More" Scrapbook Layout