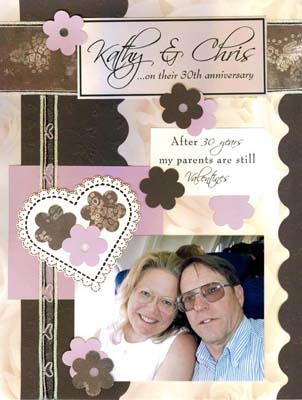
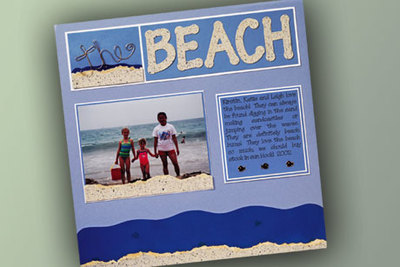
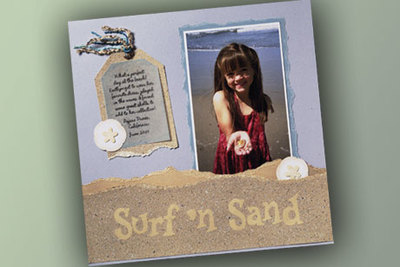
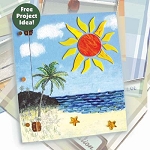
Beachy Memories Scrapbook Layout
The stained glass mosaic technique from Diamond Tech adds diemnsion to any scrapbook layout. Use this idea for a fun, beach inspired scrapbook for all your vacation memories.
Materials:
- Polyvinyl acetate glue (PVA) or mosaic glue
- Jennifer’s Mosaics Wheeled Glass Nippers
- Jennifer’s Mosaics Sunburst Pre-Cut
- Jennifer’s Mosaics Charmers - Variety Mix
- Small Paint Brush
- Acrylic Paints
- Pencil
- Wooden Memory Book Kit
- Jennifer’s Mosaics Teal Stained Glass Chips
- Optional: Carbon Transfer Paper or Scissors
For pattern, click here.
Steps:
- Get your area ready! Cover work area with newspaper to protect surface from splatters. Place the Wooden Memory Book on the newspaper. Prepare the Wooden Memory Book surface following the manufacturer’s directions. Do not attach hinges at this time. Store in a safe place for later use.
- Start Painting! Paint the entire Memory Book with a basic white primer. Once the primer is dry, paint the entire Memory Book with a light blue acrylic paint (such as Delta Ceramacoat, Blue Heaven).
- Use Pattern as a Guide! Lightly sketch or transfer the pattern onto book. To transfer the design, tape carbon transfer paper and enlarged pattern in place. Do not outline individual waves, as nipped glass pieces will vary in size and may not conform exactly to pattern.
- Place Precut! Using PVA glue or mosaic glue, adhere precut into place.
- Cut Stained Glass Chips! In order to create waves, center glass chip between the blades of the nipper, and nip. Follow this procedure and nip both of the previously nipped glass chips into two more pieces. Each strip should be about 1/8” wide. You should get about 4 strips out of each 3/4” glass chip. (Photo shows strips ending approximately 2” from the bottom of the book). Arrange glass wave into your desired position and glue into place.
- Paint The Picture! Now you can begin painting the details. This is your opportunity to be creative! You may use the pattern below or let your imagination flow. If painting is not where your passion lies, you may choose to use pre-cuts or perhaps create the palm tree with stained glass chips. You may also choose to place snapshots into the scene for a more personalized look.
- Finish up! If you have decided to follow the pattern, it is now time to glue the stars into place. Place a small dot of PVA glue or mosaic glue to the back of each star and secure in place.
- Put it together! Now that your masterpiece is created, it is time to put the book together. Follow the manufacturer’s directions for assembling your Wooden Memory Book.
Read NextThe Beach Scrapbook Layout