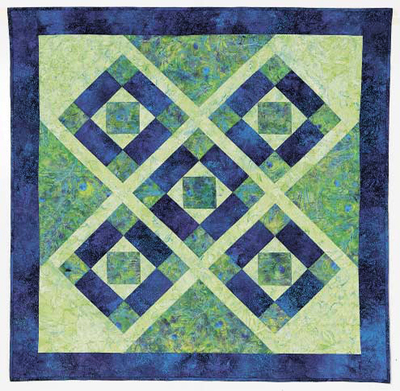
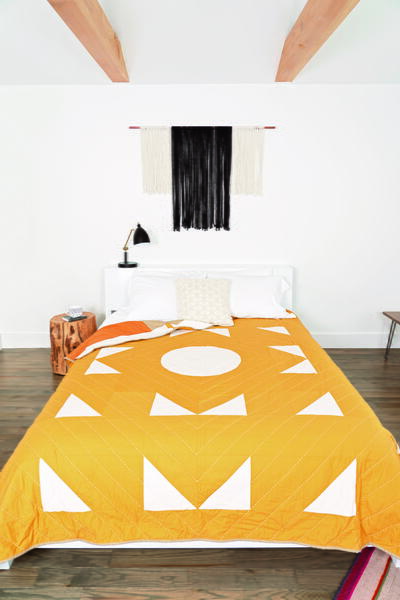
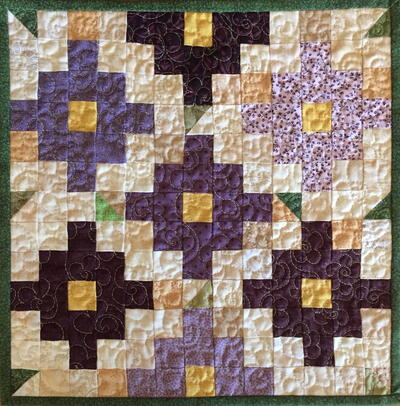
Seeing Green Quilt

Create a lovely quilt for a friend or family member with this Seeing Green Quilt. Great for spring and summer decor, this easy quilt pattern is great for using up fabric scraps. Use shades of green to make a lovely spring design or mix and match fabrics to create a look all your own. Lay this quilt out on display on your bed or couch or hang it on the wall for all to see and admire. This is one sewing project that quilters of all ages are sure to love.
Primary TechniqueQuilting

SeasonSpring
Sewn byMachine

You can find this project, and many more, in our new eBook, 13 Spring Crafts: Easter Craft Ideas, Spring DIY Home Decor, and More! Download your own free copy today!
Materials:
- 11/4 yd backing
- 43" x 43” batting
- See chart for fabric requirements

Measurements:
- Quilt size: 41" x 41"
- Block size: 10"
- Sashing: 11/2"
- Border: 3"
Techniques:
- Framing and diagonal set
Instructions:
Center Square-in-a-Square
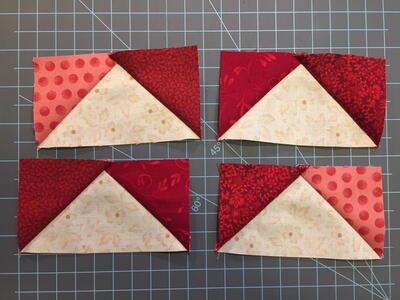
Place a lime green 3³⁄" triangle, right sides together, with a 4" green print center square. The tips of the triangle should hang over the edge of the square equally on both ends. Sew, using a ¹⁄" seam allowance. Sew another triangle on the opposite edge (Fig. 1).

Repeat for the other two sides of the square (Fig. 2). Sew this center square-in-a-square unit for all five blocks.

Framing
To make the frames for the square-in-a-square units, sew the following strips together to make a strip set: 3" green print, 5¹⁄" blue, 3" green print (Fig. 3).

To keep the strips as straight as possible, sew the first strip together with the blue fabric on top, then sew the second strip in the opposite direction, with the green print on top. If your machine has a tendency to slightly pull up the fabric, this will help keep the strips straight. Before unfolding the fabric to press the seams, run the iron along the seam line to set the seam. This also helps press out any irregularities in the tension of the stitches.
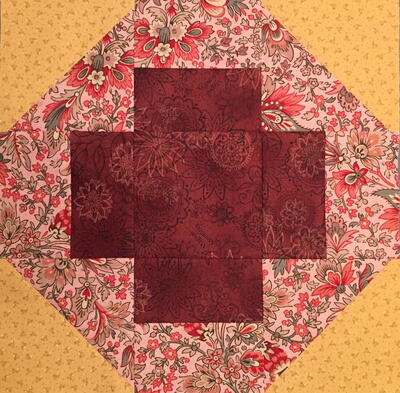
Sew one 3" x 5¹⁄" blue rectangle to two opposite sides of the square-in-a-square units (Fig. 4).

Fom the strip set, cut 20 sections 3" wide (Fig. 5).

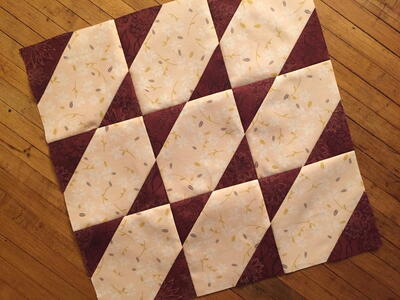
Lay out the blocks with a strip set as the top row, the square-in-a-square unit in the center, and another strip set as the bottom row (Fig. 6). Press each row in opposite directions. Align and pin the top row to the center row; sew. Add the bottom row. Press the block. Repeat this process to complete all five blocks.

Side and Corner Triangles
Cut the 17¹⁄" square diagonally in both directions to make four triangles for the sides of the quilt (Fig. 7). By cutting the square in an X, the fabric on the outside edges of the quilt will be on the straight of grain, making it more stable and less prone to stretching.

Cut the two 10" squares in half diagonally to make four triangles for the corners of the quilt (Fig. 8).

Assemble the Quilt
Lay out the quilt, placing the triangles in the corners and on the sides. Place the sashing strips between the triangles and blocks, following the quilt assembly diagram. The blocks are set on point and sewn together in diagonal rows.
Sew the longest row together first. Add the longest sashing strips to each side of that row. Press the seams.
Before adding the rows on either side, make sure the blocks line up across the sashing strips. On the wrong side of the sashing, extend the seam line across the sashing with a chalk marker or pencil. Then, as you pin the next row, pin the corner of the next block to the mark you made on the sashing.
Continue sewing the rows together. Add the two remaining triangles to the corners and trim the edges of the quilt.

Borders
Fold a blue border in half and mark the center with a straight pin. Mark the center of the top quilt edge with a straight pin as well. Match the pins and continue pinning the top border to the quilt. Attach the top border. Add the bottom border in the same manner. Press the seam allowances toward the border. Mark, pin, and sew the two side borders to the quilt.
Assemble the Quilt
Layer the quilt top, batting, and backing.
Quilting
The quilting design repeats elements of the quilt. The feathery design in the green print fabric is outlined (Fig. 9). A continuous leaf design is quilted in the sashing strips. The blocks are quilted in the ditch to give them a puffier look.

Binding
Bind the quilt with double binding.
Celebrate National Craft Month All Month Long!

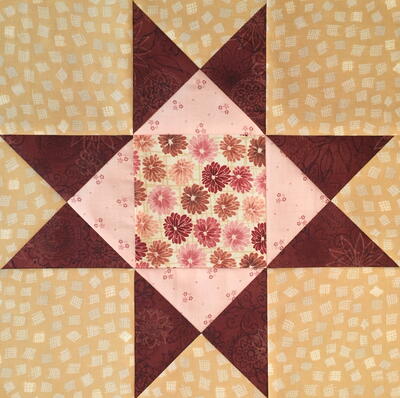
Read NextX-quisite Quilt Block