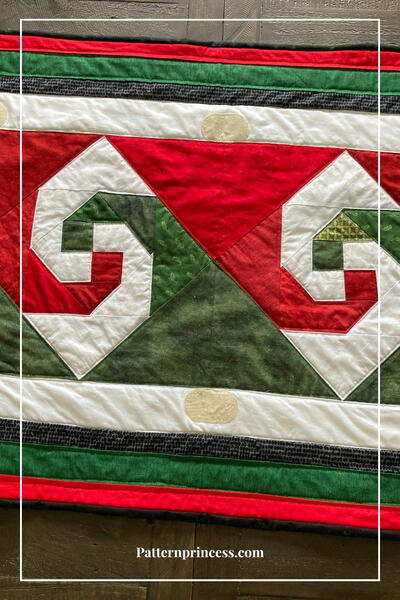
Recycled T-Shirt Quilt Pattern

Quilting can be a huge stress relief, and this Recycled T-Shirt Quilt Pattern will help you reminisce as you relax. This quilt pattern is the perfect way to find a purpose for all of those old t-shirts that you are too attached to to give away. Plus, this is a great DIY craft for a weekend project to keep you busy but in a fun way. With the holidays swiftly turning the corner, this is also a great quilt craft to make a DIY gift that is thoughtful and memorable. This quilting video also breaks down exactly how to make this DIY quilt so you know exactly what to do!
Estimated CostUnder $10
Time to CompleteWeekend project
MaterialsFabric, Recycled Materials
Primary TechniqueQuilting

Project TypeMake a Project
Materials List
- Recycled T-Shirts
- Press cloth
- Lightweight fusable interfacing
- Fabric
- Rotary Cutter
- Mat
- Ruler
- Ironing Board and Iron
- Scissors
- Sewing Machine
Recycled T-Shirt Quilt Pattern
How to Make a Recycled T-Shirt Quilt
-
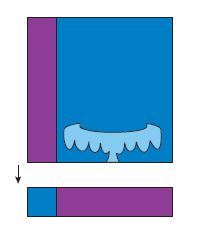
Take your first shirt and cut all the way up one side to the armhole. Cut from the sleeve in to the armpit. Cut your top from the sleve to the neck end, and repeat this process with the other side of your shirt.
-
Measure the designs on your shirt to decide what your block size for your quilt will be.
-
Cut your pieces of fusable interfacing slightly larger than your shirt size.
-
Use your press cloth, or an old dishtowel and place it over the interfacing. Then fuse the interfacing in place using an iron.
-
Measure off and cut your blocks using your ruler and rotary cutter.
-
Repeat with all your shirts until you have enough blocks to make the size quilt you would like.
-
Line up your blocks to decide what pattern you would like them in, and sew your blocks into rows.
-
Put two blocks that will be next to each other right side together, line up the edge you are going to sew, and sew from one end to the other.
Tip: Any consistent seam will keep your quilt square. -
Repeat this process to make all of your rows.
-
To stitch your rows together, press your seems to one side.
-
Place one row on top of the other facing each other, match up your edges and your seems, and pin your seems in place, place under your machine and sew across.
Tip: DO NOT sew over the pin it will ruin your machine. -
Create your border to help your quilt become more square and stitch those on.
-
Quilt and bind your t-shirt quilt and you are good to go!
Read NextQuilted Phone Charger Holder
Your Recently Viewed Projects

Thanks for your comment. Don't forget to share!
paver2
Jun 22, 2018
It sounds so simple just reading though the directions! I'm afraid it would be a lot of work for me, though, since I am not a good seamstress. This would be like an entire winter's project for me. Still, it intrigues me. I have slowly accumulated tshirts but probably don't have enough yet.
Report Inappropriate Comment
Are you sure you would like to report this comment? It will be flagged for our moderators to take action.
Thank you for taking the time to improve the content on our site.