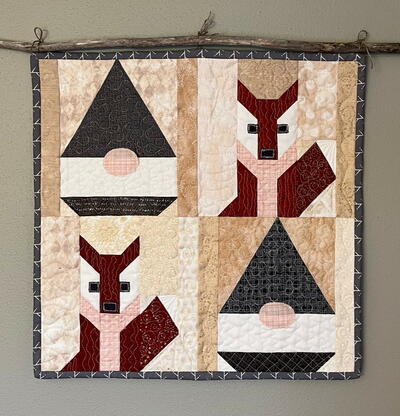
Patchwork Circle Quilt
This patchwork circle quilt is one of our favorite quilt patterns. It is a wickedly easy quilt pattern, but does require your time and dedication. Don't worry, the end result is worth it!

Materials:
- Queen size sheet for front
- Queen size sheet for back
- Several coordinating (or not) fabrics for the circles - I used six and needed just over 1/2 yard each
- Lightweight fusible interfacing (~6 yds.)
- Batting
- Pins
- LOTS and lots and lots of coordinating thread
- Safety pins
- Disappearing pen or fabric chalk
- CD
Instructions:
- Cut your sheet to fit your bed's dimensions: 70" x 86" works great on a twin bed. Put aside.
- Get out your lovely fabrics.
- Next, iron your interfacing onto each of your coordinating fabrics (the back, obviously). Start with 1/2 yard of each fabric...you can always make more later if you need to (I used 35 of each fabric). How many you are going to need is going to depend on the spacing you choose (there are 208 on this one).
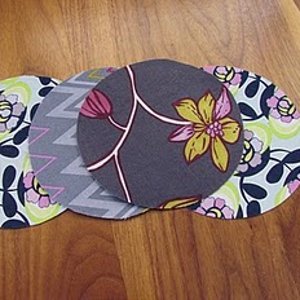
- Now we are ready to start tracing out our circles. If you don't have a circle cutter, a CD works great as a template. Be precise when you cut your circles because there is no way to hide uneven edges! Your circles will look like this:
- Get out the sheet that you cut previously. We are going to use it in one piece,we are not making blocks. Now start laying out your circles.You can eyeball or measure the distance between circles. This quilt has 16 circles on the length and 13 circles on the width. They are about 1/2" apart. I would leave 1" around all of the edges so that you have enough room for your binding.
- We are going to attach the circles with safety pins for now. I recommend only attaching about 20 at a time. I found that this was pretty easy to work with. It gets tricky if you have too many.
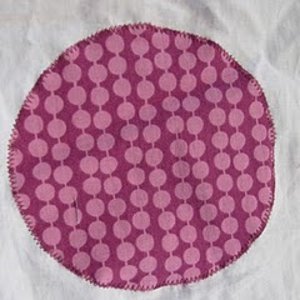
- Now start sewing on your circles. I used a zig-zag stitch in purple thread.
- For the back, I used a purple sheet. I did not pre-cut the sheet. Instead I laid it out flat and then put the batting on top and then finally the quilted top on that. Once I was sure everything was all smoothed out and even. I pinned all around the edges. Once I did this, I loosely cut both the batting and the backing, not worrying too much if there was still a bit of excess.
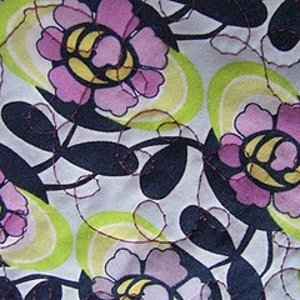
- Now comes the quilting. And yes, I was able to do this on my home machine. I'm not sure that I would want to do much bigger of a quilt on this machine, but it worked out fine for a twin. Use the Quilting Foot that comes with your machine (not the Walking Foot). Be sure to lower your feed dogs so that you can move the quilt about freely on the machine. Start in the middle of the quilt and work your way out. Depending on what colors you choose, you may want to quilt the background one color and the circles another. I just did a free form loop-de-loop pattern. It is really quite small on the background since I had to go through a lot of tight spaces. But, I did it much bigger inside the circles.
- Once you are done quilting, trim up the edges so that all three layers are perfectly even.
- Now you are ready to start binding. I used 9 yards of extra wide double fold bias tape.
- If you look at bias tape, you'll notice that one side is longer than the other. You want the long side to be on the back of your quilt. Unfold the bias tape and sew down the inside flap of the long side to the back of your quilt. I found it easiest to do one side at a time. Now fold you bias tape back up and over to the front side. Sew all the way down the side you just worked on making sure to "catch" the bias tape on the back.
- Since we are doing one side at a time, you will want to finish the corners as you go. You can either miter the corners or you can do them square. I played around with it and decided that I liked them squared the best. Just fold over your ends and then overlap them in a square. Sew down.

- And that's it!
Your Recently Viewed Projects


Thanks for your comment. Don't forget to share!
joycekeeling76 084 1497
Nov 04, 2019
I am looking forward to doing this, I am retired have plenty of time. I have been cutting my own patterns. Thank you for giving me this chance for these free patterns.
shilohdana
Feb 17, 2017
I think this quilt is very cute, but I agree with the other commentator on not using a sheet for it. I would get some muslin or other fabric, cut squares and attach the rounds to each square and then put the squares together. I know this adds to the work involved, but if I am going to make a quilt, I do want it to last for awhile. Otherwise, this is a good way to use up some scraps and the round pattern is nice. One could layer some of the circles with smaller circles or yo-yos for some added interest. Has anyone ever made a quilt like this using sheets? If so, could you comment on that? Would you do it again or did you find that the sheet was not adequate?
Member 0482908
Oct 29, 2013
Hi- I was cleaning out my Grandmother's material the other day and I found hundreds of circles cut out and circles that had been gathered that I know she was using for quilting. My question is can anyone show me patterns or pictures of what a quilt would look like with all of these circles? Or, if I'm not right, what you would use all these circles for? Some are sewn together in strips, some are single, some aren't gathered, some are gathered, but they're ALL made out of awesome vintage material. If someone would be nice enough to email me with pics and info, I would greatly appreciate it. Thanks Rena
orlaquirk 1118911
May 12, 2014
Rena, it sounds like Yo-yos. Yo-yos are circles that are stitched all around the edge, then the stitching is gathered up to make like a tiny pouch, which is flattened out. so one side is ruched and the other a plat circle. You can make a light and pretty summer cover out of lots of yo-yos. my mother told me about making yo-yos when she was a girl in the 30s.
trishadish007 4007 336
Oct 19, 2013
NEVER use sheets for quilting. They are woven to tight and the fibers break when quilted.
patlaw107 1629538
May 16, 2012
I love this, im just starting to do quilting and im going to try this one. Thanks
rianshafer 3424468
Apr 26, 2012
I liked this very much, easy to follow too! Being very new at quilting, I will use the sheets idea for sure! Thanks so much for sharing our fun project.
maryk9947 3026915
Feb 11, 2012
Very well written tutorial. I will certainly put my on flavor on it with a different binding and will probably serge the circles first but you really have a nice quilt there. Thank you.
bp1970 5683057
May 14, 2011
Easy way to make a very nice quilt. I believe that you can buy precut circles making it even easier to work up. Thanks for a great idea!
Report Inappropriate Comment
Are you sure you would like to report this comment? It will be flagged for our moderators to take action.
Thank you for taking the time to improve the content on our site.