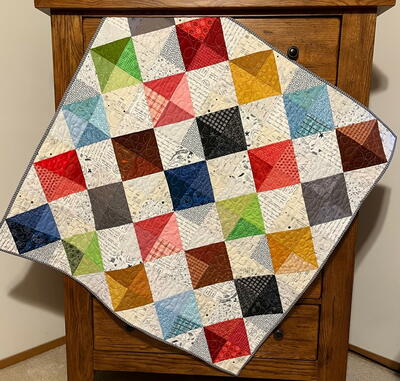
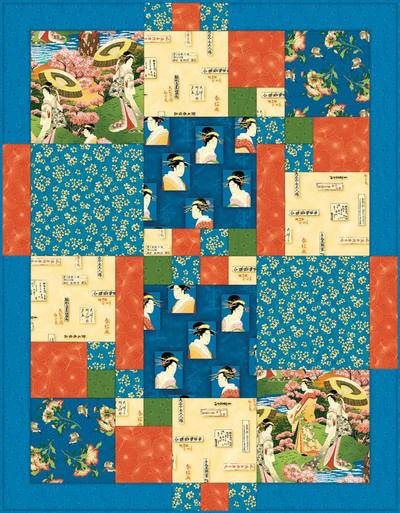
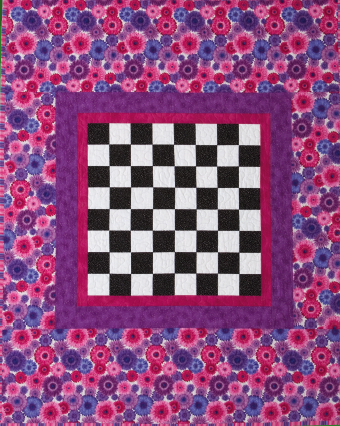
Checkerboard Quilt
This lap-sized quilt serves two purposes: as a colorful way to warm up and as a ready game board with matching game pieces. Instructions for the checkers and carrying pouch are also included. This project is an excerpt from C&T Publishing's Comfort Quilts from the Heart by Jake Finch.

Materials:
- 1⁄2 yard white fabric for game board
- 1⁄2 yard black fabric for game board
- 3⁄8 yard dark pink fabric for first border
- 5⁄8 yard purple fabric for second border
- 2 3⁄8 yards flower print fabric for outer border
- 31⁄3 yards for backing
- 5⁄8 yard for binding
- Batting: 56˝ × 68˝
- 1⁄3 yard each of light and dark prints for checkers
- 1⁄3 yard each of 2 prints for checker pouch
- 1 yard narrow ribbon for pouch drawstring
- 1⁄2 yard regular-weight fast2fuse interfacing for checkers
Cutting:
- From both the white fabric and the black fabric, cut 4 strips 31⁄2˝ wide.
- From the pink fabric, cut 4 strips 2˝ wide.
- From the purple fabric, cut 4 strips 31⁄2˝ wide.
- From the flower print fabric, cut 2 strips 10˝ wide.
- From the length of the remaining piece, cut 2 strips 16˝ × 58˝.
- From the binding fabric, cut 7 strips 21⁄2˝ wide.
- From each pouch print, cut 1 circle 9˝ in diameter.
Instructions:
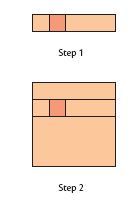
- Sew the white and black strips together, alternating the colors. Press the seams toward the black fabric. Piece the alternating strips.

- Cut the strip set into 8 segments 31⁄2˝ wide.
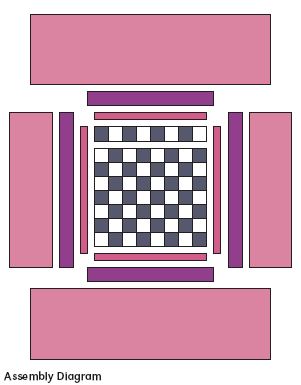
- Arrange the segments to form a checkerboard, as shown in the Assembly Diagram. Join the segments, pressing the seams in the same direction.
Finishing
- Sew the first, second, and outer border strips to the quilt.
- Prepare the layers for quilting. Machine quilt as desired.
- Make and attach the binding.
Assembly Diagram
Making the Checkers
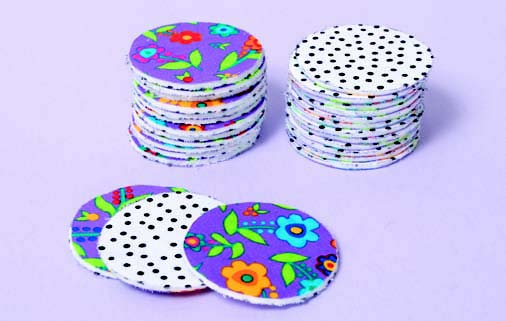
- Fuse the light print to one side of the fast2fuse interfacing. Fuse the dark print to the other side.
- Make a 21⁄2˝ circle template and trace for each checker. (Note: In the game of checkers, each side has 12 checkers. I made 30 double-sided checkers to allow for losses.) Carefully cut out each checker.
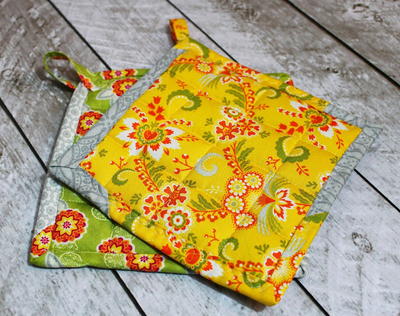
Making the Pouch
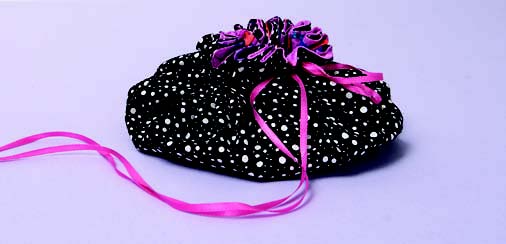
- Place the 9˝ print circles right sides together. Sew with a 1⁄4˝ seam allowance around the perimeter, leaving a 4˝ opening.
- Turn right side out and press. Stitch the opening closed.
- Thread an embroidery needle with narrow ribbon and sew a running stitch about 1⁄2˝ from the edge of the pouch. Tie the ribbon ends together and pull. Voilà! A bag is formed, perfect for holding the checkers or other game pieces.
Tip: If you’re not in a hurry, or you are concerned about unraveling, you can sew 8 small buttonholes around the edge to thread the ribbon through. Or, use 8 small grommets/eyelets along the edge and thread the ribbon through them.
Learn how to make just a roll-up game board here.
Read NextQuilted Phone Charger Holder
Your Recently Viewed Projects
Thanks for your comment. Don't forget to share!
SC Girl
Dec 28, 2015
What measurement is 31/2" inches? If taken literally, it is 15 1/2 inches, which would make a very large quilt. What is the correct measurement?
Kaylee
Dec 30, 2015
Hi SC Girl, As far as I know these measurements are correct. You will lose some of the width when you piece the strips together which may be why it seems a bit wider than neccessary. If you have any more pattern-specific questions, I reccomend reaching out to the designer (in this case C&T publishing). - Kaylee, Editor
Report Inappropriate Comment
Are you sure you would like to report this comment? It will be flagged for our moderators to take action.
Thank you for taking the time to improve the content on our site.