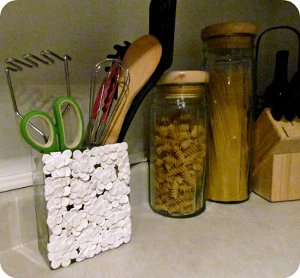
Pretty Petal Kitchen Caddy
Keep your kitchen tools stored and organized with this Pretty Petal Kitchen Caddy. An old vase, some polymer clay, and a bit of Mod Podge all come together to create this lovely spring decoration that's sure to bring a nice touch to your kitchen decor. This simple clay project is easy enough for anyone to do, and kids can even help make this beautiful vase!

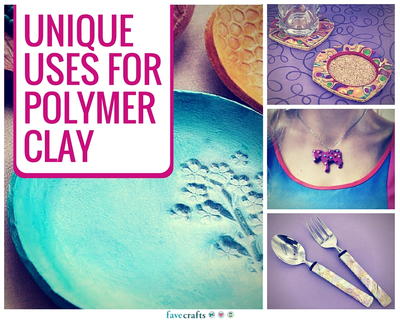
You can find this project, as well as many other Polymer clay tutorials, in our free eBook, 24 Polymer Clay Tutorials: Polymer Clay Jewelry, Decor and More!
Materials:
- Square glass vase
- Clay
- Cut outs
- Mod Podge
- Foam Brush
- Pasta Roller (for clay use only) or clay rolling pin
Instructions:
-
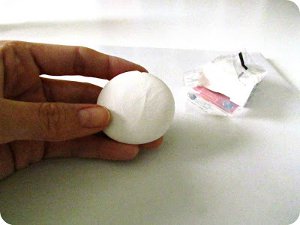
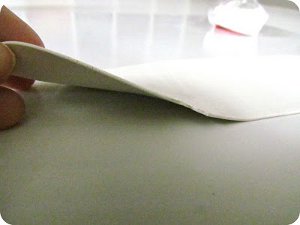
Take some polymer clay out of the package and start conditioning it by breaking it up and rolling it around between your hands. Get it nice and soft and shimmy it around between your palms to make a large pebble shape.
-
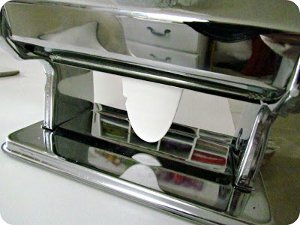
Run your clay pebble through the pasta machine, starting at the highest setting and gradually going down until you get the thickness you like.
-
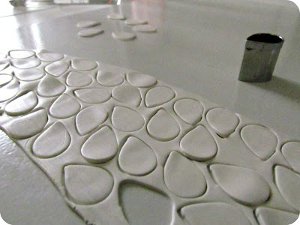
Using a small petal shaped cutter, cut out your shapes. You can find cutters in the polymer clay section at the craft store, but check things out the baking section too because there's always loads more fun shapes there.
-
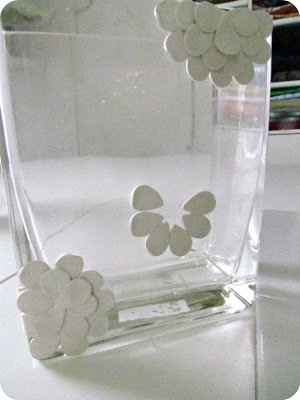
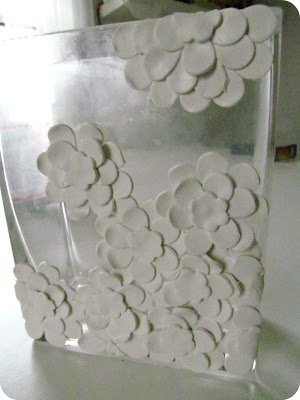
Just start sticking your clay petals onto your glass vase but gently pushing them down. You can furl the edges up slightly to add some more texture.
-
One of the great things about polymer clay is that there is absolutely no waste. Just take the clay that was left over from cutting your shapes out and repeat steps 1-4 until you have the design you want.
-
For the centres of the flowers I used this little flower shape to cover up all the uneven edges.

-
Following the directions on your clay, bake it. I always like to double bake my clay projects but that's just a personal thing. All that means is that I bake it once, let everything cool down, and then bake it exactly the same way again. I feel like this makes the clay just a tiny bit stronger.
-
Obviously, do not use a plastic vase or anything else flammable. Even though the clay bakes at a very low temperature you can never take any risks.
- If you want, after everything has cooled down, you can brush on a layer of Mod Podge or other sealant to ensure you clay stays in place, gives it an extra sheen, and will be easy to wipe down to keep it clean.
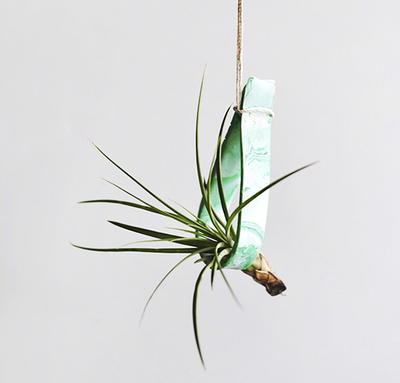
Read NextClay Air Plant Holder
Your Recently Viewed Projects

Thanks for your comment. Don't forget to share!
mulberrygalprinces s
Jun 19, 2018
I love working with polymer clay. A friends mother passed away and she gave me her moms clay, tools, books, etc. I got hooked. Polymer clay can be set aside for a day if you get interrupted . Air dry clay can not. You have time to redo it if you don't like your first attempt.
Report Inappropriate Comment
Are you sure you would like to report this comment? It will be flagged for our moderators to take action.
Thank you for taking the time to improve the content on our site.