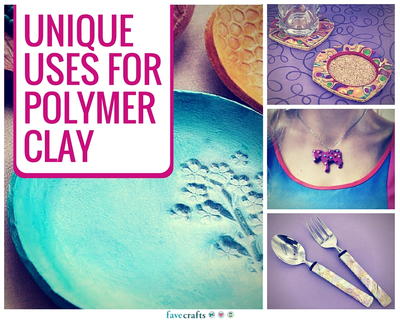
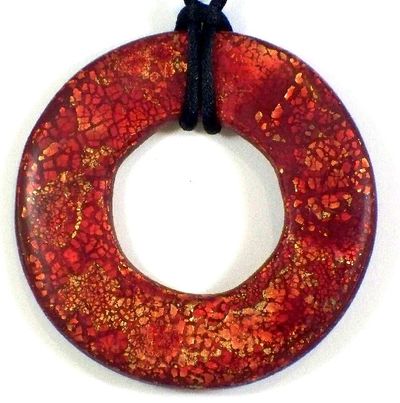
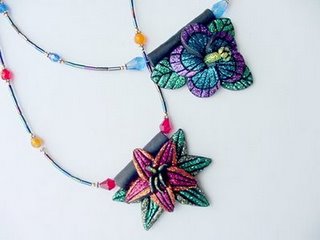
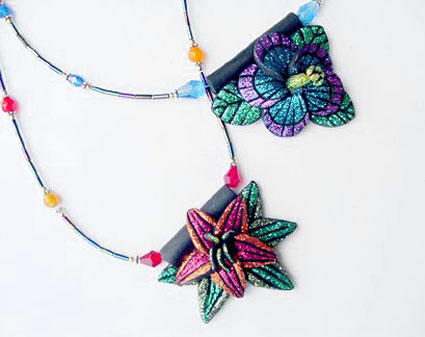
Glitter Flower Pendants
Use polymer clay, floral stamps and multi-colored glitter to create the most beautiful necklace pendants from Marie Segal. These blooming, shimmering flowers hung from your neck are sure to attract admiring attention.

Find this project and more in our pretty collection of 35 Homemade Mother's Day Flowers.
Materials:
- Cernit 2.2 ounce block- black, you could probably make a few of these pendants from a 1 block
- Glitter kit- basic fabric kit from Art Institute Glitter- I prefer to use the Fabric glue that Art Institute Glitter carries with these pieces.
- Leaves and Petal Stamps- Barbara Mac Guire’s design sheet garden. Bead Prints Flora looks like it would be a wonderful stamp sheet for this too, but I have not used this one.
- Cutter-Makin’s circle set 36001, large or medium depending on the size of flower you make
- Bamboo skewer
- Kemper slicing blade
- 3/4” teardrop and round ½” cutter – Kemper
- #2 pencil with a new eraser
- Card board box at least 6"x6"
Instructions:
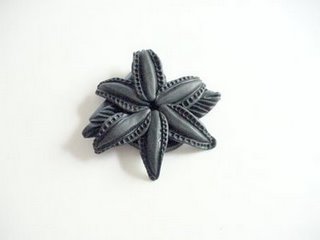
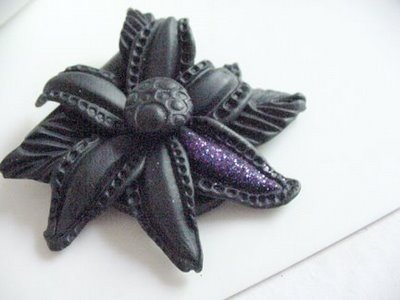
- All of these pendants are done basically the same way. We will build a flower and leaves that then we can embellish with the glitter.
- Condition and roll out your black clay on the thickest setting in your pasta machine.
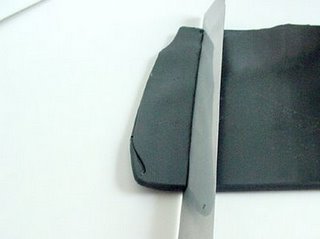
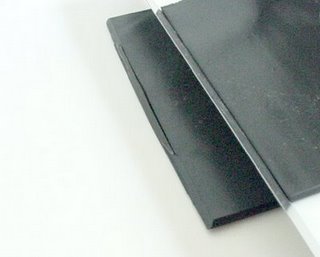
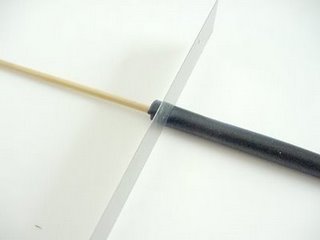
- Cut a strip of clay that is ¾” wide by about 4” long. Bezel each edge of the strip with your clay blade.
- Wrap around the bamboo skewer and press the angled edges together and smooth.
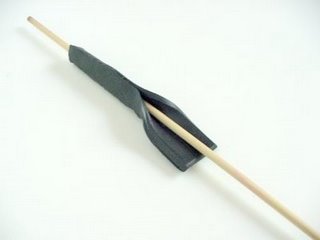
- Break loose from the skewer by twisting free with your hands and roll on your work surface to smooth. Trim off the end by holding the blade perpendicular to the clay and roll the skewer and the blade forward to make a finished end.
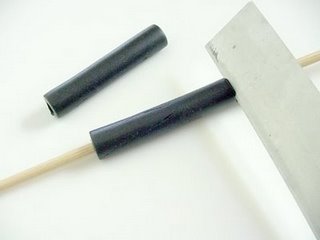
- Cut a 1 5/8” section of the skewered clay by rolling the blade and the skewer forward to cut through the clay. Now you will have a tube bead that you can use for the top of the pendant.
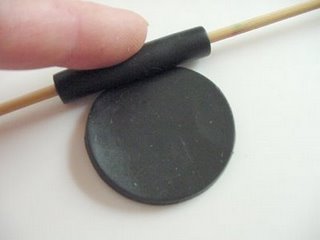
- Using a circle cutter or template, cut out a circle in the same thickness, thickest setting in the pasta machine.
- Leave the tube bead on the skewer and place it in the center top edge of the circle and press the two gently together.
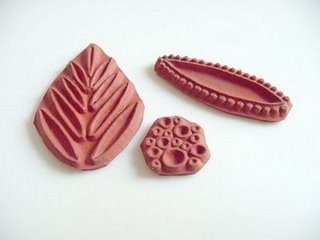
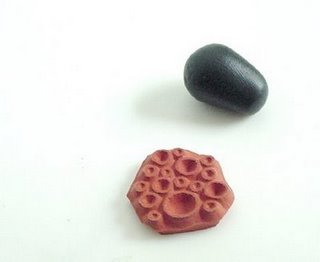
- Here are the stamps that I used from Barbara Mc Guire’s stamps Garden Party:
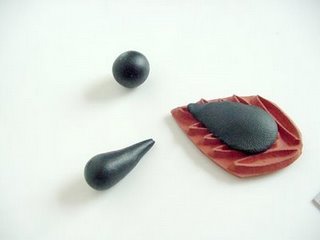
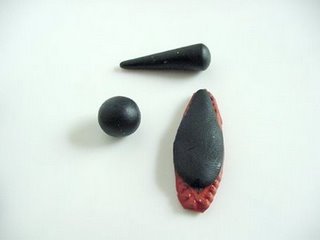
- Cut out 8- ¾” teardrops of the same thickness and roll those into balls.
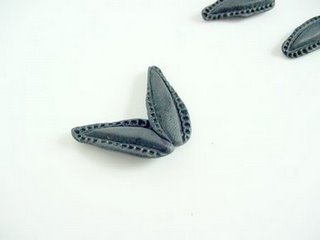
- Roll 2 of the balls into 1” cones, flatten each one of the cones on to the leaf stamp and release, you might want to use a spritz of water on the stamp first before pressing the clay on to it.
- Set these aside and start to build the flower. Or you can add to the circle background that you made above. I like to wait until I have the leaves and the flower built and then I put everything together on the background circle with the tube bead in the way that they look best together.
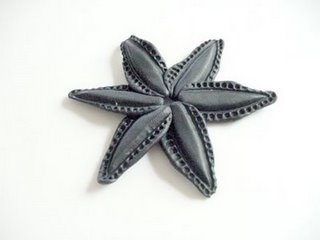
- Roll the other 6 balls in to a 1 ¼” teardrop shape. Press the teardrop on to the stamp and peel off for the petal.
- Start making each petal and put one after the other in to a circle with the last petal covered by the next a little bit.
- Tuck the last petal you add a little under the first one you made with small opening in the center of all of the petals.
- Add the leaves and then add the flower to the disk background with bead.
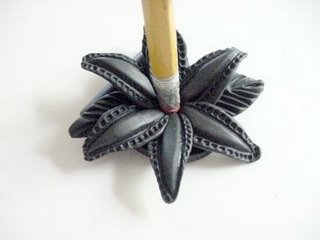
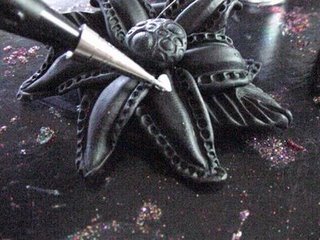
- With the eraser on the pencil poke it in to the small open space on the flower. All of the petals will lift slightly and this is good.
- Drape the petals down and press down.
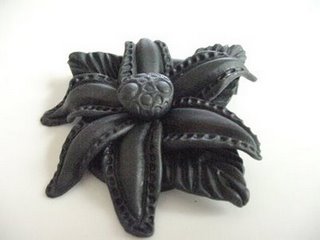
- Cut out a ½” round and roll in to a ball and then roll into a squatty teardrop, Take the thinner end and then press the thicker end in to the stamp, holding the teardrop straight up and down. Roll the thin end of the teardrop a little between your fingers to make the point a little smaller and place that end in to the center of the flower you poked with the eraser of the pencil.
- Press that gently in to place in the center.
- Bake the flower in a pre-heated 275 degree oven for a half hour and shut off oven and let cool in the oven, when the flower has completely cool start with the glitter.
- I recommend a card board box or lid to do this in.
- Do not do this where you do clay because it will get in to all of your clay.
- I use a tray to glitter over and then I save all of the glitter that falls on to it for later.
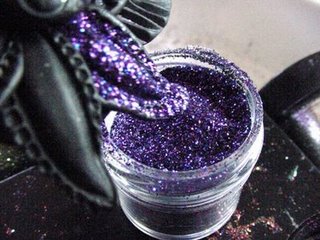
- I prefer to use the opaque glitter.
- I pick areas and fill it with glue by covering the area I want to glitter. Cover evenly and smoothly, not glompy, because the glue will run if this happens, wipe it off and start over.
- You are almost better using less glue than too much.
- Fill in the section and then take a spoon and sprinkle with the glitter of your choice.
- Shake the spoon horizontally from side to side, until all of the glue is covered. I do one of these sections at a time one color of glitter at a time.
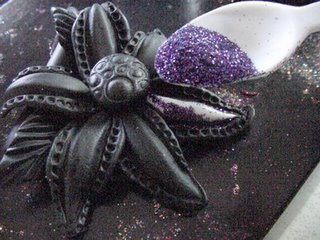
- Let it sit with glitter on it for about 10 seconds and glitter will settle into the glue.
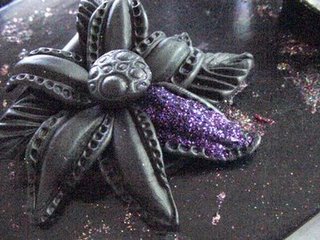
- When the 10 seconds is up hold the flower over the little jar of the same color of glitter and dump all of the excess back in to the jar. Waste not, want not right???
- See the excess is off and it looks much cleaner.
- I suggest that you do another petal after a couple of minutes. Take your time and go slow and you will have great results. Or make a few flowers and do a couple at a time and using the same color of glitter at a time. The time and care that you put in to this will be worth the effort.
- Let the flowers dry over night and then place back into a preheated oven at 275 for 15 minutes shut off the oven and let cool. When the flowers are cool again, take tooth brush and scrub the glitter areas with a tooth brush to take off any excess.
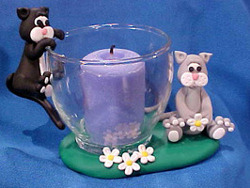
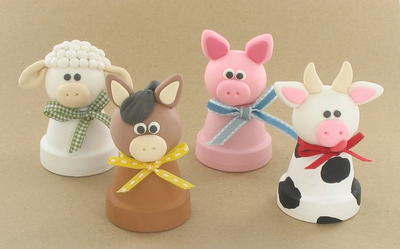
Read Next4 Barnyard Polymer Clay Ideas
Your Recently Viewed Projects
Thanks for your comment. Don't forget to share!
Hannah
Oct 25, 2017
This is amazing! I'm just wondering if these clay will stick to it for the longest time.
Marilyn B
Jun 05, 2017
Thank you for such detailed instructions! Using the forms is a great way to get uniform results. But as another creative option, you could use these photos for a guide to making the shapes free form and thereby vary the look of each one, and adjust the size to your liking. I love the addition of the glitter effect! A stunning project and would make a super gift or addition to your own artistic creations!
M Altenberg
Mar 14, 2017
These would be great to make as a gift. Super colorful and pretty. Would match many outfits. This project looks interesting to try.
flowergirl
Feb 16, 2017
I never thought I'd use moulding clay as an adult but I remember this was the most fun craft as a kid. It gets everyone's creative juices flowing and is so versatile. I love this pendant and the instructions are so well written that the result is amazing! Great craft idea
uribedaniella 7732 381
Apr 14, 2012
I love it! I used to make polyclay tiny flowers for earing some years ago and think it is time to dust off what I learned and do it again!!
Prpldy
Mar 28, 2011
Oh I have got to give these a try. I love the look. Bling is always good and glitter is the perfect amount of bling.
ksaugustsson
Apr 20, 2010
Your tutorial is so helpful, you make the process look so easy with beautiful results. All the while sticking to one color for the base simplifies the process. I can't wait to create my own. Thank you for sharing!
Member 2320138
Feb 03, 2010
I love working with polymer clay. I wish that you would have more ideas using this. There are so many things that can be made with it.
hollowa1
Feb 03, 2010
Marie is truly the very best with polymer clay project instruction. Keep these good ideas coming.
Pat P
Dec 27, 2009
What a great presentation! the degree of detail and clarity of the photos is superb!
Report Inappropriate Comment
Are you sure you would like to report this comment? It will be flagged for our moderators to take action.
Thank you for taking the time to improve the content on our site.