Fun Giraffe
Use the step by step photo tutorial by Becky Meveren to make a cute giraffe polymer clay project. In only nine steps you can have this little guy ready to give as a gift. Great for someone who loves giraffes.

Materials:
- Premo! Sculpey polymer clay:
- Two ounce brick of cadmium yellow #5572
- Two ounce brick of raw sienna #5392
- Two black seed beads
- Straight pin
- Parchment paper or index card
- Paintbrush
- Baking dish or cookie sheet
- Round toothpick
- Oven thermometer
- Paring knife
Steps:
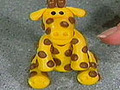
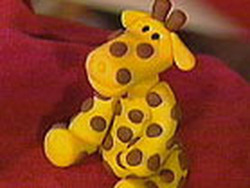
- For the body, roll a one-inch ball of cadmium yellow clay into a cone. Press bottom against a flat surface and press a pin halfway into the top of the body.
- For brown patches, roll 1/8-inch balls of raw sienna clay and flatten, pressing them randomly all over the giraffe's body.

- Roll two 5/8-inch balls of cadmium yellow clay into tapered logs. Slightly flatten the narrower end of each log into a leg shape and randomly place brown patches all over each leg. Use the end of a paintbrush to make three impressions on the end of each leg then press a leg onto each side of the body.

- Roll two 9/16-inch balls of cadmium yellow clay into tapered logs. Slightly flatten the narrower end of each log into arm shapes. Randomly place brown
patches all over each arm and press one into each side of the body.
- For the head, roll a 13/16-inch ball of cadmium yellow clay into a 1-1/8-inch long log and shape into a head. Press two black seed beads into the head for eyes, and use a toothpick to make two squint lines by each eye.
- Roll two 1/4-inch balls of cadmium yellow clay into teardrop-shaped ears. Flatten slightly and press onto the head. Roll two 7/32-inch balls of raw sienna into teardrop-shaped antlers. Use the end of a paintbrush to make two holes in the top of the head between the ears and press an antler into each hole.
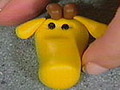
- Use the end of a paintbrush to make two nostrils in the end of the head. For the mouth, use a knife to cut a smile into the head about 1/4-inch deep.
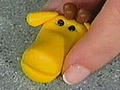
- Randomly place brown patches all over the head and press the head onto the body.
- Bake in a preheated 265-degree oven for 30 minutes. Turn the oven off and remove the figure when cool.
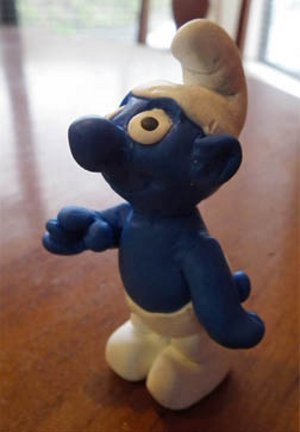
Read NextClay Smurf Figurine
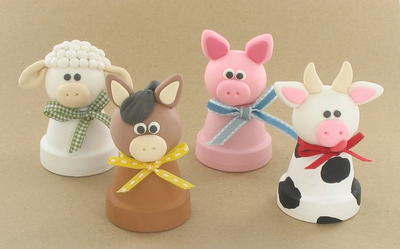
Your Recently Viewed Projects
Thanks for your comment. Don't forget to share!
M Altenberg
Mar 14, 2017
Absolutely adorable homemade baby present. This could be a really fun project to make. Great to use to decorate a child's room. Want to try this.
Report Inappropriate Comment
Are you sure you would like to report this comment? It will be flagged for our moderators to take action.
Thank you for taking the time to improve the content on our site.