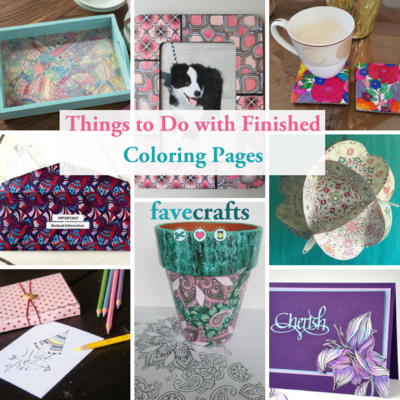
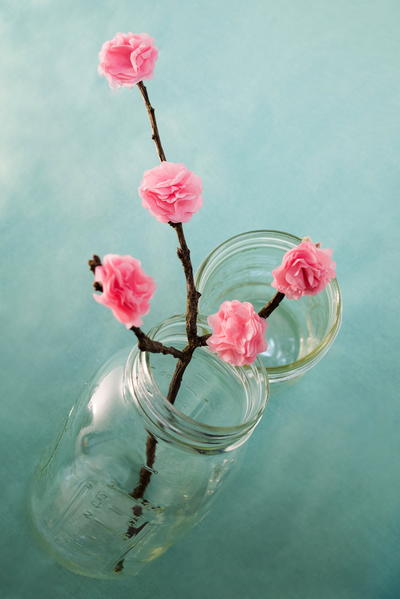
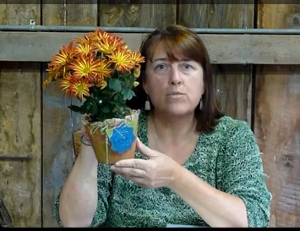
Paper Vase with Sizzix ScoreBoard
Learn to make paper vases in this simple tutorial from Eileen Hull. Using the Sizzix Scoreboards, this handmade home decor project comes together in a snap. There are so many ways to embellish and decorate your vases after you make them. Personalize this DIY project for a great handmade gift!
Materials:
- Potted plant
- Matboard
- Brown kraft paper
- Spray adhesive
- Ink
- Stencil brushes
- Stencils
- Tacky Tape
- Sizzix Big Shot and vase die
Video:
Instructions:
- Measure the circumference of the pot you'd like to cover. Determine how many widths of matboard you will need to cover pot. To do that, I ran several pieces of scrap paper using the vase die and my Big Shot. I taped them together and wrapped them around the pot to measure. For a 4" pot, I needed 2 vase cutouts and had a little extra I needed to trim off.
- Cut or tear 2 pieces of brown kraft wrap into pieces approximately 6" x 13". Crumple the paper up and smooth out again. Coat the back of the paper with spray adhesive.
- Smooth down paper onto matboard. Wrinkles are perfectly fine, even desired!
- Place paper covered side of matboard face down on die and run through the Big Shot. Repeat with second piece of board.
- Select the colors of ink you would like to use and a stencil brush for each color. Place the stencil on top of cutouts and start swirling ink around the stencil, blending colors as you go, until all areas of the vase pieces are covered.
- With brown ink, shade edges of plant cover on top and bottom.
- Adhere both vase pieces together using Tacky Tape. Wrap whole piece around plant, and trim extra segments off as needed.
- Adhere vase die cuts end to end so finished design fits around the pot.
TIP: If the pot is just a little larger than the diecut, make a ruffle from fabric or brown paper and adhere inside the plant cover. This will extend the top just high enough to cover the pot edge.
Tags:
- Die cut 2 flower pieces from matboard.
- Punch hole with Crop-a-Dile on top of each flower. Write message on back of flower.
- Add glitter center to flower with Stickles and allow to dry.
- Cut a length of twine long enough to wrap around the pot twice. If desired, age twine with ink.
- Wrap around plant and thread tags on twine and tie.
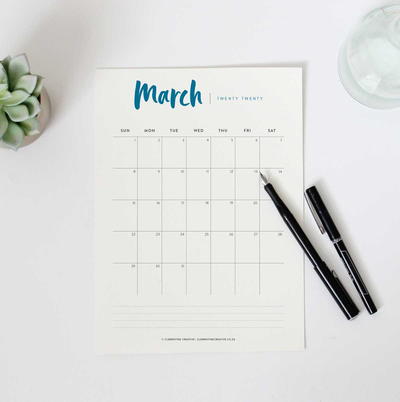
Read NextPrintable Monthly Planner Page