Christmas Ornament Spheres Tutorial
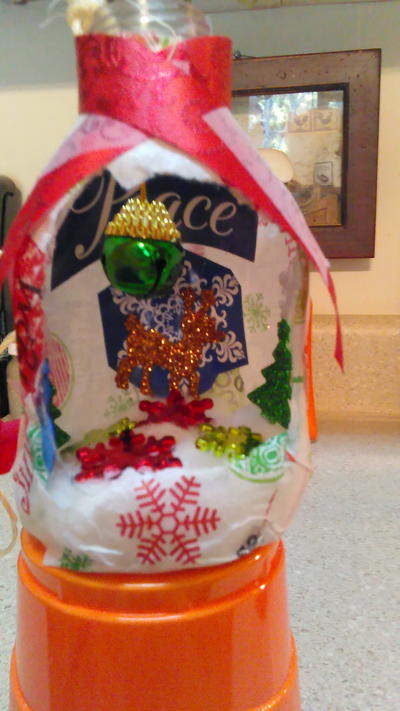
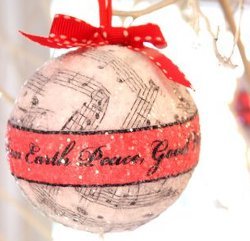
This Christmas Ornament Spheres Tutorial from Shelley Detton shows how to make simple homemade Christmas ornaments with a personal touch. These easy-to-make Christmas ornaments have musical notes and words of peace. They are stylish, unique Christmas ornaments!


Materials:

- 3 inch or 3.5 inch styrofoam balls
- Music note napkins , cut into small squares. The squares you see pictured here are too large for this size of ball. After this picture was taken I cut them in half again once I started working. Squares that are 1.5 inch would be ideal.
- Modpodge (mat finish) and a chip brush or equivalent, plus a little container for the Modpod
- The word strips which you can click on and print out here: Word strip Template 1, Word strip Template 2, Word strip Template 3 (Note: Cut them into the strips, taking care to preserve the black line which outlines the red. A paper cutter or ruler+rotary cutter are recommended to keep the lines straight. Many home printers have ink that smears when wet. For best results, go to a commercial printer or make sure your printer ink doesn't smear. If it does, just let ink dry at least 2 days before attempting this project.)
- Clear glitter and a tray/large sheet of paper to catch excess glitter
- Ribbon: skinny 1/8-inch for the hanger (9-inch length per ornament) and 1/4-inch for the bow (about 12-inch length per ornament).
- Glue gun or craft glue

Instructions:
-
Insert 1 or 2 bamboo skewers into ball. Brush a generous coat of Modpodge over ball and lay the pieces of napkin down one at a time, brushing a thin layer of Modpodge over top of napkin piece after each one is put down. A little overlapping is necessary to ensure that none of the styrofoam is peeking through.When ball is entirely coated, place bamboo skewer and ball into a heavy vase or jar so it can dry without touching anything.

-
When ball has completely dried, brush a thick coat of Modpodge around the midsection of ball. Wrap word strip all the way around --UPSIDE DOWN--, trimming ends if necessary so that only about 1/4-inch is overlapping. Take care to center the strip around the "equator" of sphere in relation to where the skewers are so that the ball won't hang crooked like some of mine did.

-
Carefully brush Modpodge over the strip, using the metal part of the brush to help press down any edges that don't want to conform to the curve of the ball. If you have used a printer with smudgy ink, wipe away any pink-tinted Modpodge on the music part of the ball before it dries. Otherwise you will have a pink ball. Let dry.

-
When ball has dried, coat entire ball again with Modpodge and sprinkle clear glitter over entire sphere. Don't worry about how cloudy it looks here - it will become clear and legible when it dries.

-
When completely dry, remove bamboo skewer(s) and use the tip of skewer to push the raw ends of skinny ribbon into hole. Squirt glue into hole to secure skinny ribbon. Tie a little bow with the 1/4-inch ribbon. Using another dap of glue, attach bow to ball right at the base of the skinny ribbon.

-
And there you have it! Your very first music sphere ornament (insert Handel's "Hallelujah Chorus" here). Enjoy!

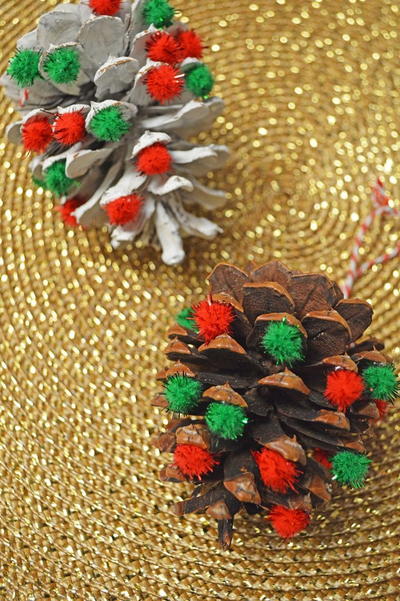
Read NextPom Pom Pine Cone Ornaments
Your Recently Viewed Projects

Thanks for your comment. Don't forget to share!
MissMaggie
Jul 11, 2011
Hi godsgirrl 9321080, You could try your local craft store, but if you cannot find the napkins paper would work as well. -Editors of FaveCrafts
godsgirrl 9321080
Jul 10, 2011
Hi, This looks like a fun craft. Where do you buy the napkins? I've been looking all over! Thanks
sewinglady1951
Jul 03, 2011
My only problem with this tutorial is the word templates. I don't have a color printer at the moment and the templates printed out with a dark gray background. I could print them on red paper if the background was white.
judyann999
Jul 01, 2011
These are great! I use napkins (separate the layers if necessary) of all kinds to make ornaments. They're readily available at the dollar store. You can also use this method on old glass ornaments. Just follow the basic directions and decoupage the napkins (or even colored tissue) onto the glass instead of the foam ball.
iteachbeauty 97154 16
Nov 22, 2010
These ornaments are both lovely and classy. I have a white Christmas tree in my living room. These ornaments will be perfect for decorating the tree. Thanks.
Report Inappropriate Comment
Are you sure you would like to report this comment? It will be flagged for our moderators to take action.
Thank you for taking the time to improve the content on our site.