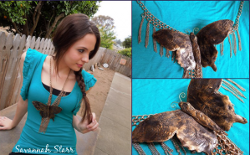
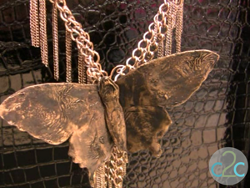
Look of Vintage Butterfly Necklace
If you like unexpected jewelry making ideas, then you'll definitely want to make your own Look of Vintage Butterfly Necklace by Savannah Starr. Use the burnt brown bag technique to create the oversized pendant. This technique was originate by Aleene herself!
Materials:
- Aleene’s Original Tacky Glue
- Brown bag
- Candle (plumber or emergency candle works best. You want a candle with a tall flame.)
- Cardboard or plastic squeegee
- Wax paper (to protect work surface)
- Butterfly pattern of your choice
- Pencil
- Wire – 18 gauge stem – for holding butterfly while burning
- Paper towel
- Wire for antennae and loop for necklace
- Rub ‘n Buff – gold
Instructions:
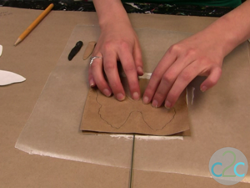
- Cut two layers of brown bag. Trace a butterfly design on one piece. (Note that you will trace the butterfly wings separately and the butterfly body separately. These pieces will be layered after they are burned.)

- Squeeze Aleene’s Tacky Glue onto the piece of brown bag without the pattern.
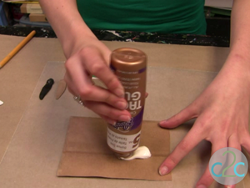
- Use squeegee to spread out the glue evenly.

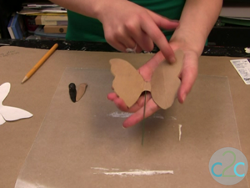
- Place a piece of wire into the glue and then place the brown bag pattern over the wire. (This wire is what you will hold on to while burning the glue but will be removed in a later step.) Press both pieces together with fingers.
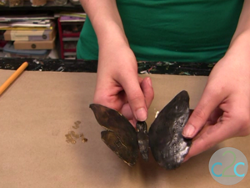
- Let set for a few minutes and then use scissors to cut along pattern line. Gently shape the brown bag to give a slight curve to the wings. Let dry overnight.
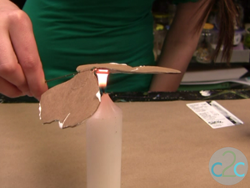
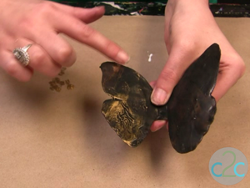
- To create the burned effect, cover one side of butterfly with Aleene’s Tacky Glue. Be sure to cover the entire side of the bag with a generous (but not drippy) coat of glue. You do not want any bag showing.

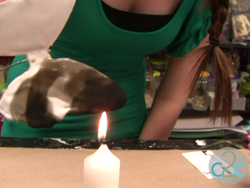
- Note: Be sure to do this next step in a well ventilated area as there is soot that will rise from the candle flame. Light candle and carefully hold wet glue side down over the candle flame. It works best if the glued side just slightly touches the tip of the flame. Keep the butterfly moving in circles.
- Check every few seconds to see the progress of burning the glue. You will see the surface of the glue start to get darker and sooty. Continue to burn until the entire surface of the glue is black and sooty. Set aside to dry for several hours. Repeat glue application and burning process on back side of butterfly. Let set for several hours.
- Remove or cut wire from butterfly. Use paper towel to gently wipe away the soot to reveal a slightly shiny surface. If the glue is still wet underneath the surface, you can gently press on it to create interesting texture but do not break through the skin of the glue.

- Apply a light coat of Rub n Buff with finger to highlight the texture of the surface of the butterfly.
- Create butterfly body in same manner and glue in place over wings. Let dry.
- I glued a wire loop to the back of my butterfly in order to hang on to a necklace. I also created wire antennae and glued them to the butterfly head.
For a comprehensive video tutorial of this project, check out How to Make a Burnt Brown Bag Butterfly.
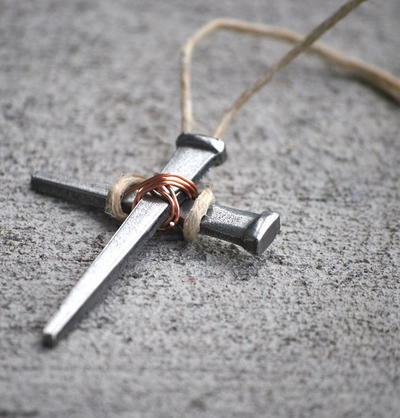
Read NextCross Necklace Kids Craft