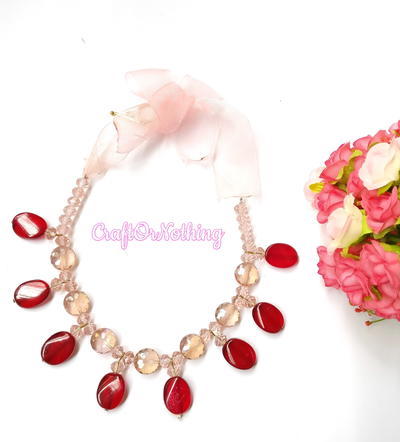
Crochet Beaded Necklace
Get a one of a kind look with this Crochet Beaded Necklace pattern from Red Heart Yarns. Crochet jewelry is great for crochet fans who are looking for something a little more challenging. Necklaces like this make great accessories anytime of year.

Materials:
- Red Heart® “Classic Crochet Thread”: Size 10: 1 ball 226 Natural
- Steel Crochet Hook: 1.5mm [US 7]
- 20½” wooden beads
- Fiberfill
- Yarn needle
GAUGE: 1 Ball = ¾” x 1¼”. CHECK YOUR GAUGE. Use any size hook to obtain the gauge.
Necklace is 70” long.
Instructions:
- NOTE: Before beginning to crochet, string wooden beads on thread. To position beads, work to indicated place, remove hook, insert hook through bead and back into last st, pull st through bead, push bead into place.
- Ch 6.
- Ball-Round 1: 8 Sc in 2nd ch from hook; join with a slip st to 1st sc.
- Round 2: Ch 1, sc in same st, * 2 sc in next st, sc in next st; repeat from * to last st, 2 sc in last st; join – 12 sts.
- Round 3: Ch 1, sc in same st, * 2 sc in next st, 1 sc in next st; repeat from * to last st, 2 sc in last st; join – 18 sts.
- Round 4: Ch 3 (counts as 1st dc), * dc in next st; repeat from * around; join.
- Rounds 5-6: Repeat Round 4.
- Round 7: Ch 1, sc in same st, * sc2tog, sc in next st; repeat from * to last 2 sts; sc2tog; join – 12 sts. Stuff with fiberfill.
- Round 8: Repeat Round 7 – 8 sts. Add more fiberfill.
- Round 9: Ch 1; [draw up a loop in next st] 5 times; yo and draw through all 6 loops on hook – sc5tog made; [draw up a loop in next st] 3 times, yo and draw through all 4 loops on hook – sc3tog made; join with a slip st in middle of sc5tog.
- Connector-Row 1: Ch 8, dc5 tog in 3rd ch from hook, ch 6, pull up a bead, dc5tog in 3rd ch from hook, ch 6.
- Repeat Rounds 1-9 and Row 1 19 more times. Join to first st; fasten off.
- FINISHING: Weave in all ends. Roll each Ball between hands to even out the stuffing and give them their final shape.
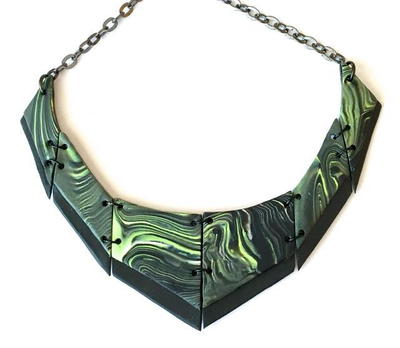
Read NextPistachio Clay Necklace
Your Recently Viewed Projects


Thanks for your comment. Don't forget to share!
yhjdelia 3404554
Jul 03, 2012
I am in the middle of working on a school report on this topic and your post has helped me with the information I needed to complete it. ThanksNice article, good to know that this topic is being covered also in this web site. Keep up with the good work, thanks for sharing this information Thank you for this article. Thats all I can say. You most definitely have made this blog into something special. You clearly know what you are doing; youve covered so many bases. Thanks! chnlove
Report Inappropriate Comment
Are you sure you would like to report this comment? It will be flagged for our moderators to take action.
Thank you for taking the time to improve the content on our site.