Glittericious Mixed Media Address Book
Your address book is the gateway to your friends and family, right? So make it lively, sparkly and exciting by giving it a makeover with great ideas from Crafty Chica, Kathy Cano-Murillo!
Materials:
- Aleene's® Instant Decoupage Sealer & Finish
- Aleene's® Paper Glaze
- Tulip® 3D Fashion Paint
- 65002 Yellow
- 65049 Orange
- 65089 Silver
- 65094 Flamingo Pink
- 65169 Glacier Blue
- Tulip® Glam-It-Up!™ Iron-On Crystals™,TR325 Crystal 4mm
- Assorted colors of micro glitter
- Liner brush
- Craft knife
- Assorted small lightweight embellishments (beads, letters, etc)
- Address book
- Assorted trims
- Yarn scraps
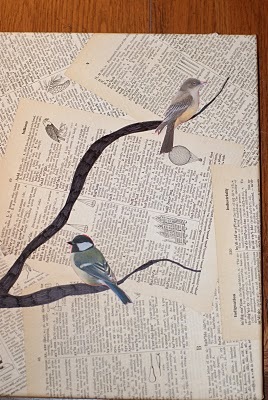
- Assorted small pictures (I got mine at www.artchixstudio.com)
- Patterned or textured scrapbook paper
- Scissors
- Acrylic craft paint, brush
Instructions:
- If you have an address book that has a cushioned cover, use your craft knife to slice around the edges of the front and back cover to remove the outer covering and the inside padding. The covers should be cardboard.
- Use the brush and paint to add a basecoat to the entire outer surface of the book. Let dry.
- Trim down your pictures into squares or rectangles and lay them on the cover to see where you want them to go. These will be the focal point of your book, so you want to make sure they are in a good spot. Once you know, use the Aleene's Instant Decoupage to affix them in place. Use your fingers to smooth out any bubbles.
- Using the Aleene's Paper Glaze, fill in the rest of the spaces by adding swirls of yarn, more pictures, trims and glitter. Think of it as a mosaic project, where you want to leave an even groove between all of the items. Let dry and move on to the side and the back cover.
- Now add a top layer of embellishments, like the beads, crystals and letters, also using the Paper Glaze. Use the glaze to add a small accents of glitter on pictures, and then use it to fill in the groove between the items and pour on micro glitter. Let dry.