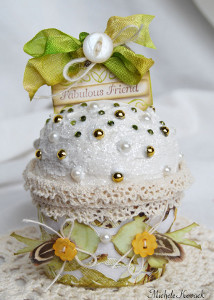
Cupcake Keepsake
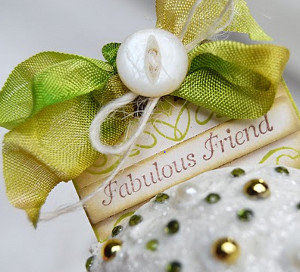
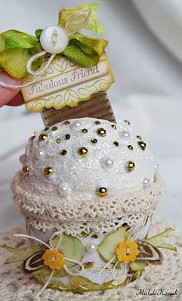
Show your friend how much she means to you with this adorable Cupcake Keepsake. This 3D cupcake is adorned with buttons, ribbons and has a cute paper tag that says "Fabulous Friend." It's the perfect gift for a friend.

Materials:
- JustRite's Forever Friends stamp set
- Brown and green ink
- Clear embossing powder
- Spellbinder's die from the Happy Everything die set
- Styrofoam ball
- Glitter
- Modeling Paste
- Cupcake liner
Instructions:
-
The sentiment was stamped in brown Memento ink and cut out with the small narrow Spellbinder's die from the Happy Everything die set.
-
The frame was stamped in a green ink by Color Box and embossed with clear embossing powder.
-
I tied the top of my tag with dyed seam binding and a vintage button. And just so you know, the tag pulls out of the middle of the cupcake!
-
The cupcake holder was cut using my Cricut Expression and the Cindy Loo cartridge.
-
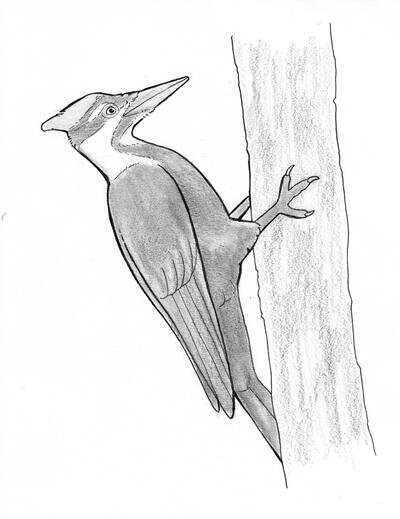
I embellished my birds with little feathers, a button and twine.
-
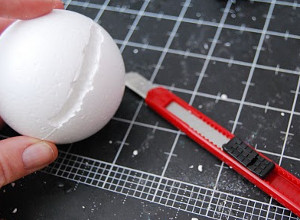
Now for the instructions for the 3D cupcake. First, you need a styrofoam ball. You need to cut a rectangular hole in the center as wide and as deep as your tag. This takes a bit of patience to cut out the styrofoam, but well worth it in the end!
-
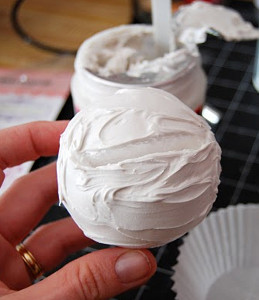
To cover your cupcake with vanilla "frosting" you will need modeling paste and favorite glitter. Take a popsicle stick or plastic knife and spread your "frosting" like you would real cake frosting. It will dry just the way you apply it.
-
While the "frosting" is still wet, sprinkle your glitter over it. Stick it in a real cupcake liner to dry.
-
Once your cupcake is dry enough to handle, hot glue it to a cupcake liner. I do this just so the ball isn't rolling all over the place and it will give you a place to attach your decorative liner to.
-
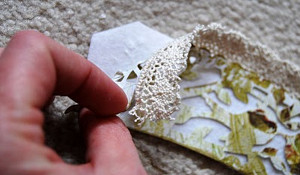
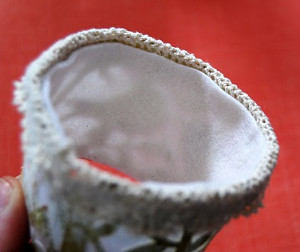
I cut my cupcake liner with the Cindy Loo cartridge and Pink Paislee paper. I glued vintage lace to the top and adhered the entire thing to white felt. I did this so my cupcake wrapper is heavier and more substantial to hold my styrofoam ball.
-
The white felt creates a liner on the inside of the paper. Now you will take your frosted styrofoam ball, with paper liner and glue it to the inside of your decorative cupcake liner.
-
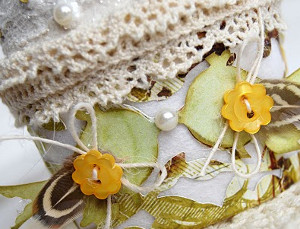
Here is the project again finished and with the tag pulled out. I did add some pearls and tiny rhinestones for sprinkles!
Read NextAngel Mixed Media Collage