Magical Forest Trivet
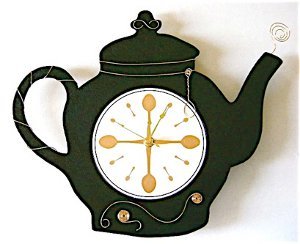
Whether you live in the woods or inhabit an urban jungle, this Magical Forest Trivet is a welcome addition to any kitchen. Head outside and grab some actual branches - country craft ideas look best when the material is authentic. Luckily, you don't need a saw to cut the pieces (if you use birch). The branches should be soft enough to cut with a small sharp knife. Glue the wood pieces to cardboard to ensure that the piece stays together. Place a teapot or bowl on this trivet and transform your room. This is a great craft for fall because it gives you an excuse to head outside before it gets too cold.
Primary TechniqueWood Crafts

SeasonFall
Materials:
- Cork sheet
- Scissors
- Birch (or other tree) branch slices, about 1/4″ – 1/2″ high (You can use any height you want just make sure they are all close the the same height) and various widths (Mine were between 1/2″ and 1-1/4″). I used 41 slices to make a 7″ trivet.
- Hot glue sticks
- Hot glue gun
- Glossy Accents (this is what I used, find it in the scrapbooking section), Mod Podge Dimensional Magic or other resin type product
- X-acto or other small sharp knife
Instructions:
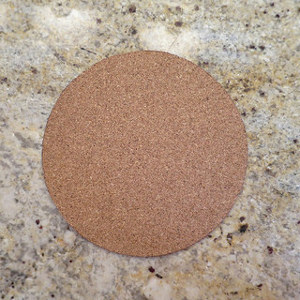
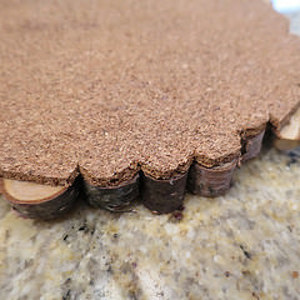
- Cut a circle from the cork approximately the size you want your trivet. I used a desert plate as my template for a 7″ trivet.
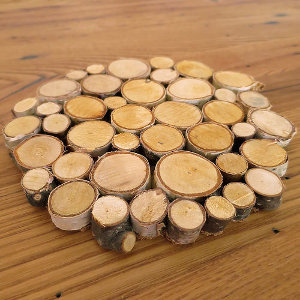
- Lay the wooden slices out on the cork circle until it is as covered as you can get it and you are satisfied with the look.
- Try to use slices that are as close in height as you can. Mine were not perfect, but pretty close. I tested it with bowl on top to make sure things would sit on it securely.
- Hot glue the slices onto the cork. I found it was easiest to do the outer circle first and then the inner ones. Clean up any stray hot glue strands.
- Use the Glossy Accents to fill in the spaces between the slices. This will make the trivet a lot more sturdy. I did this step on a piece of wax paper so I could easily get it off if there was any leakage.
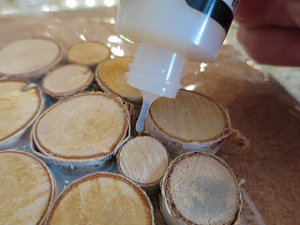
- It will sink a lot as it dries, but you can go back and add another layer after it is dry. Don’t worry if there is some leaking around the edges. I wiped most of the leakage up before it dried, but cut the rest off later. Let dry until solid. (I left it overnight.)
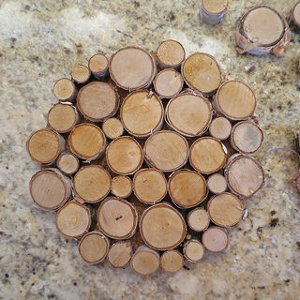
- I chose not to go back and add more of the Glossy Accents as I liked the way it looked just around the base of the slices, a bit like natural tree resin. Plus, I was a little worried about having it right up against hot dishes and whether it might melt or fog up.
- If you have leaks that hang over the edge you can cut them off with an exacto knife. As you can see in the photo above there are places where the cork showed around the edges too. I decided I didn’t want that either, so I also cut it out around the wood slices with the knife.
Read NextRecycled State Map Magnets
Your Recently Viewed Projects
Thanks for your comment. Don't forget to share!
Marilyn B
Apr 30, 2017
This is such a lovely trivet, and it would look super in a lodge setting. I could see making it even larger as a wall having, or covering a picture frame with these little wood cuttings, or you could make them smaller for coasters too! If you had several types of wood, like a light birch and a darker walnut for contrast, this would make for a very beautiful and interesting pattern too! Love this idea, thanks for sharing! )
Bronze Hazel
Feb 03, 2017
This looks absolutely beautiful and I love the fact that it can be adapted to any size or shape. I also think that a mixture of different species of wood would be very beautiful. I love the look of the natural wood too and I imagine that over time, as the wood ages, it would look even more beautiful.
Report Inappropriate Comment
Are you sure you would like to report this comment? It will be flagged for our moderators to take action.
Thank you for taking the time to improve the content on our site.