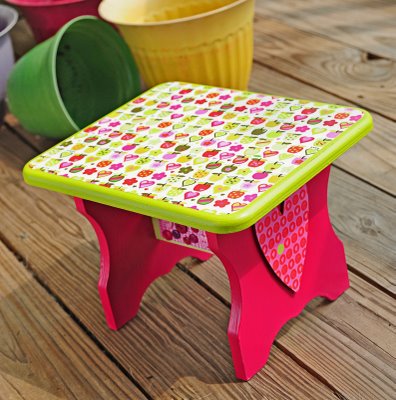
Apple Stool
Use some colorful scrapbook papers to transform a plain wood stool into a cute boost for a child. This decoupage project from Amy Anderson also includes large wood hearts and button embellishments. This stool would be perfect in a child's room or a boost for the bathroom.
Materials:
- FolkArt® Acrylic Paint
Magenta
Soft Apple
Yellow Citron
- Mod Podge® Satin, 8 oz.
- Small Wood Stool
- Carolyn Gavin Greenhouse Scrapbook Papers – 2 sheets (from Michaels)
- Plaid® Wood Surfaces – Mini Silhouettes, Hearts – 91668 (or other wood heart cutouts; you’ll need 2)
- 1” Flat Paint Brush
- Craft Glue
- Pencil
- Ruler
- Scissors
- Assorted Pink-ish Buttons
Instructions:
- You want to first trace your shapes onto the scrapbook paper. Take one piece and lay the stool top down. Trace around the outside. Do the same thing with the 2 wood heart pieces on the second piece of paper. Set these pieces aside; you’ll work with them when the paint is drying.
- Time to paint the stool. Paint the top of the stool Yellow Citron, the sides Magenta and the support piece across the middle Soft Apple. Paint the hearts with Magenta. Apply several coats and allow to dry completely.
- While the paint is drying, cut your paper. Start with the top piece. Measure approximately 1/4" inside the line that you traced and cut. I always do this so a little bit of paint shows around the edges. It’s a nice touch! Cut the heart pieces out. Also cut two rectangles to fit across the support piece of the stool on either side. It’s nice to buy papers that are two-sided. I was able to cut the pieces from the same sheet I used for the hearts—I turned those pieces over and it gave me yet another design on the other side! Set these cut paper pieces aside.
- My favorite part. Bust out the Podge and glue the papers down as you see in the pictures. Remember to glue the pieces down, allow to dry for 15-20 minutes and THEN go back and cover the whole piece with Mod Podge. Don’t glue the hearts on yet. Leave the hearts to dry on their own. You may have to go back and trim additional paper around the hearts. Allow all Mod Podge to dry completely.
- NOW glue the hearts on with craft glue. I had to glue one side, leave to dry and then flip over to glue the other heart. This is because gravity and glue aren’t friends.
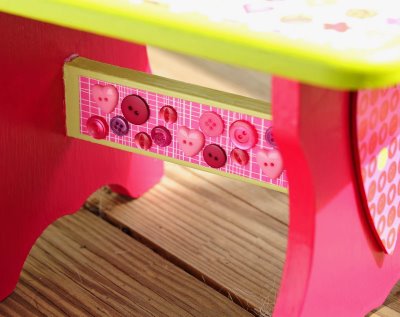
- When the hearts are dry, you can add the buttons to either side of the support piece. Again, I did one side, bathed dogs, and then came back and did the other side.
- Allow the stool to dry at least 24 hours before letting your little cutie use it!
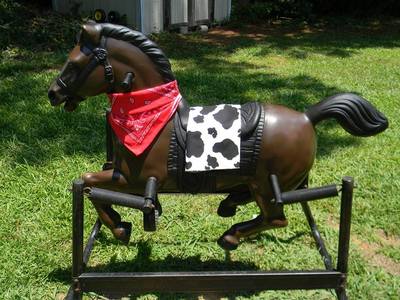
Read NextCowboy in Training Rocking Horse