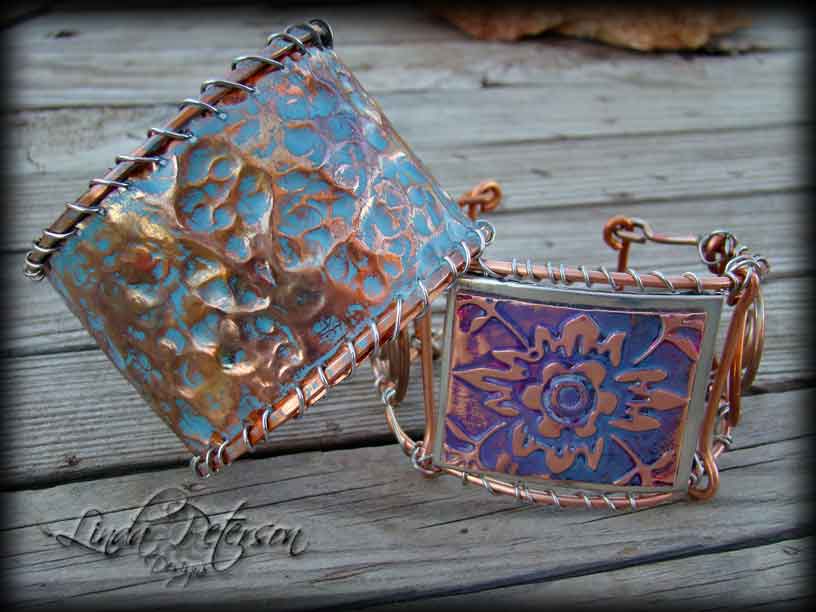
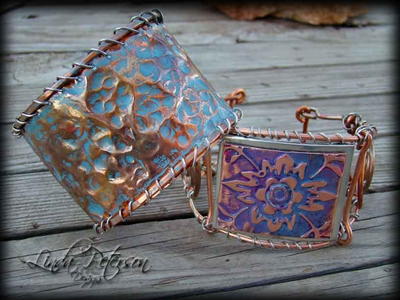
Hammered Copper Cuff Bracelet
Learn how to create a lovely copper cuff bracelet with a hammered texture. Artfully manipulate the color of the copper and secure with silver wire to the copper rods. This bracelet from AMACO uses many of the same techniques as the Copper Wire Cuff Bracelet (pictured at right bottom).
Materials:
- ArtEmboss medium copper
- Two WireForm® medium copper rods
- Rub-N-Buff® patina
- Non-tarnish silver wire
- Double stick tape
- 1/16” hole hand punch
- Ball ping hammer
- Wooden stylus
- Anvil
- Jewelry Pliers
- Heat gun
- Scissors
- Metal File
- Ruler
Adjust the measurements accordingly to fit your wrist size.
Instructions:
Cut two strips of copper 2 1/4 x 6 1/4”
Apply heat with heat gun to change colors of the copper. Allow to cool.
Apply double stick tape to one side of copper strip and tape both pieces together.
Trace pattern onto copper using stylus and cut out. File edges to smooth if necessary.
Punch holes every 1/4” around cuff.
Hammer with ball side to texturize.
Create a coil at both ends of copper rods until the length is approximately 6”. Hammer against anvil to flatten
Secure rods to side of cuff using silver wire and overcast stitch. Trim excess wire as necessary and file end smooth. Repeat for other side.
Apply Rub-N-Buff® as desired. Buff with soft cloth leaving patina into impressions.
Gently curl cuff to wrist shape.
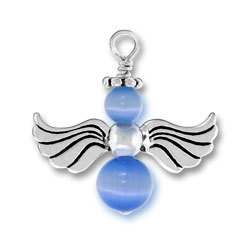
Read NextAngel Charm


Thanks for your comment. Don't forget to share!
Report Inappropriate Comment
Are you sure you would like to report this comment? It will be flagged for our moderators to take action.
Thank you for taking the time to improve the content on our site.