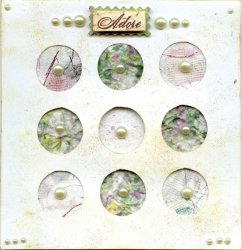
Pearl Quilt Card
Why spend money on greeting cards when you can make a Pearl Quilt Card from Arnold Grummer's Paper Making Kits and Supplies? Use homemade paper to create this awesome craft.
Materials:
- Scraps of handmade paper
- 4 1/2" x 4 1/2" piece of coordinating handmade paper
- Paper Reflections 4 3/4” square 9 window card*
- Paper Towel
- Paper glue
- Art sponge
- 1” or slightly larger paper punch
- Distressed or chalk inkpads in light and medium brown tones
- K&Company 3-D Word Sticker (Adore)
- Kaiser Craft Pearls
Instructions:
- If you want to make your own window card feel free. You’ll have more flexibility of number and size of windows. I like quick projects so I purchased my card blanks pre-made.
- Punch 9 squares from your scraps of handmade paper and adhere to the inside front of card with your glue. Remember to look at the card front to see how the papers will look in the different windows. When finished glue your 4 1/2" x 4 1/2" coordinating handmade paper to the inside front of card to cover the backside of your squares. Makes it look very finished inside and out!
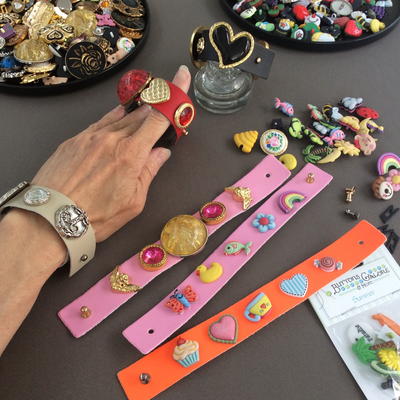
- The pearls I used are self-adhesive. These are really half pearls and note the different sizes used in photo. You’ll place pearls at center of each window in front, plus each corner of the card, plus an additional 2 to each side of the bottom corners.
- Center and place 3-D word sticker to top of card and then place the additional 3 pearls to each side of the sticker.
- Dab your artist sponge to the top of the light brown distressed or chalk ink. Dab on paper towel to remove excess color. Dab all over card front randomly. Repeat if needed. Then dab a different area of your artist sponge on the medium brown inkpad. Repeat process used for light brown. Dab randomly and lightly. You want to add just a hint of antiquing to the card front. If you like the aged look, repeat this process inside and on back of card. Wash artist sponge immediately after use to keep it clean for your next project!
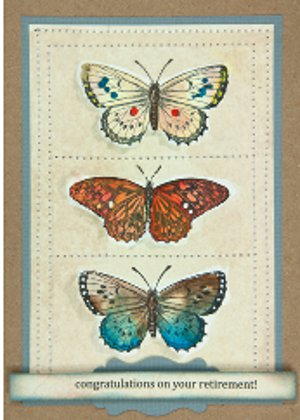
Read NextFoiled Butterfly Notecards