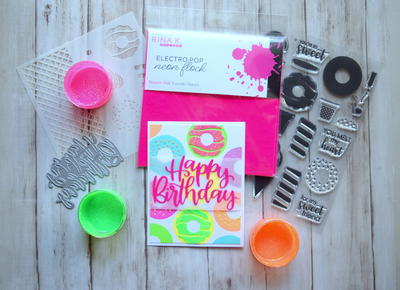
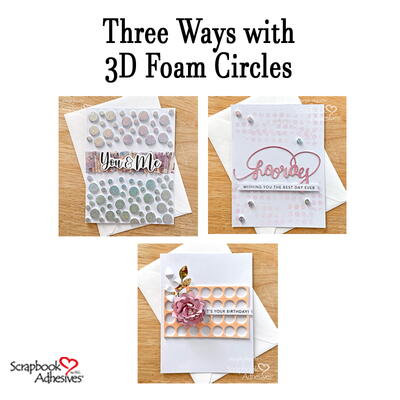
Neon Happy Birthday Card

Make an adorable birthday card using stamps and stencils! Dimensional glitter adds incredibly festive flair to any project, and the products from Therm O Web make it so easy to accomplish this look.
From the Designer: "Nothing says “happy” quite like sprinkles, and nothing gets their attention quite like neon! Combine two fun elements in one unique card that screams “Happy Birthday, Sweet Stuff!” You’ll love the versatility of the Sweet Stuff Stamp n Stencil Collection."
Primary TechniquePaper Crafts

SeasonSpring
HolidayBirthdays
Project TypeMake a Project
Materials List
- Gina K. Designs for Therm O Web Luxury White Cardstock
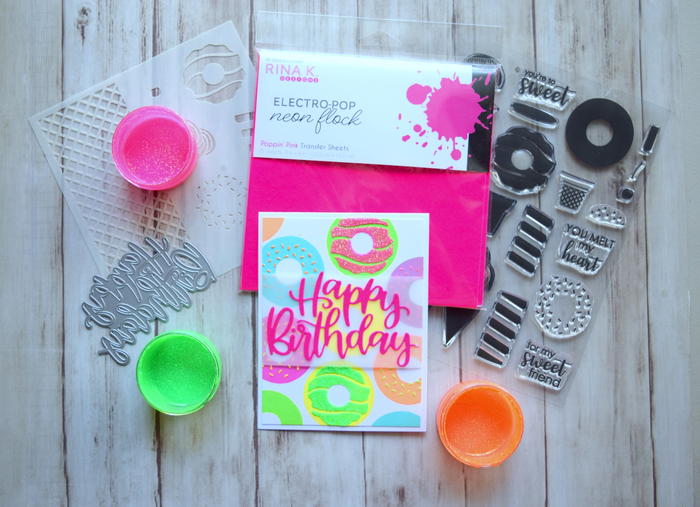
- Rina K. Designs for Therm O Web Glitz Glitter Gels: Hello Yellow, Orange Glow, Poppin’ Pink, Screamin’ Green
- Rina K. Designs for Therm O Web Sweet Stuff Stamp n Stencil Collection: Stamp Set, Detail Stencil
- Rina K. Designs for Therm O Web Electro-Pop Neon Flock Sheets: Poppin’ Pink
- Rina K. Designs Electro-Pop Neon Inks (Gina K. Designs)
- Therm O Web iCraft Adhesives: Easy-Cut Adhesive Sheets, XL Tape Runner, Purple Tape 1.5”
- White vellum
- Happy Birthday large sentiment die (My Favorite Things)
- MISTI Stamping Platform (My Sweet Petunia)
- Die-cutting machine
- Palette knife
Instructions for Neon Happy Birthday Card:
-
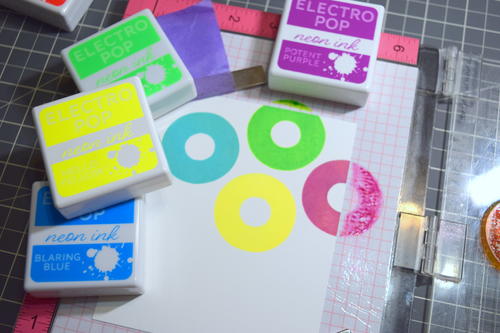
Cut 3-3/4”x5” white cardstock panel and place inside stamping platform. Using Stamp n Stencil donut stamp and Electro-Pop Neon Inks, stamp a collage of donuts onto panel. Let dry.
-
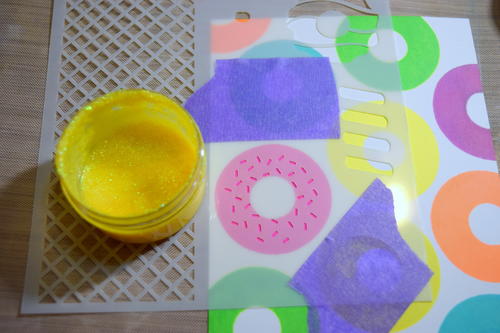
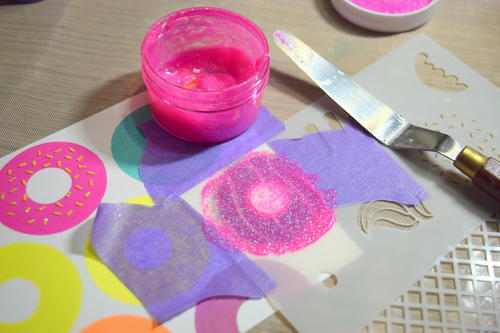
Use Purple Tape to secure Stamp n Stencil sprinkle stencil over first stamped donut. Tape off areas you don’t want to stencil by mistake. Use palette knife to apply Glitz Glitter Gel through stencil.
-
Carefully remove stencil and wash immediately. Let stenciled sprinkles dry for about 20-30 minutes or until fully set.
-
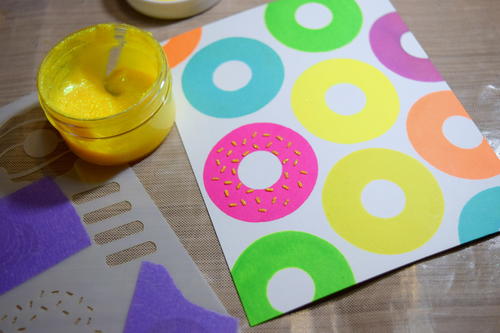
Use Purple Tape to secure Stamp n Stencil icing stencil over a second stamped donut. Tape off areas you don’t want to stencil by mistake. Use palette knife to apply Glitz Glitter Gel through stencil. Remove and wash stencil. Let dry 20-30 minutes or until fully set. Repeat as desired, letting glitter gel dry each time.
-
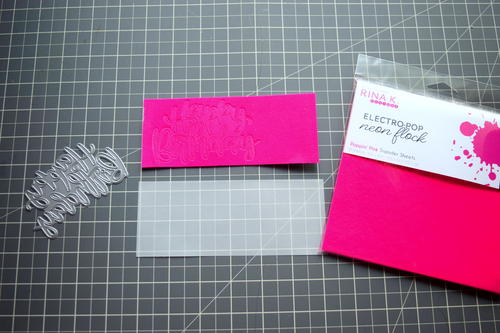
Cut a strip of Electro-Pop Neon Flock and vellum slightly larger than Happy Birthday die. Back flock strip with iCraft Easy-Cut Adhesive Sheets, leaving back liner in place.
-
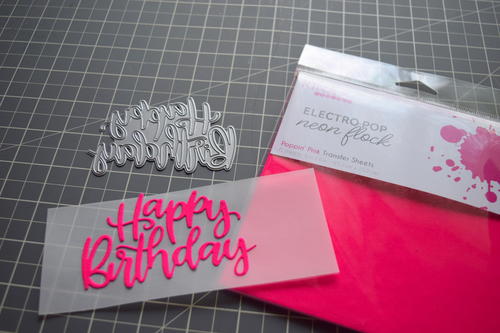
Die cut sentiment from flock strip, cutting through fuzzy side of flock. Remove die cut from die and peel away back adhesive liner. Adhere sentiment to vellum.
-
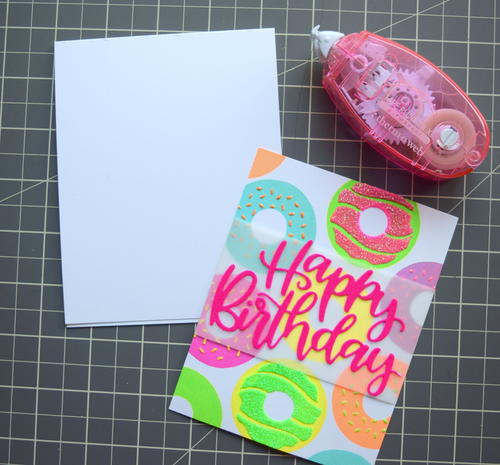
Adhere vellum strip across donut panel using XL Tape Runner along sides.
-
Adhere finished panel to front of white top-fold, A2-sized card.

Read NextEasy Embossed Greeting Cards