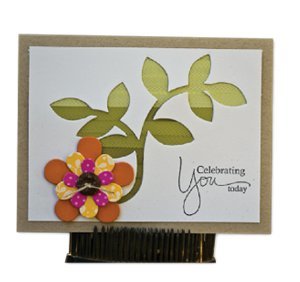
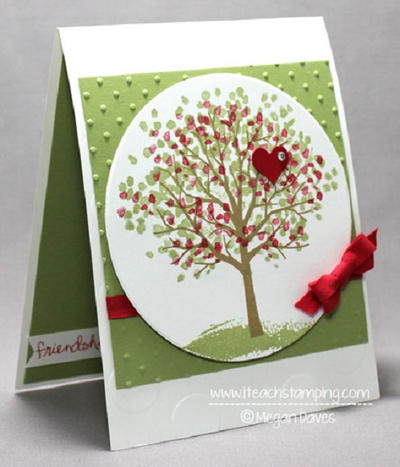
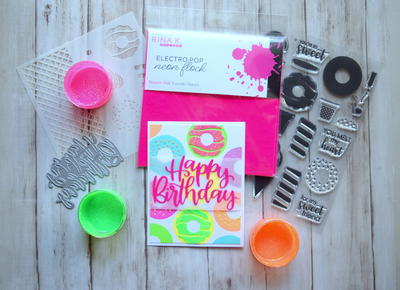
Natural Celebration Card
This Natural Celebration Card from Craftwell is a great way to send someone a Happy Birthday greeting. Made with colorful papers in a beautiful floral design, handmade greeting card ideas like this are great for anyone, and can easily be customized for any occasion. This lovely card design is made eCraft eBosser and Die Cutter, which is a great machine for any paper crafter. Send the people you love this handmade greeting to show them just how much you care.

Materials:
- eBosser Automatic Embosser & Die Cutter
- Cardstock For A2 Base
- Card front Cardstock cut to 3.75”x5
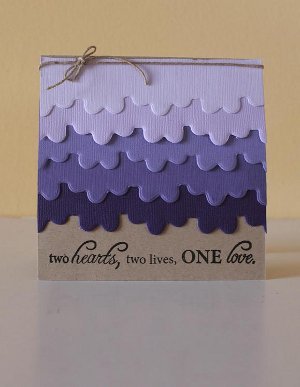
- Ribbons in 3 gradient colors
- Cardstock and/or Patterned Paper for Flower/Leaves
- Button for flower center
- Twine for Button (optional)
- Archival Ink in Black for sentiment
- Papertrey Ink Sentiment Greetings II Stamp
- Papertrey Ink Turning a New Leaf Cutting Die
- Papertrey Ink Beautiful Blooms XX Cutting die
- Scotch Tape
- Foam Adhesive
Instructions:
-
Line up your die onto your pre-cut card front.
-
Use a little tape to keep it in place if needed and then run through the eBosser.
-
Set aside the positive image for another project.
-
Using your negative image, adhere ribbon to the back of the card front, covering the opening created by the die.
-
After covering a third of the image, change to the next color and continue changing again once filling up another third.
-
Once the cut out is covering, flip it over and check to make sure that you don’t see any space that isn’t filled with the ribbon.
-
Stamp your sentiment on the card front and set aside.
-
Using your flower dies, cut out the layers of the flower with your eBosser and assemble.
-
Add your button on top.
-
Using foam adhesive, adhere your flower to the card front.
- Attach card front to the card base
Read Next64 Handmade Cards for Every Occasion