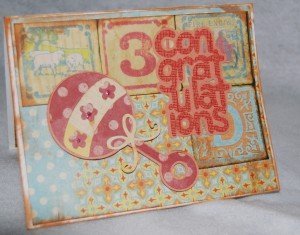
Congrats Baby Card
Did you hear the news? We have a baby on the way! Share your card making skills as well as the great news with this fantastic card from Jenny Barnett for Consumer Crafts. Spread the word with class.

Materials:
- KC623132 K and Company paper pad, Cut N Paste
- GX-VCRMS-12 Vintage Collection Retro Mod Core’Dinations cardstock (my favorite!)
- PV29-0222 Cricut New Arrival Cartridge
- PV29-0300 Cricut Expression electronic die cutting machine
- AMT62181 Mono Aqua Liquid Glue
- RITIM19527 Vintage Photo Distress ink pad
- GD12296 1/2 inch Glue Dots 3D
Instructions:
- Measure and cut a piece of Cut ‘N Paste cardstock 6 1/4 inches by 4 3/4 inches. Adhere to the front of your card blank with glue and then distress the edges with your Distress ink pad to make it look more vintage-y.
- Then, using scissors, cut some of the baby block printed paper. Also distress the edges and then layer it on top of the patterned paper.
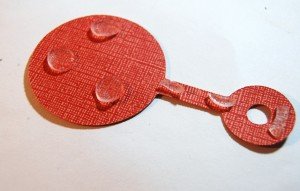
- Next, cut your baby rattle using the New Arrival cart & your Cricut. Size the image to 4 inches and cut the rattle and layers from your patterned cardstock.
- Then cut a shadow image (also 4 inches, it will resize it for you) from red Core’Dinations cardstock. Layer all the pieces and adhere using the liquid glue. When it’s set, flip it over and attach 3-D glue dots to make it pop off of the page!
- Mount your rattle embellishment to the lower left side of the card front.
- Cut “Congratulations” from red cardstock (the textured side), then flip the paper over and cut the shadow image from the plain side. This, my friends, is why we love 2-sided cardstock! Adhere the layers together and then mount to the upper right side of the card front.
- To finish off the inside of the card, I simply cut another piece of patterned paper the same size as the front and glued it down after inking the edges to distress them. I cut one extra baby block, inked up those edges, too, and attached it in the lower left hand corner. (I chose the “girl” block because this card is going to a baby girl.)
- Then I cut a few leftover pieces of patterned paper and layered them, doing my distressing mojo to them as well. Lastly, I used some of the leftover layers and embellishments from the baby rattle layers to add a bit of interest. You can skip this step entirely, if you wish.
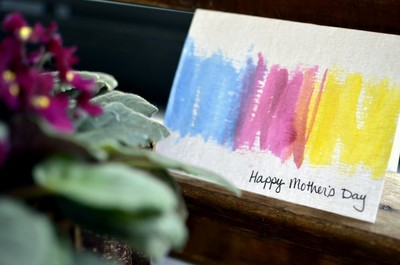
Read NextEasy Watercolor Greeting Cards