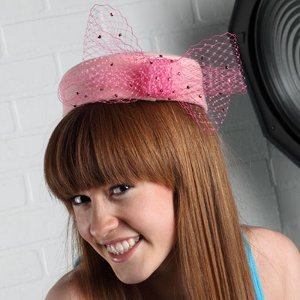
Hair Accessories with Buttons
Show your fashion side with your stylish hair. Create your own hair accessories using buttons. You can make your own headband and barrette.

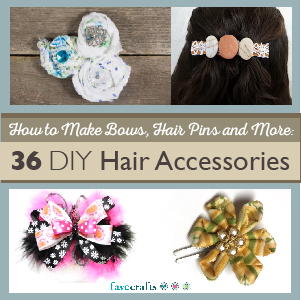
Find this project and more in our free eBook, How to Make Bows, Hair Pins and More: 33 DIY Hair Accessories.

Materials:
Headband:
- 1/4" wide elastic headbands, 3 bands
- Favoite Findings Ocean #434, 1 bag
- Confetti button #3203, 1 card
- Glass e-beads, turquoise
- Needle and thread to match
- Scissors
Button Barrette:
- 4" metal barrette
- Glass e-beads, turquoise
- Favoite Findings Citrus #426, 1 bag
- Confetti button #3220, 1 card
- Ribbon scrap
- 22 gauge wire
- Scissors
- Wire cutter
- Needle nose pliers
- Ruler
- Glue
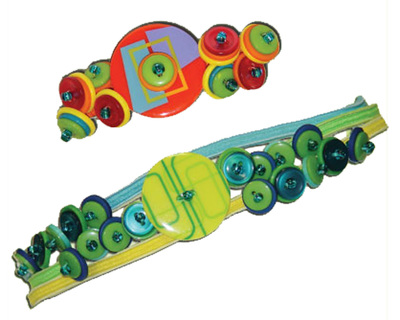
Steps for Headband:
-
Center Confetti button on one headband and stitch in place with needle and thread with an e-bead in center of button. Stitch in place, and carefully knot on back.
-
Stitch 4 stacks of 2 or 3 smaller buttons - also with beads at the center of either side of the large button as above. Alternate button colors and stacks. Repeat with 4 stacks on the other side of the large button.
- On a second headband, stitch 5 stacks of smaller buttons as before. Repeat with 5 stacks on a third headband.
Steps for Barrette:
-
Glue a small piece of coordinating ribbon to top of barrette.
-
Cut 9 pieces of wire 6" long. Thread the wire up through one hole of a Confetti button, two smaller stacked buttons, then through a bead. Thread the wire down through the buttons to the back. Even out both ends of the wire and twist at the back of the button to secure.
-
Repeat step 2 on each 8 sets of smaller stacked buttons alternating colors.
-
Wrap the wire ends of large button stack around the barrette in the center, and twist the wire ends together under the button. Cut the twisted wires to about a half inch, and curl the ends up under the button with the pliers.
-
Repeat step 4 with the small button stacks, arranging 4 stacks on either side of the center button to cover the barrette.
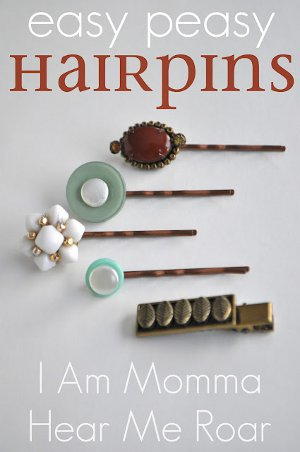
Read NextEasy Peasy Hairpins