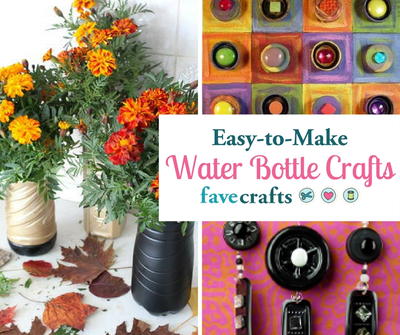
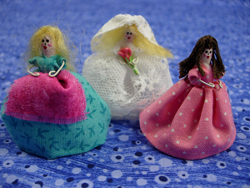
Cute QTip Dolls
All out of upcycled ideas? Need some crafty inspiration? Look no further than your bathroom cabinet. Cute QTip Dolls from Heidi Borchers are completely adorable and fun for all ages! Use cereal box cardboard and yarn scraps for this project.

Materials:
- Cotton swabs (I used Q-tips brand)
- Aleene’s Tacky Glue
- Cereal box cardboard (for patterns and for stand)
- Wire- 24 gauge ivory (for arms) 3” piece
- Needle nose pliers
- Wire cutters
- Fabric
- Acrylic paints – Flesh tone (face), Black ( eyes), Red (mouth), pink (cheeks)
- Brush
- Toothpick (for applying eyes, mouth, cheeks)
- Yarn, or embroidery floss for hair
- Needle and thread
- Pencil
- Styrofoam small piece (for holding the QT’s while drying)
Instructions:
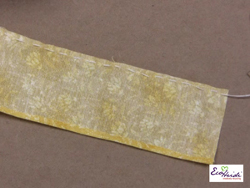
- Make patterns from the cereal box cardboard. The skirt is 1-5/8” x 5”. The blouse is 1”x 1-3/4”. Place patterns onto the wrong side of fabric and lightly mark with a pencil and then cut out. For the stand, cut out a 1” circle of cardboard for each doll.
- Using the needle and thread, stitch a gathering stitch along one 5” side. Use small stitches. Glue small hem on the other 5” edge of the skirt. Let glue dry.
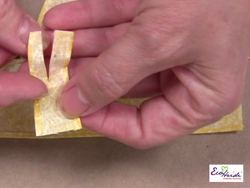
- For the bodice, glue small hem edges on the 1-3/4” sides. Cut a slit to the center.
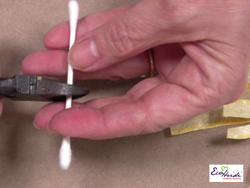
- Cut the cotton swab in half.
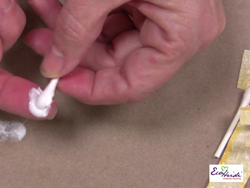
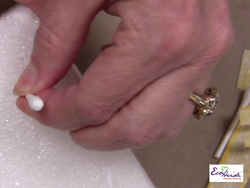
- To prepare the head, place small dab of glue onto finger and roll the swab through the glue, making sure all of the cotton has been covered with the glue.
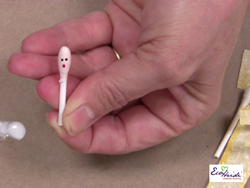
- Place the end of the cotton swab into a piece of Styrofoam to help hold while drying. Let dry completely. Paint with the flesh tone acrylic paint. Let dry.
- Using a toothpick, dot on the eyes, mouth, and cheeks. Return to Styrofoam to dry. Let dry completely.
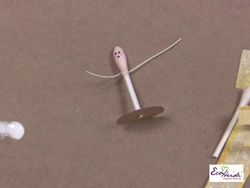
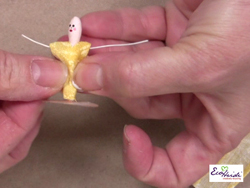
- To make the doll stand, use the 1” cardboard circle. First poke a hole with the needle in the center of the cardboard. Enlarge by inserting a toothpick through pin hole, then insert end of prepared cotton swab. The end of the cotton swab needs to fit securely. Glue the end of the swab into the hole in the cardboard. Adjust so the doll will stand straight. Let glue dry. Wrap wire around the cotton swab, just below the head area for the arms.
- For the bust, glue a small piece of cotton (take from end of another swab) to the front wire area.
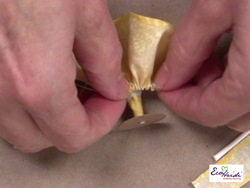
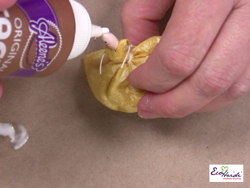
- Place the fabric bodice over the head, with the slit to the back. Glue the back of bodice fabric to cotton swab stem. Then glue the front of the bodice around to the back of the bodice. To help hold, you can tie a piece of thread around waist area and knot. Let glue dry.
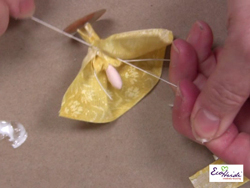
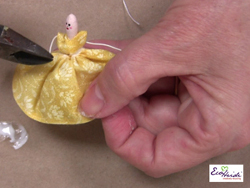
- Place a small amount of glue around the waist. Pull threads to gather the skirt. Place skirt on figure, upside down into the glue, with the opening of the skirt in the back. (This means when you pull the skirt down it has a finished edge at the waist.)
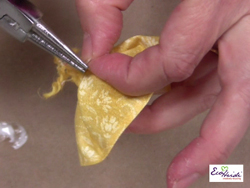
- Tie the threads at the back of skirt into a knot.
- Carefully pull skirt down and into place. Let glue dry.
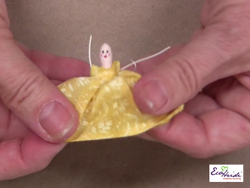
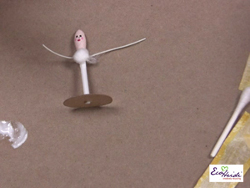
- For arms, cut wire excess off to about 1/2”.
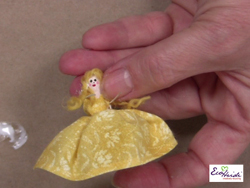
- Apply glue onto top of head.
- Place yarn into the glue for hair.
- Using the needle nose pliers, bend the end of wire into circles for hands.
For a comprehensive video tutorial of this project, check out How to Make a Mini Doll from QTips.
Your Recently Viewed Projects

Thanks for your comment. Don't forget to share!
mulberrygalprinces s
Jan 09, 2017
What a cute idea. I don't know how I have missed it for years. It's those three requirements that I love. It's easy,cute and inexpensive. I want to make them in all colors. Maybe even make a mobile with them to hang over my desk in my craft room. Thank you for sharing this idea.
Kefra
Oct 26, 2013
These are so simple yet can look so elegant! We tried some lace on some of the ladies we made and they are beautiful. These could be nice ornaments on the tree if you put some bloomers, so in the event someone sees under her dress :) Going to make more and maybe use some as gift toppers! Heidi Borchers is awesome as is her Mom, Aleene! Love those girls and the creativity they have shared here and every place! Now thinking about making Mr and Mrs Santa Clause as a Qtip doll. This is so FUN!!
gabartadiana 91392 81
Mar 18, 2012
CUTE, CUTE, CUTE, CUTE, CUTE! OMG! Did I mention they were CUTE?! These are adorable, and a great craft for Kid's Church! LOVE IT! :)
dixie dweller
Sep 14, 2011
This is such a good idea! And, I can see doing little elves this way, for Christmas or St. Patrick's or just because. And little clowns, little doggies, Santas,... it's endless! I agree, there's just something about the tiny stuff! And besides, it doesn't take up as much room in our crowded crafters' houses:)
Report Inappropriate Comment
Are you sure you would like to report this comment? It will be flagged for our moderators to take action.
Thank you for taking the time to improve the content on our site.