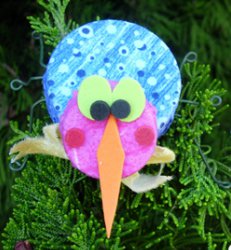
Bottle Cap Bugs
Yes, it is possible to love insects in the summer! Make Bottle Cap Bugs from Heidi Borchers from recyclable materials such as plastic bottle caps, empty cereal boxes, and wire. No need to wait until next year to create Earth Day crafts - work on this project today and go green!
Materials:
- Plastic bottle caps – assorted sizes – (I’ve used a Gatorade cap for the body and a water bottle cap for the head in this tutorial)
- Fabric
- Cereal box cardboard
- Aleene’s Tacky Glue
- Glue gun
- Wire- 18 gauge- 3 pieces 7” long for each bug
- Needle nose pliers to shape wire
- Craft foam for eyes and beak (or wiggle eyes)
Instructions:
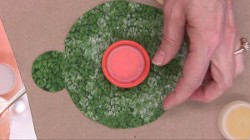
- Measure cap for body of the bug and cut a piece of fabric approximately 1-½” larger than cap.
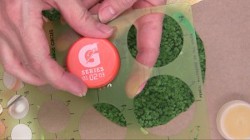
- For body back, cut cardboard circle 1/8” smaller than the plastic cap.
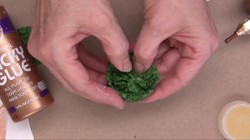
- Put glue onto the cardboard circle and place glue side down onto wrong side of a fabric scrap.

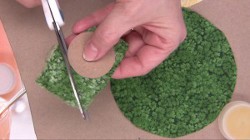
- Cut off excess fabric around cardboard circle.
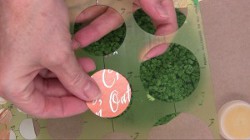
- Place glue onto the top of the cap, and place glue side onto wrong side of fabric in the middle of the fabric circle.
- Place the Aleene’s Tacky glue around the sides of the plastic cap.
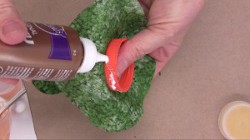
- Place hot glue on the inside of the water bottle cap.
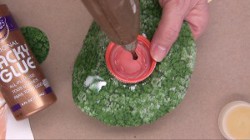
- Immediately bring the fabric over the sides and into the hot glue. Continue to place the fabric into the hot glue as you make your way around the cap.
- Fabric will need to be completely pushed to the inside of the cap for body.
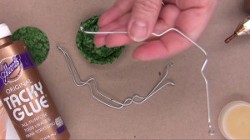
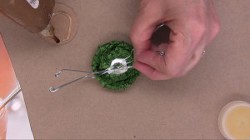
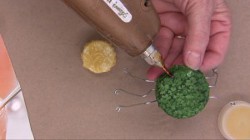
- Place a mark on the center of each of the wires.
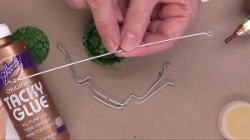
- Shape the wire as shown in photo, using the center mark, as the center of the leg, that will be placed in the center of the fabric covered cap.
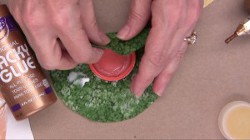
- Put hot glue and Aleene’s Tacky Glue in the inside of the cap. Place the shaped wire legs into the glue.
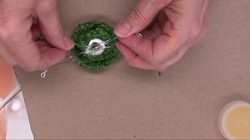
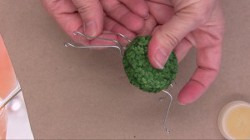
- Place hot glue onto the back of the fabric covered prepared cardboard circle for body.
- Immediately place the cardboard into the glue inside the cap, and ‘sandwiching’ the wire legs in between.
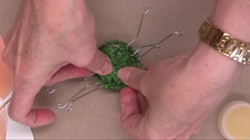
- Immediately adjust the wire legs, while holding the cap and the cardboard together. Hold until hot glue cools.
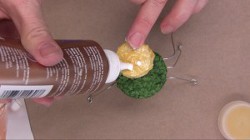
- Cut fabric circle for the head approximately 1-¼” larger than plastic cap. Place glue onto the top of the plastic cap. Place glued side onto the wrong side of fabric circle.

- Wrap glue fabric to the inside of cap using the hot glue and Aleene’s Tacky glue to hold fabric into place.
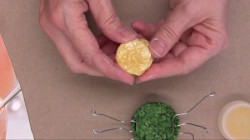
- Glue fabric covered head to fabric covered prepared body.
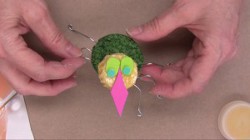
- Cut eyes from craft foam and with a paper punch, punch out smaller eyes for the center, or use wiggly eyes. Cut out a beak.
- Glue the eyes and beak onto the top of the head. Adjust wire legs, so the bug stands.
For a comprehensive video tutorial of this project, check out How to Recycle Bottle Lids into Cute Critters.
Read NextRecycled Denim Feather Wall Hanging