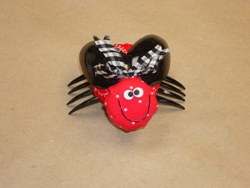
Adorable Bottle Cap Lady Bug
Bring an Adorable Bottle Cap Lady Bug from Heidi Borchers to your next picnic. Bottle cap craft ideas are a fun way to go green and make cute projects on a budget. No need to worry about bugs at this picnic!
Materials:
- Plastic caps (I’ve use a Gatorade cap for the body and a water bottle cap for the head)
- Fabric- two different patterns in red (For body and head) and one in black check (for bow)
- Polyester fiberfill
- Glue- I used both the Aleene’s Original Tacky Glue (for a permanent hold) and hot glue ( for the quick hold)
- Cereal cardboard- (one circle for the body and one for the head slightly smaller than the caps)
- Plastic forks- black- 2 for feet
- Plastic spoons-black- 2 for wings
- Candle
- Craft foam-white and black (eyes)
- Paper punches- ¼” and 1/8”
- Decorative wire- black approx. 2” (for mouth)
Instructions:
- Cut fabric for the large cap (body) and the small cap (head). For the body, cut approximately 1-½“ larger and for the head, cut approximately 1” all the way around each . Cut a piece of fabric to fit both cardboard circles.
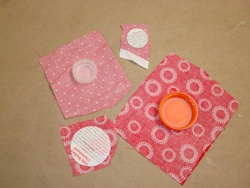
- Place the Aleene’s Tacky Glue onto the cardboard circles, and place glue side down on wrong side of fabric.
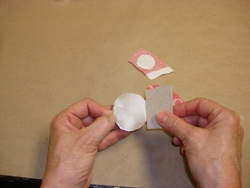
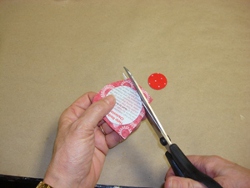
- Cut off the extra fabric around each circle.
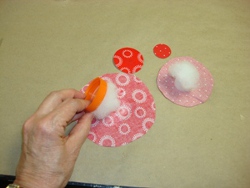
- Place the Aleene’s Tacky Glue onto top of each lid, place small amount of polyester fiberfill into the glue.
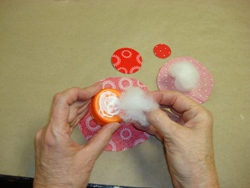
- Place small amount of glue onto the center on wrong side of fabric. Place cap with polyfill, with the polyfill down into the glue.
- Hold this in place and go to next step.

- Place hot glue and the Aleene’s Tacky glue into the center of the inside of cap.
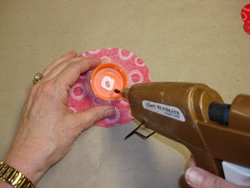
- Immediately push fabric over the edges, over sides of cap, into the center of the glue. Continue around the cap, until all of the fabric is pulled over to inside. If you need more glue to help hold, use a small amount of the hot glue.

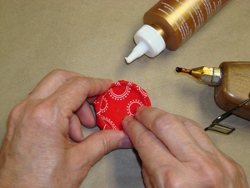
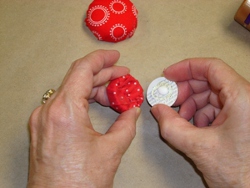
- Place both glues onto the back (cardboard side) of the larger fabric covered circle. Put this to the inside of the cap you just covered, with the glue towards the inside. Hold until the hot glue doesn’t feel warm.
- Repeat with the small cap for the head.
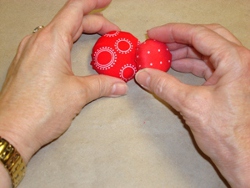
- Glue the small cap (head) to the large cap (body).
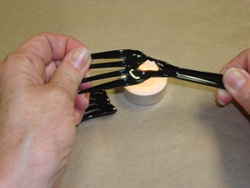
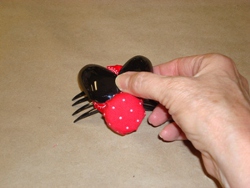
- For the legs, you need the 2 plastic forks. To remove the stem of each fork, hold over a candle flame. As the candle heats the plastic, you can pull the stem from the fork. Remove from the heat. Immediately cut off the stem and trim the warm edges with scissors.
- Glue the forks (feet) to the back side of the body.
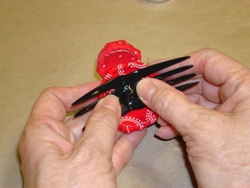
- Shown with the feet in place.
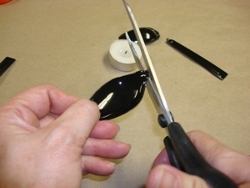
- For the wings, you will need 2 plastic spoons. To remove the stem of each spoon, hold over a candle flame. As the candle heats the plastic, you can pull the stem from the spoon.
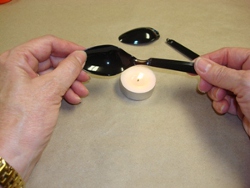
- Cut of the stem, while the plastic is still warm.
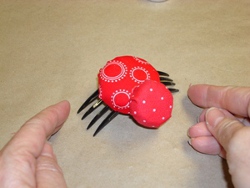
- Glue wings to the body at the neck. Glue small bow from black check fabric over the top edge of the spoons.
- Punch two white circles using the 1/4” paper punch, and two black circles from the 1/8” paper punch. Glue the white circles down first, then black on top of the white. Curve the wire for the mouth, and use a small amount of glue onto the wire and place onto the head, under the eyes. Let dry.
For a comprehensive video tutorial, check out How to Make a Recycled Bottle Cap Ladybug.
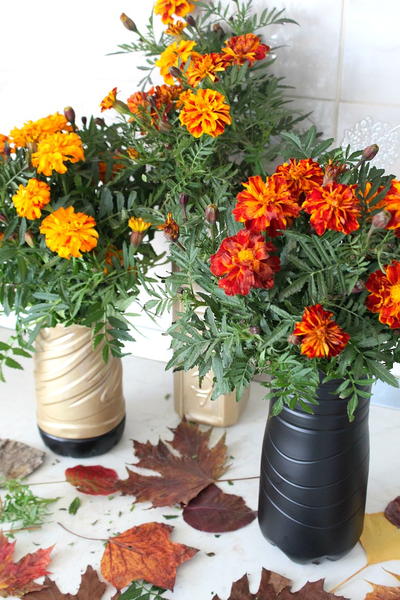
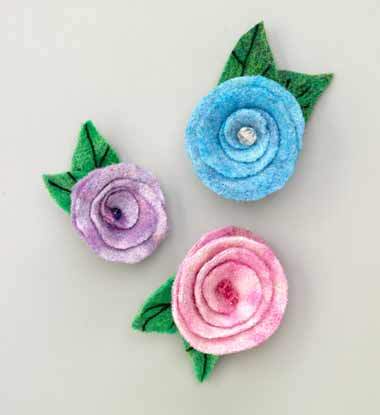
Read NextSecretly Cheap DIY Flower Vase
Your Recently Viewed Projects

Thanks for your comment. Don't forget to share!
jewelweb 1452512
Mar 23, 2014
It is cute but lady bugs do not have 8 legs. This would make a really cute spider though...
luvnyhoops 6643854
Jan 07, 2013
This a adorable: however, you need to break off one fork tine on each side as insects have six legs, not eight. (Arachnids have eight). Otherwise, so cute!!!!!
Report Inappropriate Comment
Are you sure you would like to report this comment? It will be flagged for our moderators to take action.
Thank you for taking the time to improve the content on our site.