Tie Dye Graduate Frames
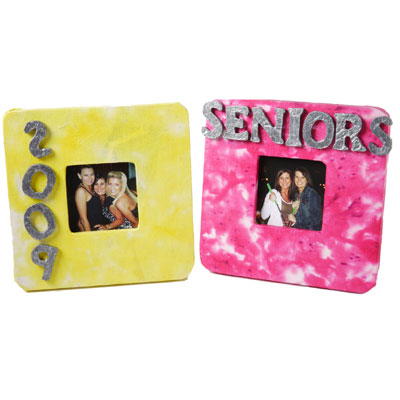
 Use traditional tie dye patterns to create unique picture frames commemorating graduation and friends in your class. These Tie Dye Graduate Frames make great gifts for parties and look great in dorm rooms. Be sure to include a personal picture or message inside the frame so this project really makes an impact. If you're looking for home decorating ideas that include a major pop of color, look no further than this fun and exciting picture frame craft. Use the recipient's favorite colors to make it that much more special. These make great gifts for graduation parties. Find this craft and 17 other graduation crafts in our FREE Graduation Craft eBook.
Materials:
- Aleene's Tacky Packs
- Tacky Pack
- Tulip Super Big One-Step Tie-Dye Activity Kit
- Collage Pauge Instant Decoupage
- Sanding block
- Plastic garbage bags
- Tissue, silver metallic
- Washing machine
- Wood letters, P, O, O, S
- Fabric, 1/2 yd, 100% cotton
- Iron
- Scissors
- Foil
- Wood frame
- Paintbrushes, 1/2” flat, 1/4” flat
Instructions:
- Cut a piece from fabric large enough to cover front and sides of frame and wrap to back, adding enough fabric to margins to allow for shrinkage and raveling. Repeat procedure to cut a piece to cover back of frame.
- Wash fabric to remove sizing. Do not use fabric softener. Do not dry.
- Wearing rubber gloves, add water to top of dye bottle. Replace cap tightly. Shake until all dye is dissolved.
- Cover work surface with garbage bags. Lay damp fabric onto prepared surface. Crumple fabric, creating peaks and valleys.
- Squeeze One-Step Dye onto peaks, letting it seep into valleys. Allow some white areas to remain for contrast.
- Cover with garbage bag. Let set 4-6 hours. Wash in a large load of water with a small amount of laundry soap. Line dry. Iron smooth.
- Squeeze a puddle of Instant Decoupage onto foil. Brush Instant Decoupage onto front of frame and onto back of fabric for frame front. Lay fabric glue side down onto frame. Apply Instant Decoupage over fabric, smoothing wrinkles and wrapping fabric to back of frame. Cut an X from corner to corner of frame opening. Wrap fabric to back. Apply a coat of Instant Decoupage.
- Cut a piece of fabric to cover back, cutting away fabric from frame opening. Apply Instant Decoupage onto back of frame and onto back of fabric. Place fabric glue side down onto frame. Apply Instant Decoupage over fabric, smoothing out wrinkles. Let dry.
- Sand edges of letters. Turn P over to look like a 9. Turn S over to look like a 2. Use O’s for zeros. Brush Instant Decoupage onto letters and onto back of tissue. Lay tissue onto letters, wrapping to back and smoothing edges. Brush Instant Decoupage over tissue. Let dry completely.
- Glue letters to frame, using Tacky Glue.
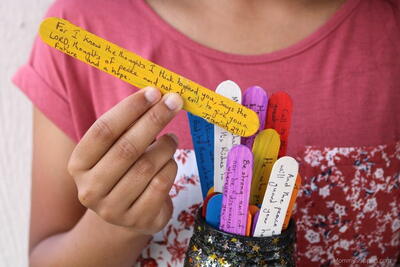
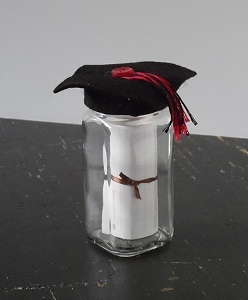
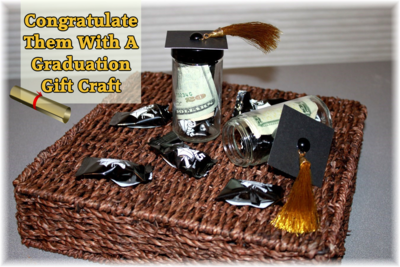
Read NextInspiration Jar DIY Graduation Gift
Your Recently Viewed Projects
Thanks for your comment. Don't forget to share!
jadeana42
May 26, 2016
This would be a great EASY, QUICK craft for ANYONE who forgets about the GRAD in their life... FaveCraftsTieDie
Report Inappropriate Comment
Are you sure you would like to report this comment? It will be flagged for our moderators to take action.
Thank you for taking the time to improve the content on our site.