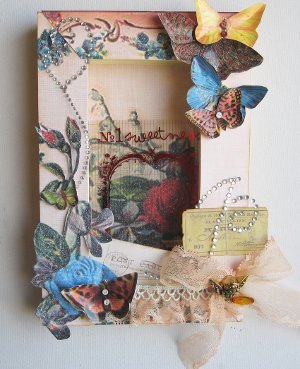
Vintage Butterfly Shadow Box
Making a shadow box is easy! This Vintage Butterfly Shadow Box is made from cardstock and paper scraps. Hang it on your wall or let it sit on a bedside table. DIY shadow boxes are also great gifts for grandmas!

Materials:
- Four cream cardstock 12"x12'' pieces
- One piece of 12"x12'' glitter paper
- Pink Paislee transparent card – Sweetness collection
- Webster pages
- Prima lace
- Prima crystal swirls
- K&Co vintage die cuts
- Dress it up buttons
- Glue Arts- Glue glider PRO, adhesive squares and ribbon adhesive
Instructions:
- Score all 4 pieces of cardstock using your metal standard ruler for your scoring size.
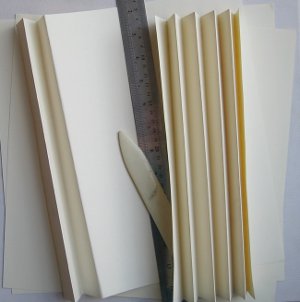
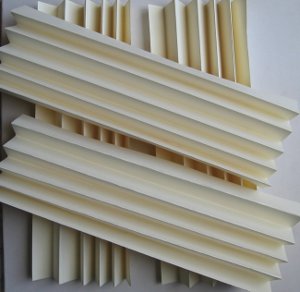
- Cut 2 folded cardstocks to 8.5'' size and 2 others to 5.5'' size.
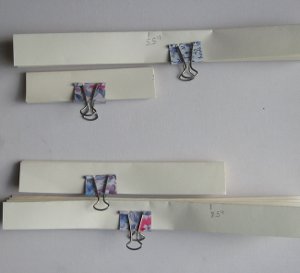
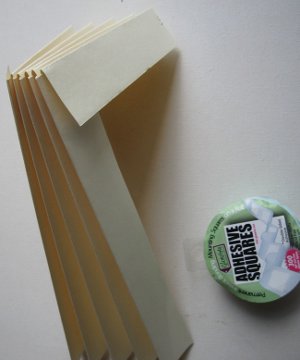
- Insert the short piece inside the long one as shown. Use your Glue Arts adhesive squares to adhere the first corner. Do it from the front and the back side of your project. Insert the second long piece into the free corner of your short one, adhere it and add the last one. Be sure to secure the corners with some more glue squares. Don't glue anything inside.
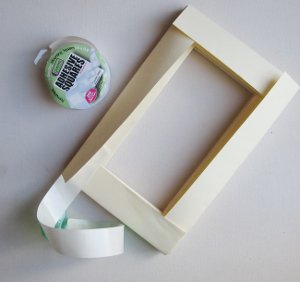
- Cut the back of your box from some fancy and glittery patterned cardstock (we used GCD Studios Melody Ross Post card paper). Cut it to your box size (8.5*5.5'') and before you do your final cut check it from the front to be sure you see the piece you wanted to be shown. Adhere your fancy paper piece on the back of your frame using Glue Arts Glider pro.
- Using your ruler again ,cut 4 strips from your glittered cardstock for the front cover.
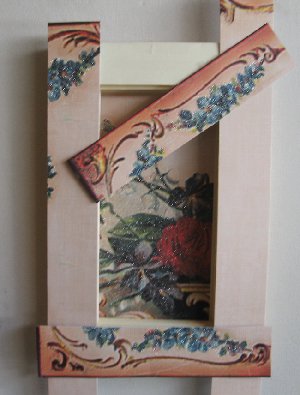
- Using your Glue glider, adhere all 4 strips as shown. Don't glue the edges yet, as we need to trim them to triangle shape. Trim your edges as shown and now add more glue to finish the frame.
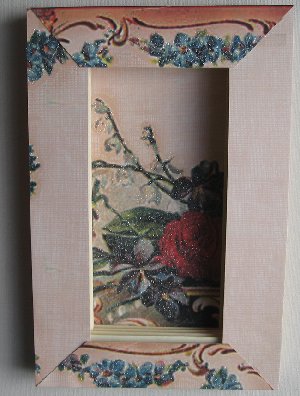
- Cut some flower from your cardstock and glue them over your frame as shown. Cut some butterflies from another piece of cardstock and adhere them randomly all over your frame. Add Pink Paislee transparent card inside your box. Glue it with adhesive squares inside the second fold, not too close to the back paper. Add some vintage die cuts (we used K&CO pieces) inside the next fold and over the cover.
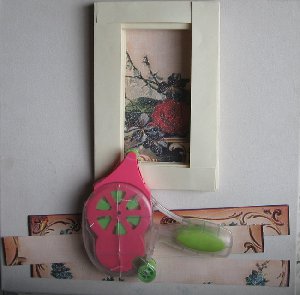
- Adhere the ribbons using Glue Arts ribbon adhesive. Pleat the lower lace as shown and glue the second lace layer on the top. Make a fancy bow and glue it over the cover with adhesive squares. Add a vintage angel button with the same adhesive and finally add some crystal swirls all around the cover.
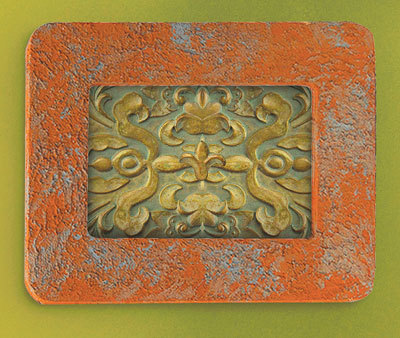
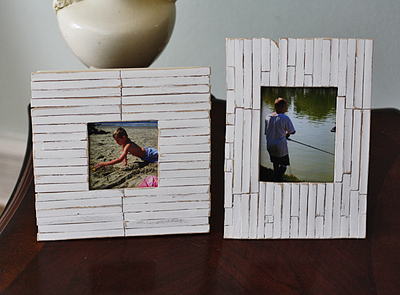
Read NextCottage Slat Picture Frame