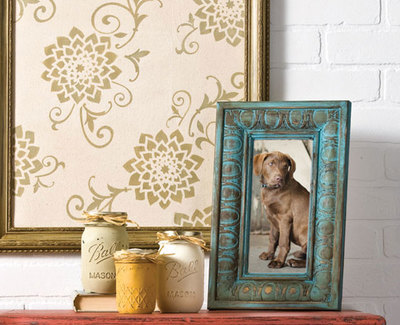
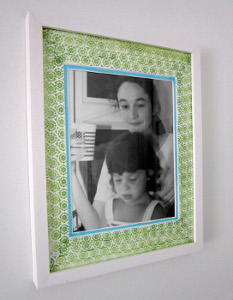
Shabby Chic Photo Frame
DIY picture frame ideas can help you add a sentimental touch to your space. Whether you're dressing up your desk or decorating your mantel, you can't go wrong when you create a Shabby Chic Photo Frame using PLUS America products.
Materials:
- PLUS America Mini Decoration Roller in Wreath
- PLUS America Touch n’ Slide Decoration Pen in Blue / White Dots
- PLUS America 4mm Glue Tape Adhesive
- Pre-cut white, double mat frame, 11” X 14” with an 8.5” X 11” window
- 11” X 14” frame
Instructions:
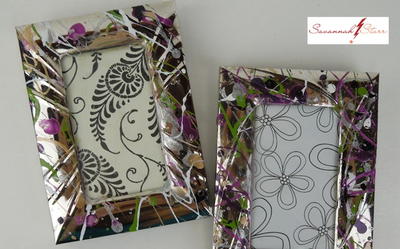
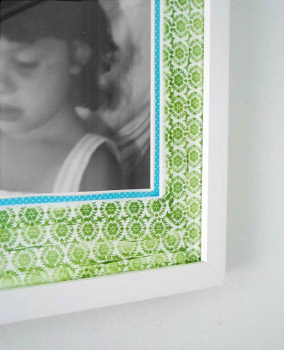
- Run the Touch n’ Slide Decoration Pen along the edge of the inner mat frame. If you make a mistake and don’t line it up perfectly, simply moisten your finger and rub the mistake away and start again.
- Roll the Mini Decoration Roller around the edge of the window of the outer mat frame. Continue rolling it around in concentric rectangles until you have filled the entire surface with gorgeous green pattern. To get that shabby chic look, I purposely overlapped some lines.
- Run a few lines of the 4mm Glue Tape Adhesive along the backside of the inner mat frame. Position your photo and press it into place.
- Place the outer mat frame on top of the other mat frame and insert into the 11” x 14” frame.
Read NextDollar Store Frame Makeovers