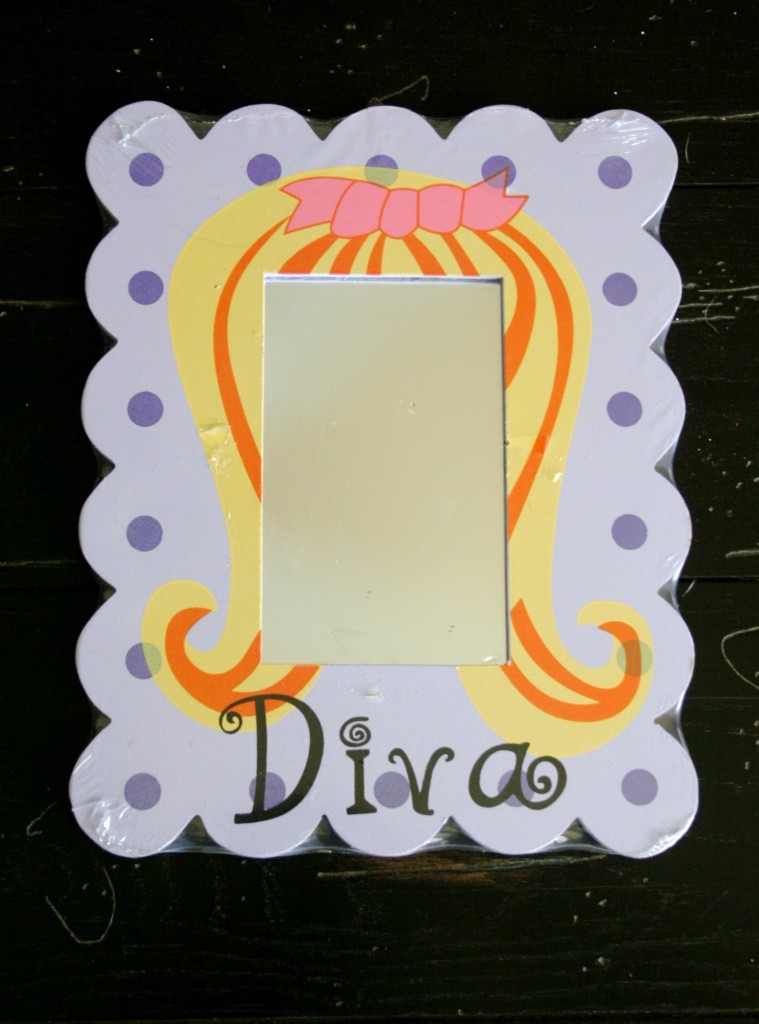
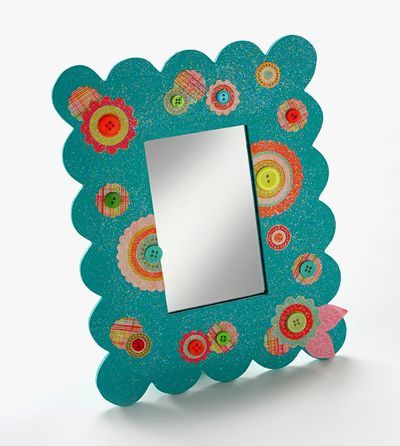
Button Mirror
Transform a dollar-store mirror with this decoupage craft project from Amy Anderson. Use your favorite combination of bright acrylic paint, scrapbook paper and embellishments like Amy's buttons. Sparkle Mod Podge gives this mirror frame the perfect diva finish.

Before
Materials:
- “Diva” mirror
- Scrapbook paper – 1 sheet, on hand
- Sparkle Mod Podge, on hand
- Scalloped circle punch, on hand
- Turquoise acrylic craft paint, on hand
- Buttons – 12 coordinating, on hand
- Craft glue, on hand
- Paint brush, on hand
- Sandpaper, on hand
- Scissors, on hand
- Tools to remove hardware, on hand
Time Needed: 2.5 hours
To Make:
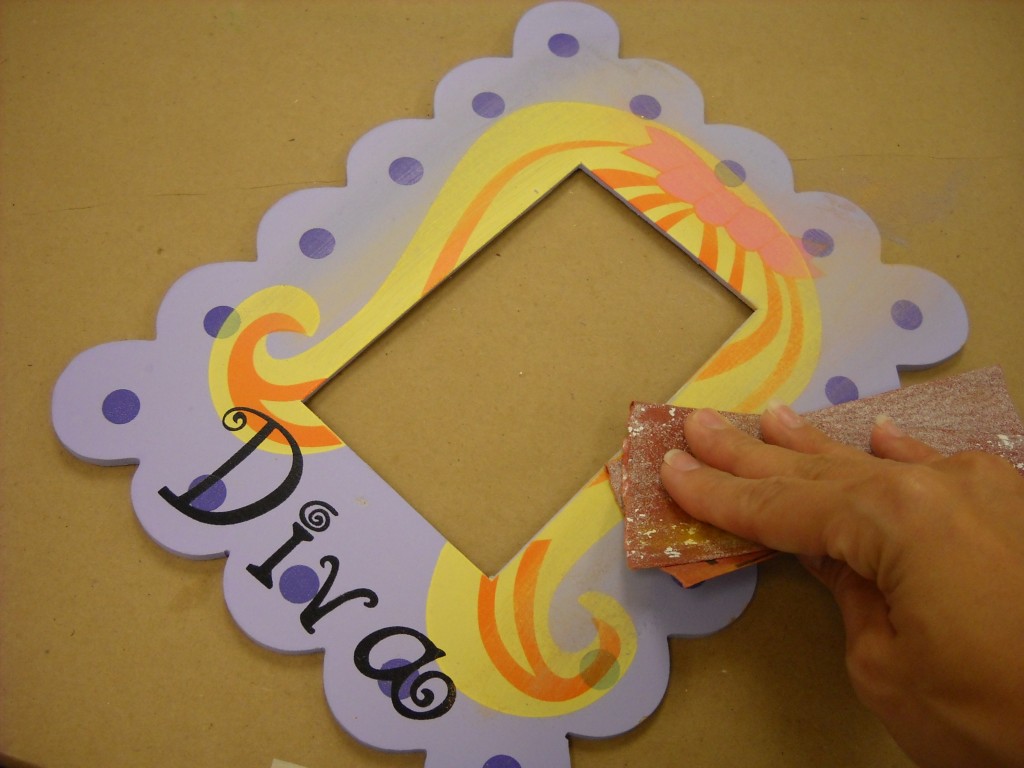
Remove all hardware and the mirror from your frame. Start sanding – you don’t need to rough it up too much, just enough so that the paint will stick. Yes, since you asked, it did make me sad to sand the word “Diva.”
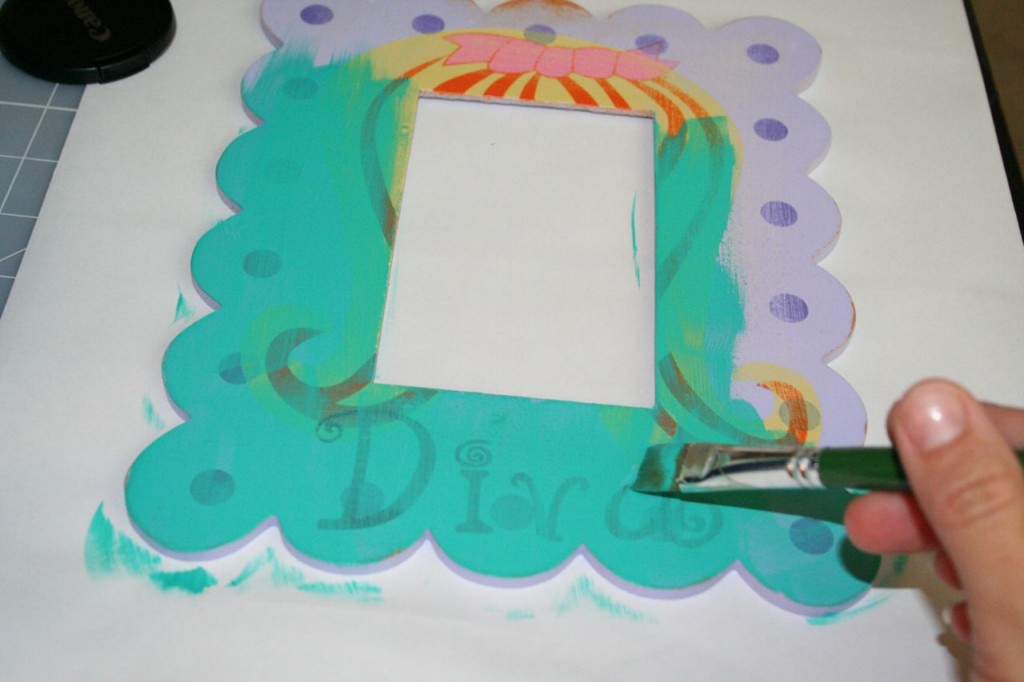
Paint your frame. Depending on the color, you may need several coats. Paint, allow to dry, flip over and repeat. It took me three coats for full coverage. Allow to dry completely.

While your frame is drying, grab your sheet of scrapbook paper. It’s time to get creative! I cut out shapes with my scissors, and then I punched some shapes out with my craft punch.
TIP: Get a piece of double-sided scrapbook paper. You get twice the designs and they are almost always coordinating.
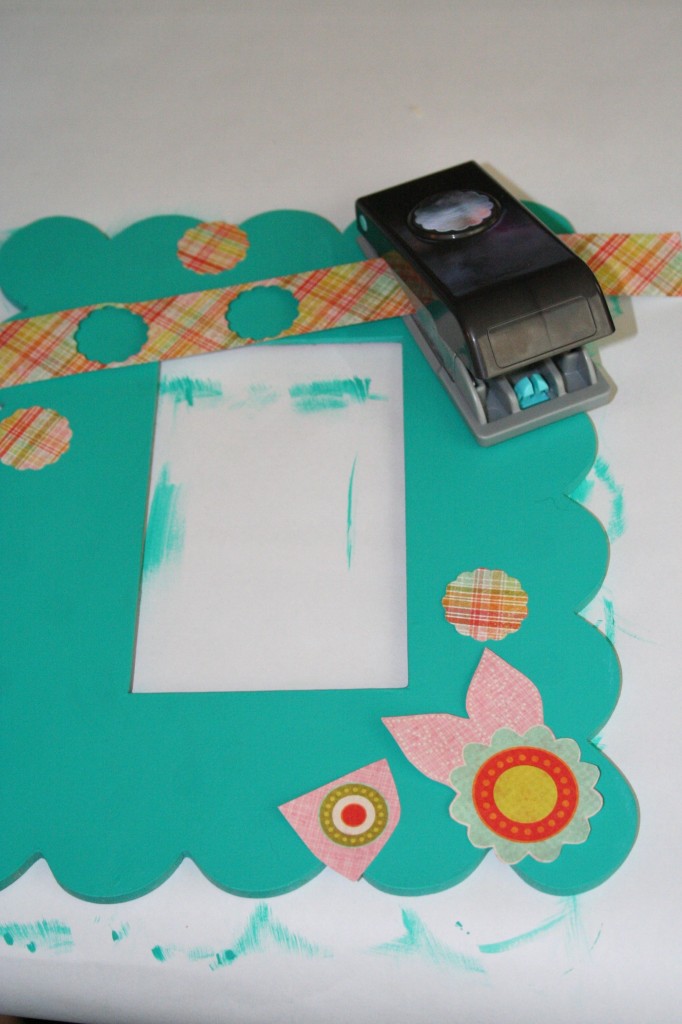
Begin placing shapes. This is serious business! Okay, not really. Lay everything out until you are happy with the design.
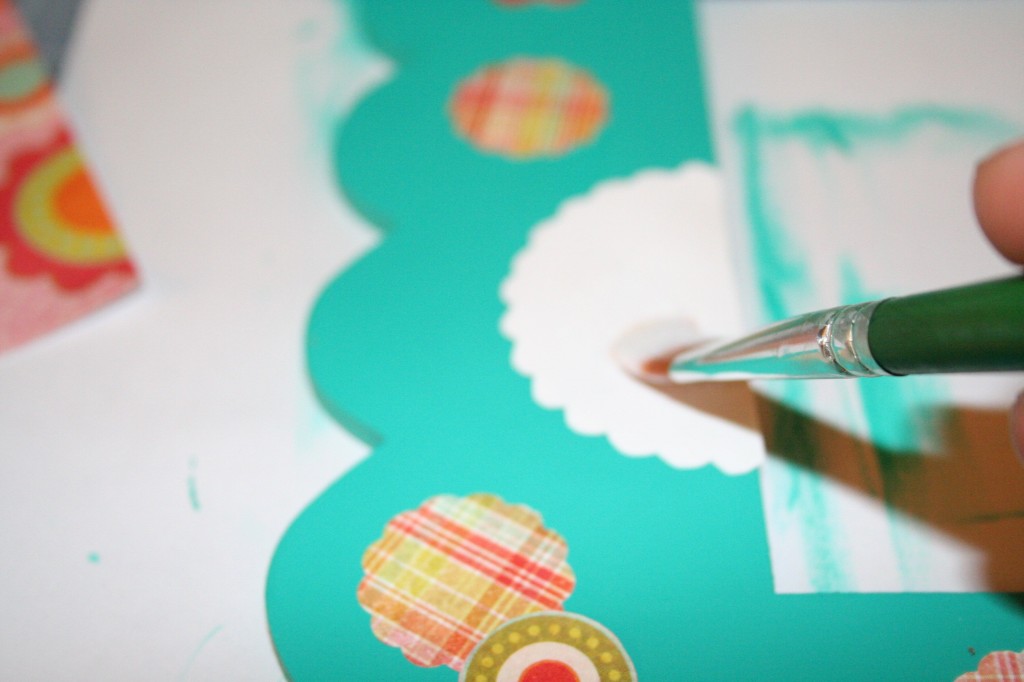
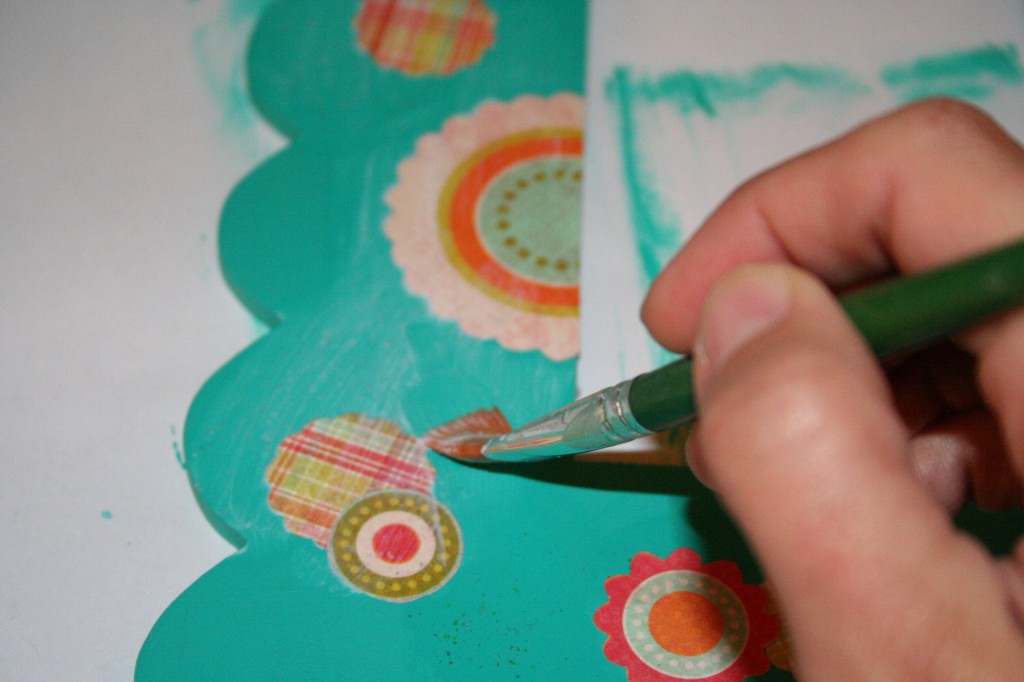
Once your shapes are laid out, begin Mod Podging them down. Glue each piece separately and smooth with fingers. This is nice because you won’t get wrinkles if you smooth thoroughly because the pieces are so small. I overlapped some pieces too – have fun with it! Allow to dry for 15 - 20 minutes.
Now you are ready to go Mod Podge nuts-o. Cover the entire frame with Mod Podge, front and back. Give it two coats. I opted for the sparkly finish to retain some of the original “diva-ness” of the piece.
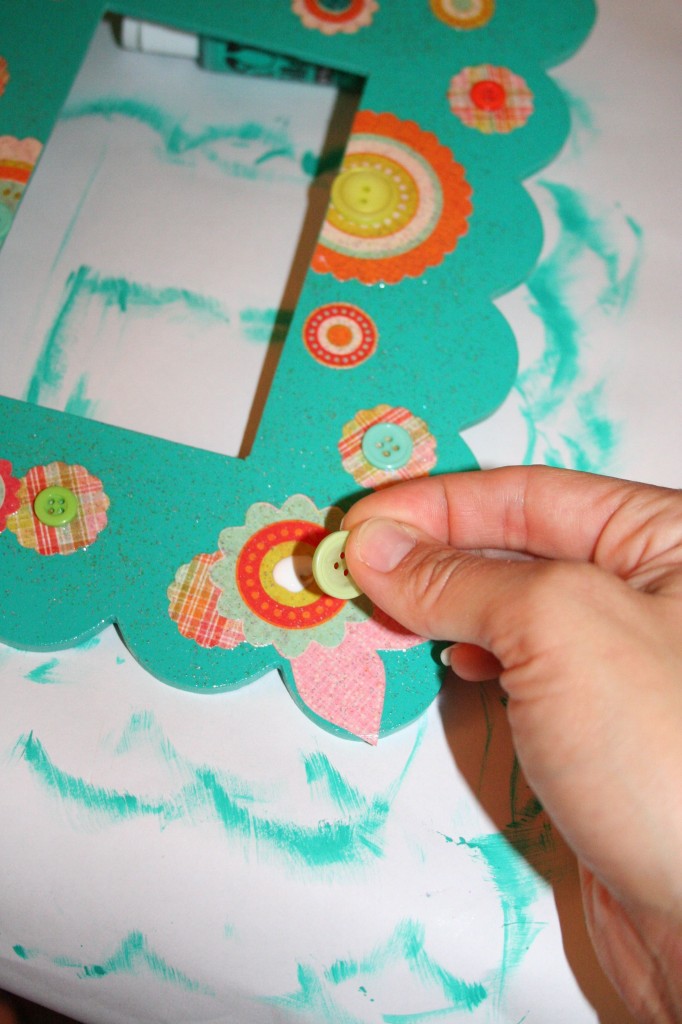
To complete your frame, add some craft buttons with craft glue. Raid your stash for brads, ribbons, stickers or anything else that might compliment your wonderful project. Don’t be afraid to glue it down.
Let the frame dry for 24 hours before replacing the mirror piece and all of the hardware. I don’t know about you, but I think it would be really fun to do a wide variety of these in different shapes to spice up a wall. I could do a whole wall of these for $10. I’m bursting with ideas, and I hope you are too.
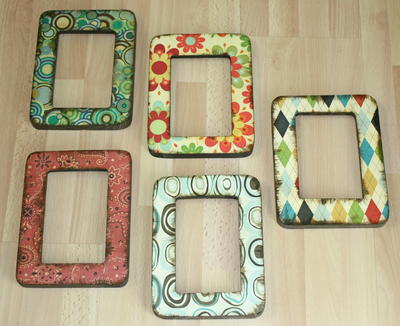
Read NextDollar Store Frame Makeovers
Your Recently Viewed Projects
Thanks for your comment. Don't forget to share!
supa star
Mar 07, 2011
I love the diva frame! This is a great idea for a girl's birthday party! Thanks for sharing.
MaJonen
Apr 05, 2010
This is a great idea, the directions are detailed and the photos are wonderful. Thanks for being so complete in sharing this craft. It will really help with teaching my girls how to do this. This will also be a great Mothers Day craft for my Sunday School kids to do for their Moms.
twiceshy51
Apr 05, 2010
i love this. i have a couple of odd picture frames that i have been wondering what to do with. this is perfect. i'll make coordinating ones for pics of grandbabies. good instructions and photos! thank you
Report Inappropriate Comment
Are you sure you would like to report this comment? It will be flagged for our moderators to take action.
Thank you for taking the time to improve the content on our site.