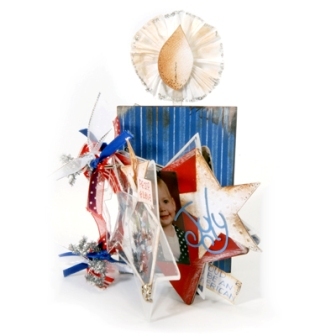
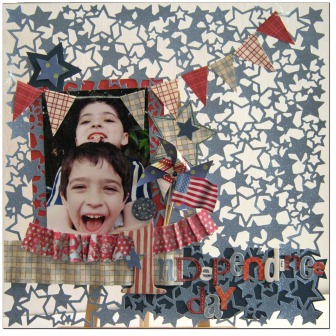
Independence Day Scrapbook Layout
Preserve your favorite Independence Day memories with this 4th of July scrapbook layout designed by Einat Kessler. Give blank layouts as party favors to those who attend a 4th of July party at your home.
Materials:
- Paper: KI Memories – Glitter stars lace cardstock
Fancy Pants – My Family – Cards, Sister, Mother
American Crafts – Cardstock – blue, red
- Letters: American Crafts (white, blue), Miss Elizabeth's (red), Sassafras (red), memory makers (small white).
- Chipboard: Basic grey – Monograms
- Ink
- Stickles by Ranger
- String
- Black pen
- Colored pencils: red, white and blue.
- Glue: Zip Dry, Glue dots, Pop-Up Glue Dots.
- Tooth picks
Instructions:
- Use KI Memories lace cardstock to create the layout.
- Adhere a 4" by 6" photo on the left side of the paper. Create a red mat by adhering a 5" by 7" red cardstock on the back side of the lace paper, so the red color will show through.
- Cut two strips of patterned paper and crate pleats by folding them. Glue the strips on the bottom side of the photo.
- Cut different sizes of stars from patterned paper and add them to the layout.
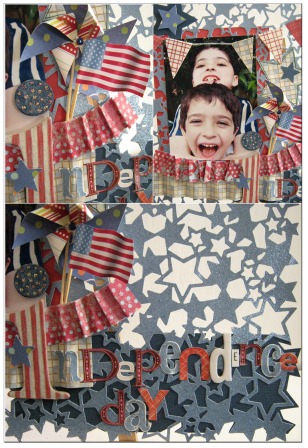
- Create a weather vane: cut a 2" by 2" square. Cut the square diagonally from all four corners towards the centre. Make sure not to cut all the way to the centre. After cutting you have four triangles upside down. Fold the right corner of each triangle towards the middle. Attach a brad to secure. Attach a tooth pick as a pole.
- Attach another tooth pick to a US flag. If you don't have a sticker or a cut out of the flag you can find an image on-line (use a free clipart website only!).
- Attach the weather vane and the flag to the layout.
- Create a banner of triangle flags: cut 8 diamond shapes from patterned paper. Fold them in half to create a triangle. Glue the flags to the string. Tie the edges of the string to the cardstock as desired.
- Create a title: color the "I" monogram with stripes of red and white. Color the dot of the "I" blue and add dots of stickles on it. Glue the monogram to the layout with Pop Up glue dots. Add red, white and blue letters to create your title. To make your title pop even more glue a strip of blue cardstock on the back side of the lace paper. Cut the edges of the blue cardstock to fit the stars edges of the paper.
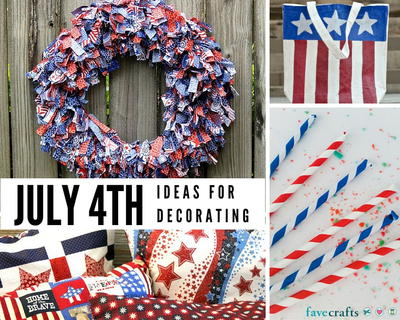
Read Next48 Fun 4th of July Decorating Ideas