Fourth of July Chalkboard Labels
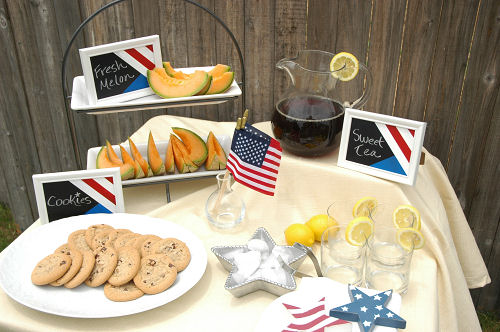
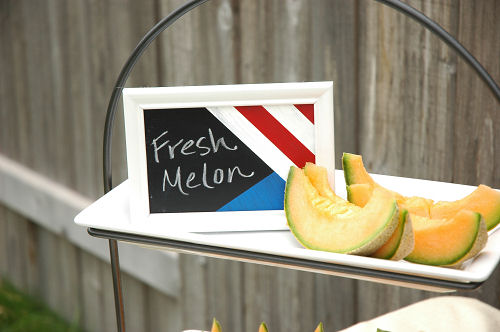
Use these patriotic chalkboard labels to identify the different dishes at a Fourth of July spread. These lovely mini-chalkboards are easy to paint and can be used again and again. You can also use as place cards at a sitdown meal on the Fourth of July.
If you are planning to host a party or BBQ on the Forth of July, now is the time to begin thinking about some fun details to add to your decor.
As someone who is always a bit embarrassed to ask a host, "What is this?", I find it very refreshing when the dishes are labeled so that I know what I'm about to pile onto my plate. With that idea in mind, I created a set of Independence Day themed framed chalkboard labels. These are very easy to make and are sure to impress your guests fun AND helpful? What's not to like? Best of all, they are CHEAP (and readers of Living with Lindsay know I love cheap crafts!)!
Materials
- 4x6 picture frame(s) I bought frames for $1 each at the dollar store
- 220 grit sandpaper
- Chalkboard spray paint
- White spray paint (if frames are not white)
- Acrylic paint in red, white, and blue
- Three oneinch foam brushes
- Scotch 'Delicate' Painters Tape
- Ruler
- White chalk
Instructions
- Take apart your frames and lightly sand the glass with your sandpaper. You basically want to just rough up the surface enough to remove the gloss. You only need to sand one side of the glass.
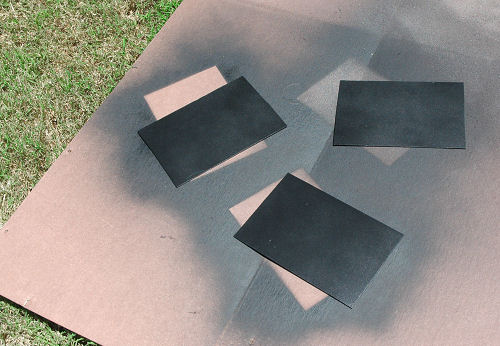
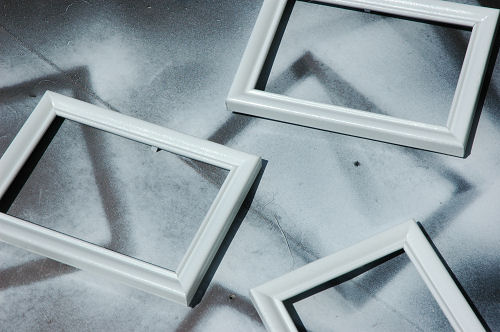
- In a wellventilated area, spray the sanded side of the glass pieces with the chalkboard paint. Apply three light coats, allowing each coat to dry for about 15 minutes before applying the next. While the glass is drying, spray the frames with the white paint. Allow the frames and glass to dry completely (about an hour) before handling them.
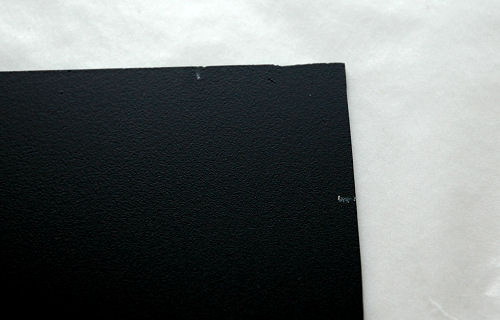
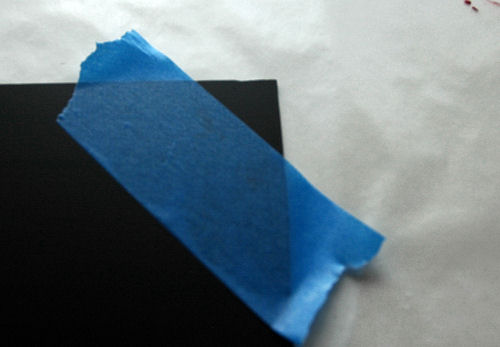
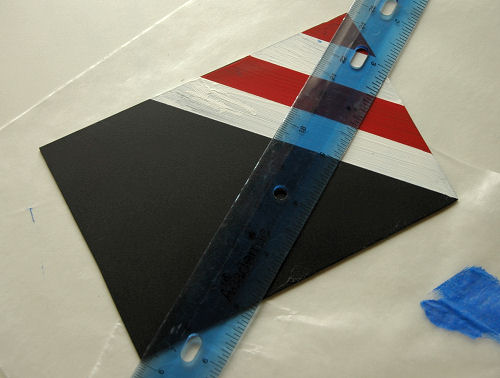
- Using your ruler and either a pencil or piece of chalk, mark a dash one inch across and one inch down from the upper right corner of each piece of chalkboard.
- With a piece of delicate painters tape (otherwise, you may peel off the recent paint, which will make you cry trust me), mark off the diagonal between the two dashes. Make sure you press the tape edge down firmly so that paint will not seep underneath it.
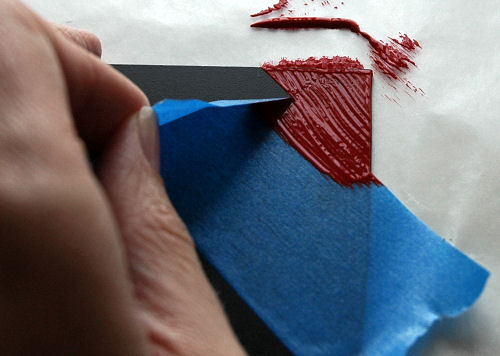
- With your red acrylic paint and a foam brush, paint the marked off corner of the chalkboard. I applied a thick coat of paint and then immediately and gently removed the tape. Any brush marks in the paint will mostly fade, and those that are left will add character to your piece. Isn't it great to add character by being sloppy? Yeah, I think so, too!
- Once the red paint is dry (about an hour), mark off an inch from the red edges and add another diagonal of painters tape. Also line the long red edge with tape to make a clean edge. Paint the marked off space white and gently remove the tape while the paint is still wet.
- Repeat the process making another oneinch stripe of red and another stripe of white.
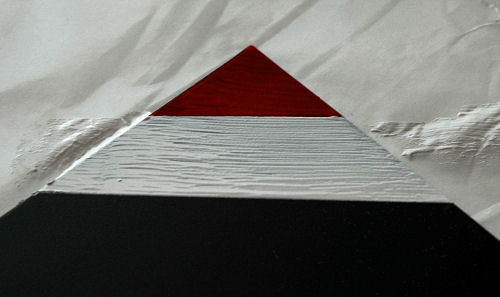
- After your red and white stripes are dry, create a diagonal line from the upper right corner to the lower left corner of your chalkboard frame with your ruler. Mark a dash where the lower side of the ruler crosses with the lower white painted line.
- Next, tape a line from the dash down to the lower left corner of the chalkboard. Also, tape off the lower edge of the last white stripe to make a clean edge. You'll make a little triangle.
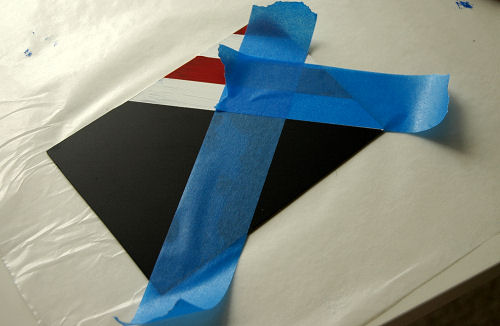
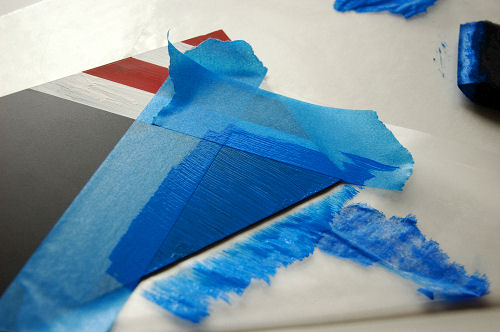
- Paint the bottom area blue and carefully remove the tape while the paint is still wet.
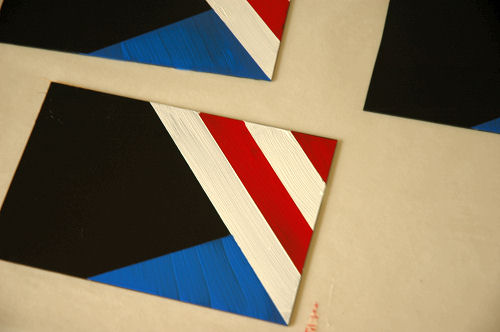
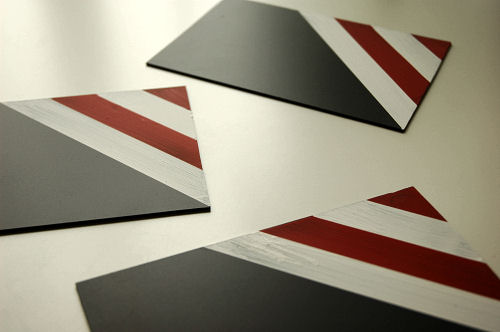
- Once the blue paint is dry, add the chalkboard and frame backing to the white frames. You can use chalk to write on the black portion of the chalkboard. When you are ready to erase the writing, simply use a wet cloth to wipe it away. Be careful not to write on the areas painted with acrylic paint; it's difficult to remove the chalk without damaging the stripes.
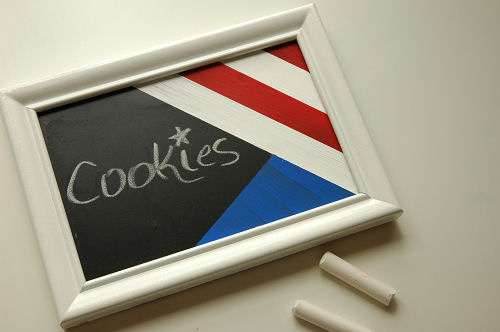
- Use your frames to label items on your Independence Day spread. Sit back and enjoy the day with your friends and loved ones!
Happy BBQing!
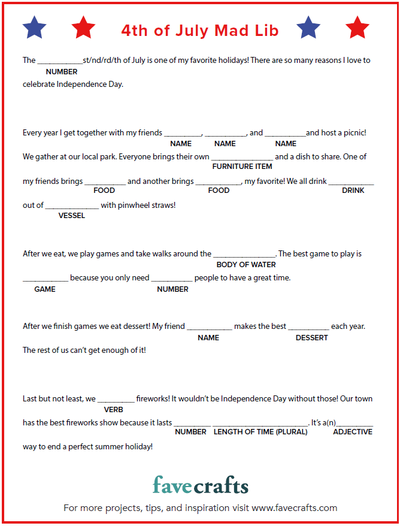
Read NextFourth of July Mad Lib PDF
Your Recently Viewed Projects

Thanks for your comment. Don't forget to share!
Marilyn B
Jun 11, 2017
This is a lovely little project and the stripe design looks really sharp. As another option you could paint a star in the corner using glow in the dark paint. Thanks for the easy to follow step by step instructions!
Report Inappropriate Comment
Are you sure you would like to report this comment? It will be flagged for our moderators to take action.
Thank you for taking the time to improve the content on our site.