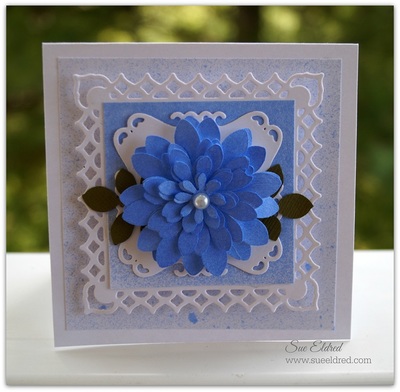
Stamped Cards and Floral Push Pins
Capture the spirit of spring and with these Stamped Cards and Floral Pushpins from Tiffany Windsor. Instead of buying generic greeting cards for friends, make DIY cards to invite them somewhere, to thank them, or just to say that you're thinking of them. These pink flower crafts are so feminine and delicate that they would work for bridal shower invitations as well. You can also give some of these pushpins and blank cards as a hostess gift.
Materials:
- Aleene’s Original Tacky Glue
- Glassine envelopes
- Notecard paper cut to fit inside glassine envelope
- Buttons
- Push pins
- Packing foam
- Paper flowers
- Small beads
- Wooden skewer (or toothpick)
- Pencil with eraser
- Acrylic paint
- Rubber stamps – alphabet letters and flower
- Cosmetic sponge – cut into pieces for applying paint
- Ribbon
- Hole punch
Instructions:
-
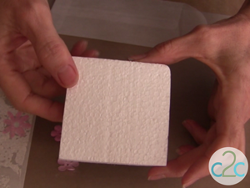
My thank you notes and floral push pins are the projects that I created for the Cool2Craft TV craft challenge. We were to use tissue, stamps, paint and beads. So for the stamp portion of this craft challenge, when I found this packing foam, I knew that I wanted to create my own stamp.
-
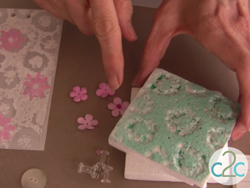
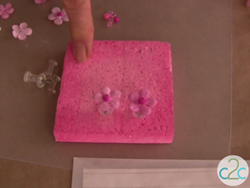
Using the eraser end of a pencil, I pressed circle designs into the packing foam. Because of the structure of the foam, you get a very interesting organic design. Next, I used a foam sponge to dab my paint over the surface of the stamp…
-
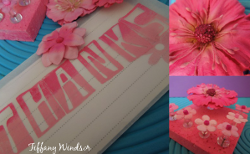
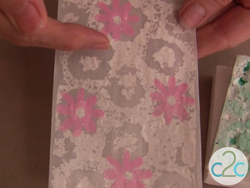
…and then stamped it onto my glassine envelope (the “tissue” portion of this craft challenge). As you can see, this background design takes on the look of lace. (The reason the foam looks aqua is that I first used that color to test the stamp. For this final stamping I used ivory.) On this example, I also overstamped pink flowers. Now I have a pretty hand-stamped envelope for my notecards.
-
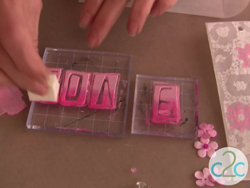
Now on to the next step of stamping. I love to stamp an ombre look so I used my sponge to dab two colors of paint onto my acrylic stamps. I like to apply one coat of paint, let it dry for a few minutes and then apply my second coat of paint. This way, you will get a cleaner stamped image.
-
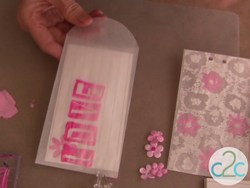
As soon as you apply the second coat of paint, you want to stamp it on your glassine envelope.

-
I didn’t have a piece of acrylic handy to stamp the word in one stamp so I had to add the “e” in another stamping.

-
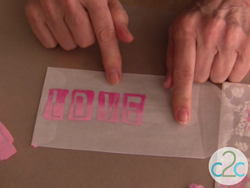
Now I’m feeling the love! Set your envelope aside and let the paint dry completely (which doesn’t take very long!)
-
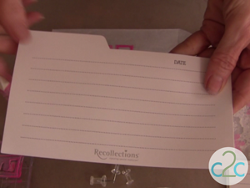
Next, for my notecards, I found some divider cards in my craft stash that came in some photo boxes that I purchased.
-
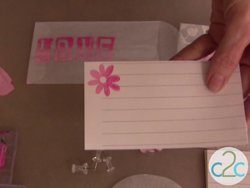
I cut the divider cards down to size to fit into the envelopes and stamped them with a matching flower stamp.
-
Just slip your note card inside your envelope and it’s ready when you want to write your love or thank you note. I also punch the tops of my envelopes so that I can slip in a piece of ribbon to keep the envelope closed.
-
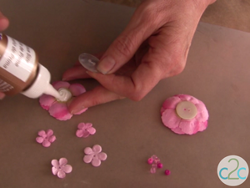
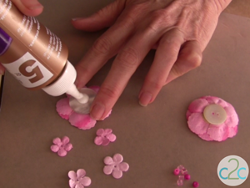
To complete my craft challenge, I wanted to create floral push pins. The first step is to lightly sand both sides of the button and the top of the push pin. Then, put a puddle of Aleene’s Tacky Glue on the back of a flower.
-
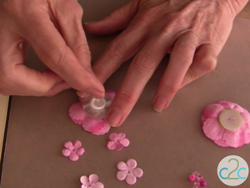
Press the button into glue.
-
Place another puddle of glue on top of the button.
-
Press the top of the push pin into the glue. Set aside to dry.
-
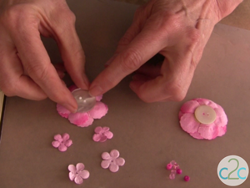
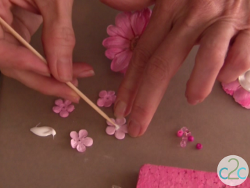
To apply the beads (another craft challenge item) to the small flowers, I dip my wooden skewer into the Aleene’s Tacky Glue and apply a small amount to the center of the small flower.
-
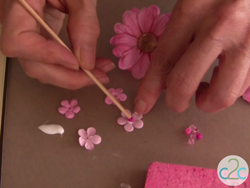
Press the bead into the glue and use the flat end of the skewer to adjust the placement of the bead, if needed.
-
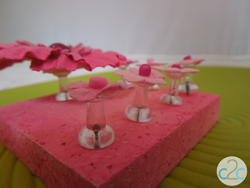
Remember that packing foam that I used to stamp? Well I also used it as a holder for my push pins. Just paint the foam with coordinating colors of acrylic paint. Let dry.
-
Press push pins into the foam and wrap them up as a perfect thank you or hostess gift. I like to make these by the dozen and have them ready when I need a quick gift!
For a comprehensive video tutorial of this project, check out How to Make Notecards and Floral Push Pins.
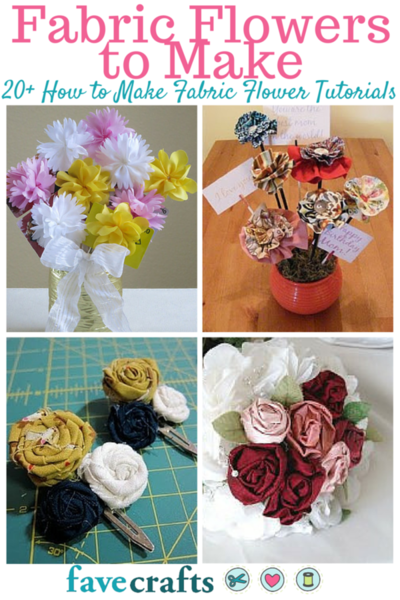
Read Next24 Knockout Tissue Paper Flowers