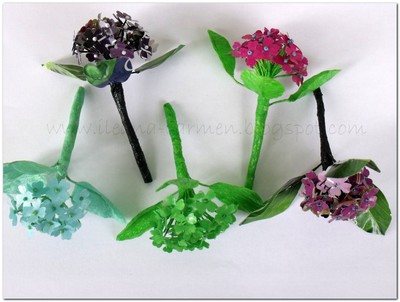
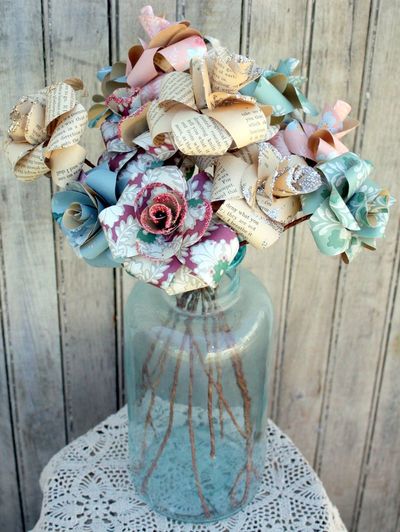
Pretty Hydrangea DIY Paper Flowers

You can't have a bad day when you're making tissue paper flowers. When you create a bouquet of Pretty Hydrangea DIY Paper Flowers, you won't be able to wipe a smile off of your face. Using a few easy-to-find supplies, you can make pretty posies that look great and last forever. Paper flower crafts may seem complicated, but their actually very easy to complete, especially when the finished project is so pretty. Whether it's spring or the dead of winter, you can enjoy the look of this pretty craft project.
Estimated Cost$11-$20
Time to CompleteWeekend project
Primary TechniqueGeneral Paper Crafting
Project or Page SizeCard
Type of Paper UsedQuilling Paper

SeasonSummer
Materials List
- Plain paper of various colors
- Wire
- Spool of thread of different colors
- Crepe paper of different colors
- Beads of various shapes and colors
- Ribbons of different patterns and colors
- Paper glue
- Transparent nail polish
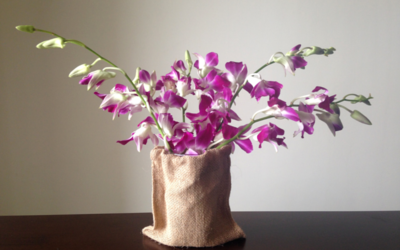
These paper hydrangea flowers are around 8 cm in length. They can be offered attached to gifts; they can be used as ornaments inside the house or in window shops, displayed on different occasions and festive dinners, or can simply be gifted as they are.
Instructions
-
For one hydrangea flower we need about 30 clover models, made with the puncher, of which we cut the stems off, thus obtaining the hydrangea flower models.
-
Then we cut 30 pieces of spool thread at around 10 cm each. We string on the thread, at half distance, one bead at a time, which we then sew at the middle of the paper flower pattern.
-
We then wrap each stem with crepe paper.
-
We coat them then with the transparent nail polish, so they become rigid.
-
For the three leaves we cut the three wires at around 8 cm length, which we then wrap with crepe paper. We add four squares of crepe paper at around 2 x 2 cm each, two on each side of the wire, which we stick together with paper glue and then we cut in a leaf shape.
-
We coat the leaves with transparent nail polish, so that they become rigid.
-
The flowers are arranged in a bouquet, which is then wrapped several times with crepe paper. We then add the three leaves and wrap it all up, till the end of the stem.
-
The bouquet is coated with transparent nail polish yet again, to increase the strength of the entire work. We attach a paperboard of around 4 x 3 cm, bent in the middle, using a piece of colored ribbon.
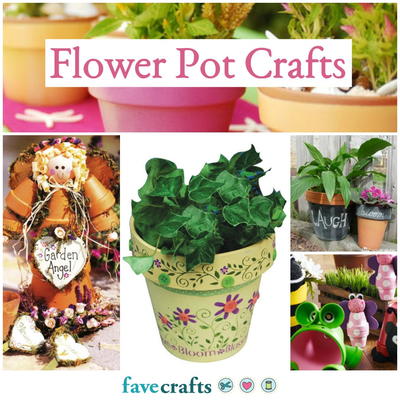
Read Next38 Flower Pot Crafts