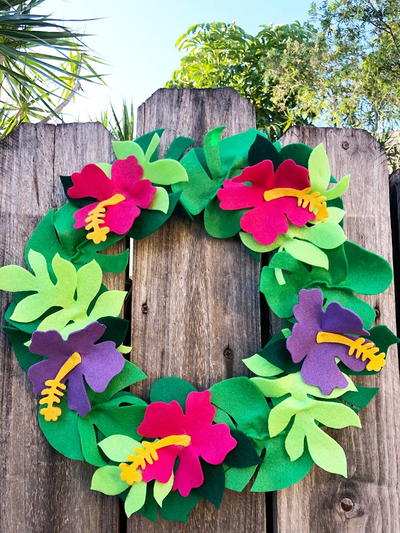
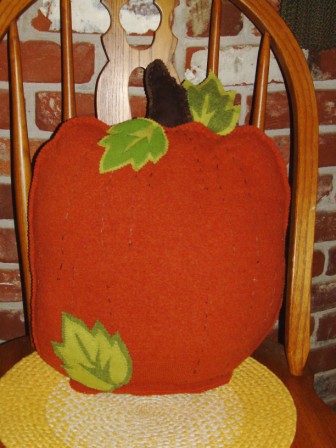
Pumpkin Pillow
Use a felted wool sweater and a touch of embroidery to create a comfortable and attractive pumpkin pillow. This pumpkin pillow is perfect for autumn decorating, from Halloween through Thanksgiving.
Materials:
- Aleene’s Fabric Fusion™ Adhesive
- Orange wool sweater – felted
- Fabrics – greens and brown wool
- Embroidery floss – green, brown, deep orange
- Needle with large eye
- Polyfill
- Scissors
- Pinking shears
- Sewing pins
Instructions:
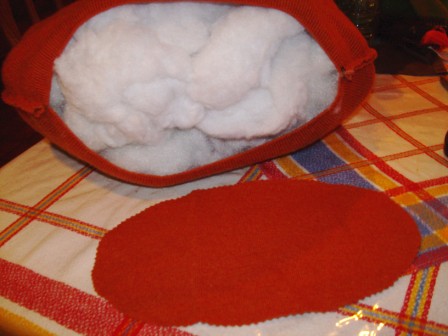
- Felt sweater if needed. Fill washer with small load of hot water and a small amount of laundry soap. Wash sweater then dry in dryer.
- Lay sweater flat on work surface. Use pinking shears to cut out pumpkin shape from body of sweater using ribbing of sweater for bottom of pillow.
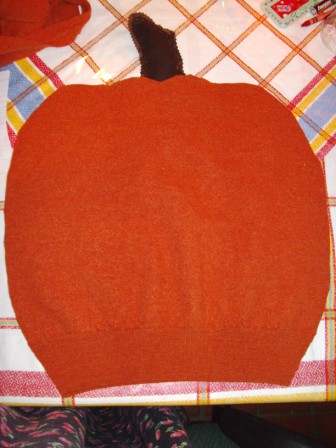
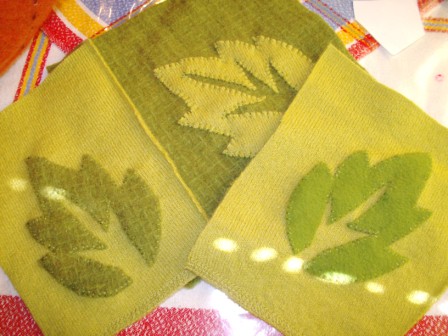
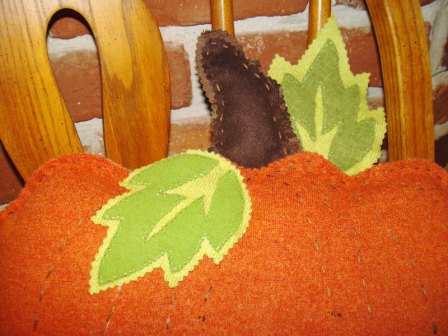
- Cut out desired number of leaves from green fabrics, and then use pinking shears to cut a stem shape from brown.
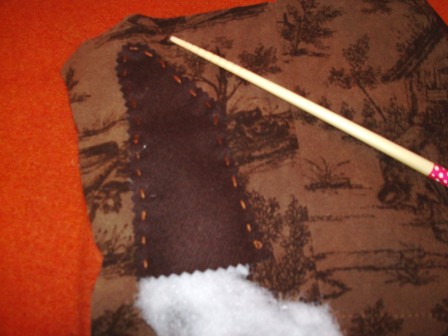
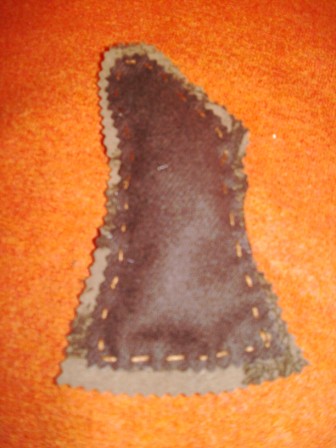
- Pin stem to another piece of brown fabric then use brown embroidery floss to sew a basting stitch around stem leaving bottom open. Use pinking shears to trim excess fabric from stem leaving a ¼” border. Stuff stem with small amount of polyfil.
- Sew each leaf onto a contrasting green then trim with pinking shears.
- Pin stem into position at top of pumpkin inserting about 1” or so between layers.
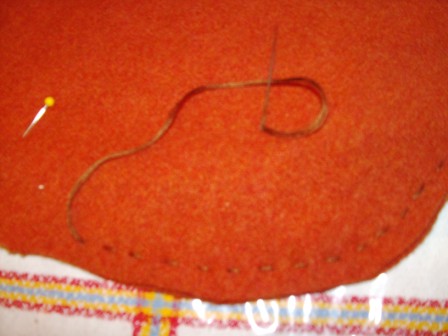
- Use needle with deep orange floss to sew a basting stitch along sides, leaving bottom open.
- Stuff pillow with polyfil.
- Sew curved lines on front of pumpkin as shown, hand knotting at ends then trimming close to knot.
- Cut an oval piece from sleeve section to fit bottom, pin in place, stretching to fit if needed, and then sew together.
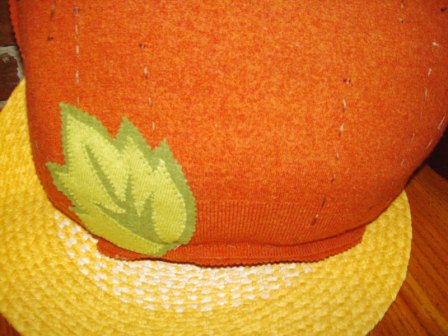
- Apply a thin bead of Fabric Fusion™ to back of one leaf then press in place where shown at base and top holding with pins if needed till dry. Position last leaf behind stem and apply glue where it touches stem and pumpkin. Press in place holding with pins if needed till dry.
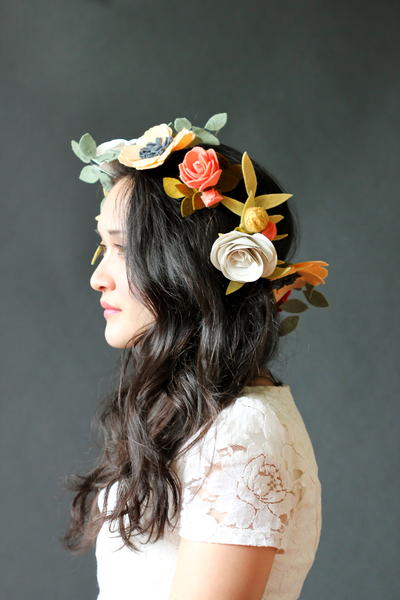
Read NextFelt Princess Flower Crown
Your Recently Viewed Projects

Thanks for your comment. Don't forget to share!
mulberrygalprinces s
Sep 29, 2016
This is so cute. I love having things like this around during the different holidays. It's not only decorative but useful. And on top of all of that it's easy to make. This just has to be on my sofa this Halloween and stay until thanksgiving. I better make two because I have two grand kids and they will each want to hold one.
Report Inappropriate Comment
Are you sure you would like to report this comment? It will be flagged for our moderators to take action.
Thank you for taking the time to improve the content on our site.