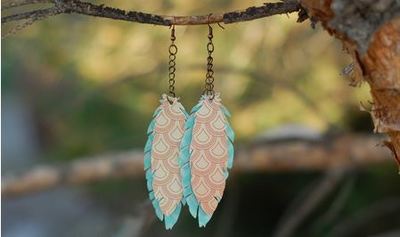
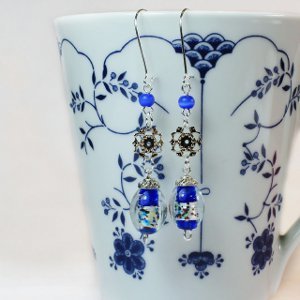
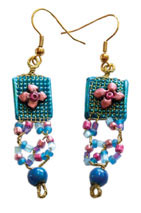
Ooozey Does it Earrings
Turquoise plastic, mauve flowers and brass mesh combine in interesting, beaded earrings, from AMACO.
See this project and more at Fall Fashion Help: 16 DIY Fall Fashion Trends!
Materials:
- Turquoise and Mauve Friendly Plastic®
- AMACO® WireForm® Brass Designer's Mesh
- Beads
- Pliers
- Earwires
- Silicone glue
Instructions:
-
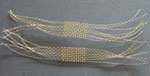
From the Designer's Mesh cut a strip 12cm x 5 cm (4 3/4" x 2"); this should provide at least 16 long strands of wire in mesh piece.
-
Fray both the short ends using pliers until there is only a small amount of mesh left in the middle measuring about 1.5cm (just over 1/2") long. Cut in half lengthways making sure there are 8 long strands of wire in each piece.
-
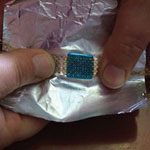
Heat a small piece of turquoise Friendly Plastic® (a bit wider than mesh area) on top of aluminum foil using heat gun or oven. When soft, position piece of mesh on top of plastic and push down; be careful to avoid touching plastic. Pick up foil and push up from underneath with fingers until warm plastic oozes through the holes in mesh.
-
Use palette knife to ease excess plastic at sides over raw edges of the mesh, sealing them in.
-
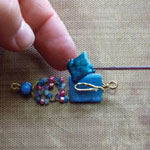
Heat a small square (0.5cm / less than 1/4") of Mauve plastic with hot water method; position in middle of warm square of Turquoise. Use needle tool to drag in sides of the square to form a small flower; push a bead into center. (This may require tiny amount of glue to secure).
-
Repeat steps 3 to 5 for other earring.
-
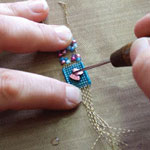
Use pliers to twist all wires at one end of each earring into a tight single twist of wire. Twist other end into four twists. Bead and twist four strands as desired, eventually twisting four strands into two, then into one. Add a final bead; coil wire into a loop; push back up into the final bead. A tiny dab of glue will secure it.

-
Coil the single twist of wire at the top of earring into a loop; twist to secure. Curl end onto back of the earrings; cover with small square Turquoise that's already been heated.
- Finally, attach ear wires; open out loop on ear wire with pliers; thread through earring loop. Close securely.
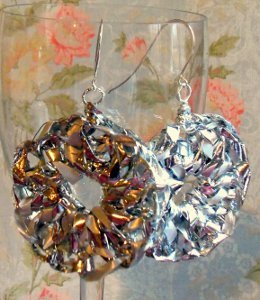
Read NextUpcycled Curling Ribbon Earrings