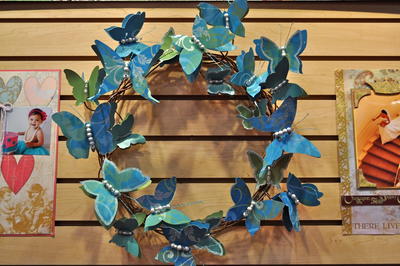
Paper Butterfly Wreath
This beautiful Paper Butterfly Wreath from DCWV makes a lovely decoration for your home. Easy paper crafts like this are simple to embellish and customize to suit your tastes. Great for summer or spring, this butterfly wreath is a great way to decorate your door.

Materials:
- DCWV all dressed up stack 12”x12” printed stack
- DCWV butterfly template
- Grapevine wreath
- 2 strands of silver glitter beads
- 2 strands of clear beads
- Silver glitter
- 26 gauge silver and blue beading wire
- Scissors
- Beading pliers
- Electric drill (*optional)
- Paper crafting adhesive (including hot glue)
- Ruler
- Pencil
Instructions:
-
Print and cut out the dcwv butterfly template. Trace both butterfly pieces 16 times each onto the back of your desired prints. Cut these out.
-
Lay them out in sets of 2 in front of you, giving you a total of 16 sets. Adhere the center of each butterfly together on the main body only. *Note: Depending on the size of your wreath, lay out your butterflies on the wreath at this point to make sure you will have enough. If not, cut more at this point.
-
Take out your beading wire, bead strands, and pliers. Measure 3 1/2" of wire, thread 4-5 beads (can use the same colors or alternating ones) onto the next section of wire, and add on an additional 3 1/2" before cutting the wire at the end. Set the beads on the center of your 1st butterfly, wrapping the wire ends around to the back of the butterfly. Twist these 2 sections together, trimming the excess and wrapping the loose ends into the existing shape. Repeat this process for your remaining butterflies.
- Before adhering the butterflies to the wreath, add a set of antenna onto each one. To do this, cut a 4 1/2” piece of blue and silver beading wire (total of 2 pieces). Attach them to the butterfly (either behind the butterfly or to the top of the beaded section). Twist these pieces together, bending the top into a small loop with your pliers when you reach the end. Add a 2nd antenna to your butterfly using the same method. Repeat this process for the rest of the butterflies. *Note: To accelerate this process, use the end of a power drill to wrap your wires together. Make sure to use it on low speed and hold onto one end so that it will stay in one line.
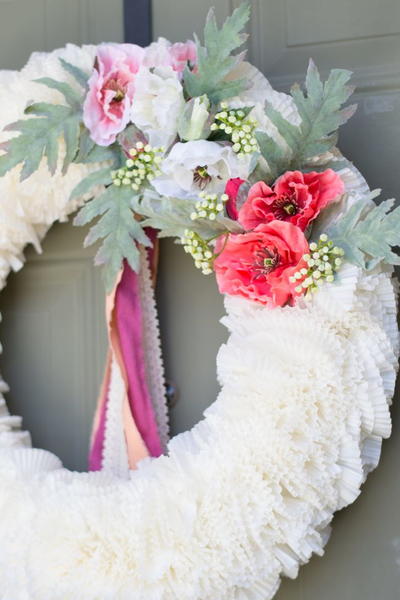
Read NextFaux Flower Cupcake Liner Wreath
Your Recently Viewed Projects
Thanks for your comment. Don't forget to share!
Marilyn B
Jun 05, 2017
This butterfly wreath is stellar! I am wondering if you could laminate them or do a sturdy modpodge coating on the paper butterflies so you could put this on your door outside, perhaps in a protected area, in good weather. If you are really artsy you could even free form draw these butterflies and use beads and trim you have on hand to make each butterfly different for a more eclectic look. So pretty, thank you for sharing great instructions!
Report Inappropriate Comment
Are you sure you would like to report this comment? It will be flagged for our moderators to take action.
Thank you for taking the time to improve the content on our site.