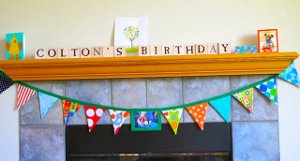
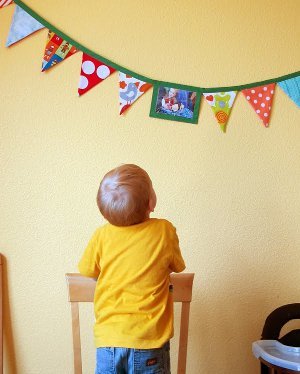
Fabric Photo Banner
Celebrate birthdays and anniversaries with this adorable Fabric Photo Banner from Jen Hagedorn. While this fabric birthday banner has room for only one photo, you're more than welcome to add as many pockets as you'd like. This is also great for using up fabric scraps!

Materials:
Makes one banner about 84" long.
- Cardboard
- Ruler
- Marker
- 1 package (3 yards) Double Fold Bias Quilt Binding (7/8” wide)
- Fabric scraps, at least 6.5" x 7.5”
- 2 pieces clear vinyl 7.5” x 5.5”, 4mm thickness
- 4" x 6" photo of your loved one, birthday greeting, or other personalized message
Instructions:
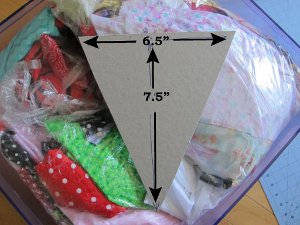
- First, make a template out of cardboard to make cutting your flags easy. Make it 6.5” across the top, then measure down from the center point to 7.5" and mark this spot. Connect the lines to form a triangle and cut it out.
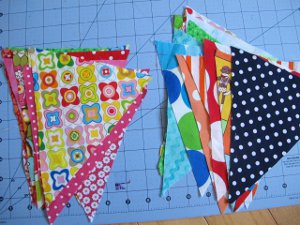
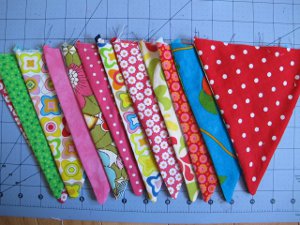
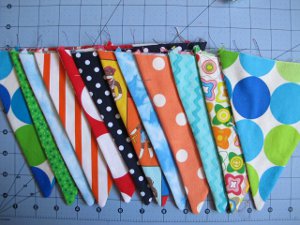
- Next, raid your scrap bin. We made a “boy side” and a “girl side” to the banner. You could also make a Fourth of July side and a Valentine's Day side, or whatever you like. Cut 12 triangles for each side of the bunting, 24 in all.
- You may need to press the triangles before you sew. Pile them into ‘girl’ and ‘boy’ piles and just like a little fabric-flag promenade, matched one from each pile, right sides together.
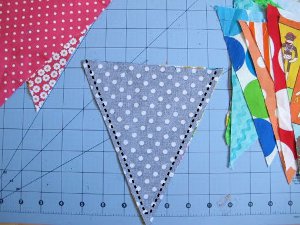
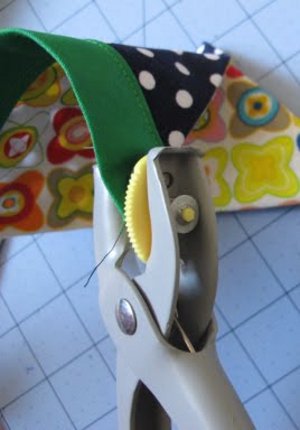
- You only need to sew the two longer edges of the triangle. When you're ready, use a 1/4” seam allowance. For a nice point, stop a little before the tip, take 2 or 3 stitches across, then continue down the other side.
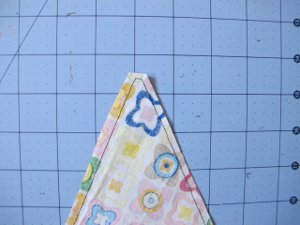
- Clip the tip and then turn, poking the tip out nicely. Press again, and don’t skip it this time. It would be a nice touch to topstitch those two edges if you had the time. Repeat for all 12 flags.
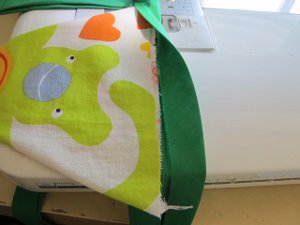
- Now, looking only at your ‘girl’ or ‘boy’ side, arrange them in an order you like, remembering that there will be 6 to the left of the photo and 6 to the right, so balance the two sides nicely. Then flip the whole pile over and look at the other side to make sure it looks nice, too. Set your flags aside, keeping them in order.
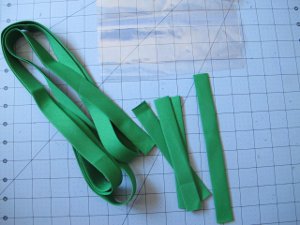
- Cut 3 pieces of your quilt binding 5.5” long and one piece 7.5” long (you may want to cut it a little longer. Keep the big piece too, that's what all your flags will hang from).
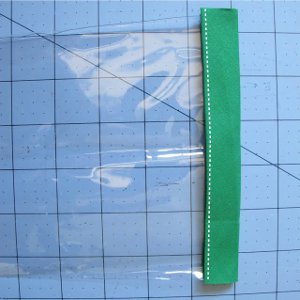
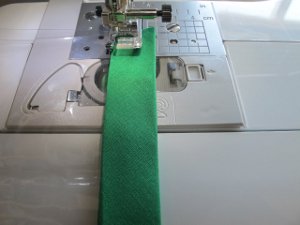
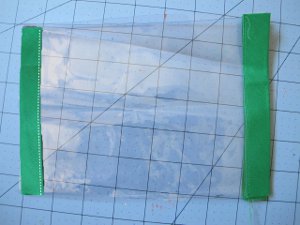
- To form the photo pocket, enclose a short edge of each vinyl piece in one of your short pieces (5.5") of bias binding and sew along the edge.
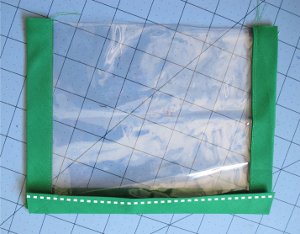
- Now lay these pieces with the bound edges together, this will be the opening on the side where you slide the photos in and out. Then bind BOTH of the opposite short edges together in the remaining short piece of bias binding and sew. To be clear, you're enclosing two vinyl edges in one bias tape piece.
- Lastly, enclose both bottom edges and sew.
- We left raw edges, but if you don’t like this look, you can cut it a little longer than 7.5” and turn each raw edge inside before you sew it.
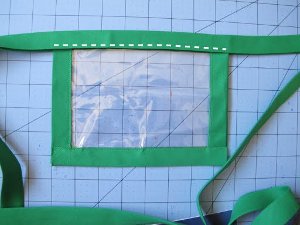
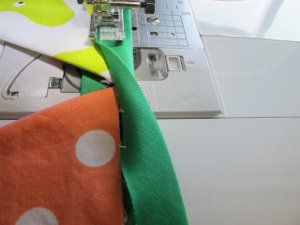
- Now find the center of your long piece of bias binding and the center of your photo pocket. Enclose the top edge of both pieces of vinyl in the bias binding and sew it down.
- As you approach the edge of the photo pocket, with your needle down, open up the binding, and tuck the next flag in place, then stopp again near the end of the flag and tucked in another. Because we are starting in the middle, begin with flag #7 in your pile and work to the end.
- Then turn the bunting around and again, begin in the middle with flag #6 and work out to the other end. If you have enough binding, you can tuck the ends inside to finish them.
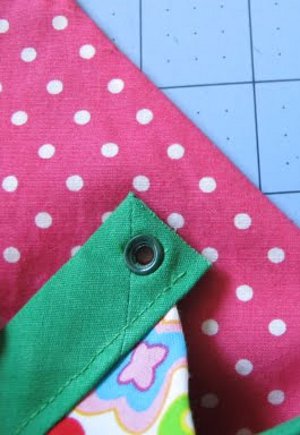
- Add a grommet to each end to help with preservation.
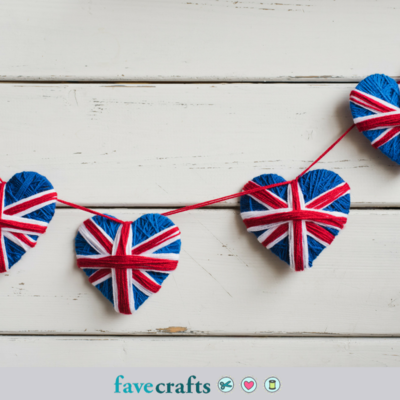
Read NextUnion Jack Yarn Heart Garland
Your Recently Viewed Projects
Thanks for your comment. Don't forget to share!
jgndml 4153285
Jun 23, 2013
this is a g00d idea f0r my childs upc0ming birthday!!! thank you very much
tmorris746 6800441
Jan 31, 2013
I'm making this now. I've done only the cutting out part, and I'm going to make the photo pocket next. Hope it looks as good as the picture!
terrij
Jan 05, 2012
Not sure if I understand the part about the pocket for the picture but maybe I'm just reading it fast......this does sound like an excellent idea...even to add more pictures or not put any at all....what a great way to use up fabric scraps also.......thanks!
Report Inappropriate Comment
Are you sure you would like to report this comment? It will be flagged for our moderators to take action.
Thank you for taking the time to improve the content on our site.