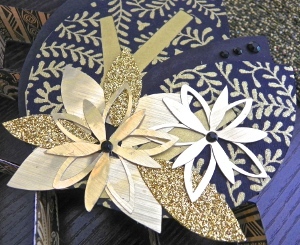
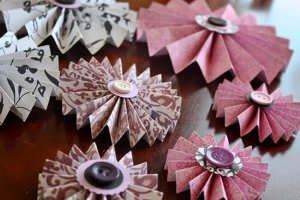
Pleated Paper Rosettes
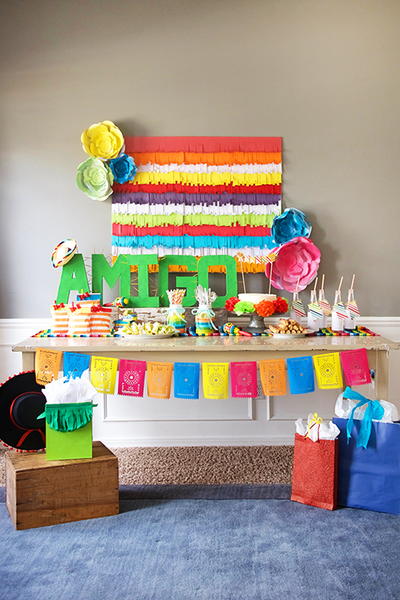
You can use these pleated paper rosettes from Victoria Lavertu as pretty party decorations or to embellish a scrapbook or homemade card. Use our templates to make paper flowers and learn how easy it is to make them yourself.
Materials:
- Paper (scrapbooking paper comes in such a variety)
- Hot glue gun
- Pencil/ruler
- Double sided tape
- Scissors or a cutter
- Embroidery thread and needle (you'll see why)
- Buttons/embellishments
- Paper punch (optional)
Instructions:
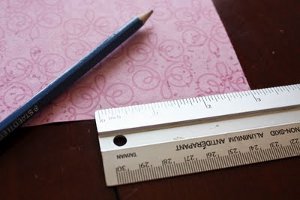
- First take some paper of your choice. Decide how big you want your rosette. I did a variety of sizes. Let's do a mid-size rosette.
- Mark out your measurements on your paper. For the mid-size rosette, do 2 inch strips. You'll need 3 strips. I used the length of my scrapbook paper which is about 12".
- Cut out your strips and accordion fold them like this. Be sure your folds are the same size. You can make them wide if you want your rosette's to have a lot of height or short folds for low height.

- You can fold each strip separately or tape all 3 strips together and accordion fold the whole length. I did them both ways and I think it was easiest to do one whole strip instead of 3. But that's completely up to you.
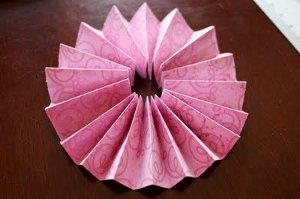
- If you're making your rosette's smaller. Like 1.5" strips or smaller, you can use only two strips. That's what I did for the smaller ones and they worked out fine. Now, if you folded the strips separately, tape them together using your double sided tape. You could use regular tape too. You'll have a ring of accordion paper like this.
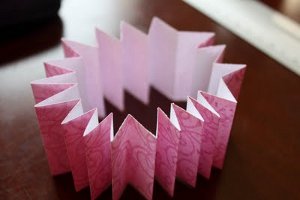
- Push down the center and you have your rosette shape.
- I, personally, had issues with my rosette's staying in place. So I took some embroidery thread and pulled it through each fold.
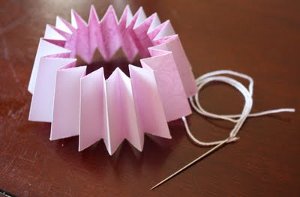
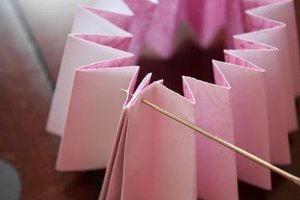
- Pull your thread tight, you have a nice tight rosette that won't pop back up. Be sure to knot your thread.

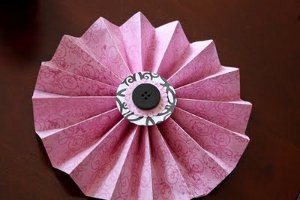
- Now you can embellish! I took a scalloped circle punch and buttons and hot glued them on. You can layer your paper and buttons for a different look too. That's it. You're done. You can hang your rosettes from ribbon, stick them on the wall or add them to a favor bag. Or make some lovely paper rosette garland.
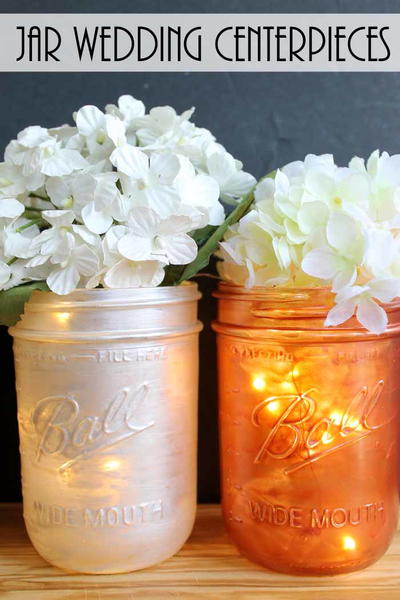
Read NextMason Jar Wedding Centerpieces
Your Recently Viewed Projects

Thanks for your comment. Don't forget to share!
SissieSass
May 28, 2017
I love how you can use these cute flowers in just about any setting and design. You can customize them to fit into any them and make a ton of them ahead of time to save you durin the final party prep stages. It will make it a ton of fun without weighing you down.
M Altenberg
Mar 14, 2017
Cute and easy project to use to decorate tables for a party. These look easy to make and will spruce up your decor.
Weberme
May 12, 2016
I am new to scrapbooking and love it. I like these rosettes and when I went to price them they can be quite expensive. I wondered how hard it would be to make them and how to do it and I found this great tutorial. It even tells you about things learned from her doing it the first time and tips to that made it easier for her. This is the kind of tutorial that makes these projects a lot easier. Thanks. Anyone make these yet?
Princess Carolyn
Apr 08, 2016
These are very pretty. They would make cute wedding decorations!
Report Inappropriate Comment
Are you sure you would like to report this comment? It will be flagged for our moderators to take action.
Thank you for taking the time to improve the content on our site.