Oversized Ribbon Bow
When creating an outdoor floral arrangement or decor craft, you can't go wrong with an Oversized Ribbon Bow. Learn how to tie a ribbon bow that will certainly turn heads. This is an easy DIY idea that anyone can try. The trick to this DIY ribbon bow is to use wire to keep the piece from dropping. Follow along with this free craft tutorial and find out how easy it is to create an amazing looking design. You'll want to add a bow to every gift and DIY design. Also, be sure to pick fun ribbon colors and patterns - the more your piece stands out, the better.
Primary TechniqueGeneral Crafts

Materials:
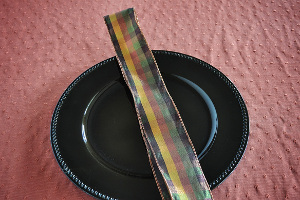
- 2 spools of wired-edge ribbon
- Scissors
- Ruler
- Floral wire
- 2 long floral picks
- Black electrical tape
Instructions:
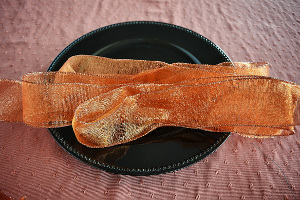
- Fold the first ribbon in half. I only do this step to create a starting point.
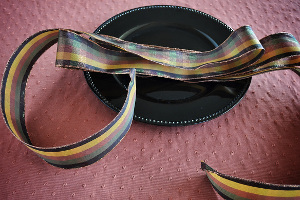
- Slide one side of the ribbon up about two feet so that both sides are now uneven. You may want to use a ruler to give you a measurement or just eyeball it.

- Holding the ribbon at the folded side, make your first loop by bringing up about 1 foot (30 cm) of the ribbon up to the folded side. Now bring up about another foot of the shorter length of ribbon from behind. Next bring around another foot of ribbon from the first length of ribbon to the front.
-
When you lay the folded ribbon flat you should have one end coming out from behind facing left and another end extending out at the
front of the bow facing right. You should also have two loops on either side making a total of four loops about the same size.
-
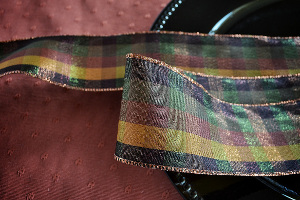
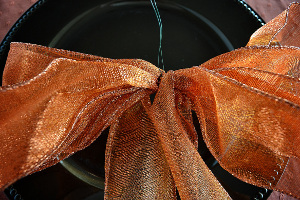
This photograph shows how it should look in the middle.
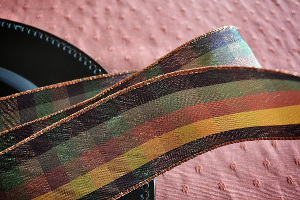
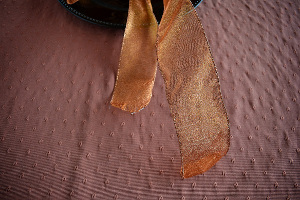
- This photograph shows what it looks like on the left side.
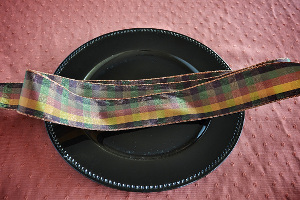
- And this photograph shows what it looks like on the right side.
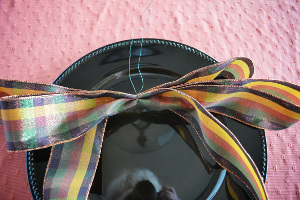
- The bow will look like this when you finish making your loops. Don’t worry too much if you end up with slightly uneven loops but you don’t want to end up with loops that are obviously different sizes. Similarly, don’t worry too much if your ends are different lengths. They will be trimmed once the entire bow is completed. However, if your ends are significantly uneven as in more than two 5 – 6 inches (12 – 15 cm) I recommend you start again.
- I’m going to be honest with you that this for me was the trickiest part of making the bow. This is the part where I sometimes have to start over again as I try to find the right place to start the bow and making sure I am making my loops correctly, about the same size and that I don’t end up with completely uneven ends. Hopefully the photographs make this step easy for you.
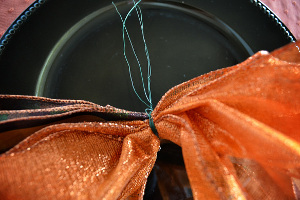
- Using about 2 feet of floral wire, twist it several times around the middle of the bow as tight as you can making sure the bow will not fall apart. Set this completed bow aside for now. Yup, that’s me you see in the reflection taking the photograph.
- These instructions are basically the same as the first bow but you will be making three loops on either side. Since you are making more loops yet working with the same length of ribbon, your loops are going to be smaller.
- Fold the second ribbon in half to create your starting point.
- Slide one side of the ribbon up about one foot (30 cm) so that both sides are now uneven. You may want to use a ruler to give you a measurement or just eyeball it.
- Holding the ribbon at the folded side, make your first loop by bringing up about 10 inches (25 cm) of the ribbon up to the folded side. Now bring up about the same length of the shorter length of ribbon from behind. Next bring around another 10 inches of ribbon from the first length of ribbon to the front.
- This is where the instructions are a bit different from the first bow that you made. You still have to make two more loops. One will be made from behind and the last one will be looped over at the front.
- When you lay the folded ribbon flat you should have one end coming out from behind facing left and another end extending out at the front of the bow facing right. You should also have three loops on either side making a total of six loops about the same size.
- Using about 2 feet of floral wire, twist it several times around the middle of the bow as tight as you can making sure the bow will not fall apart.
- Again, don’t worry too much if you end up with slightly uneven loops and uneven ends. They will be trimmed when the bow is completed. But if the loops and ends are really uneven you may want to start over again.
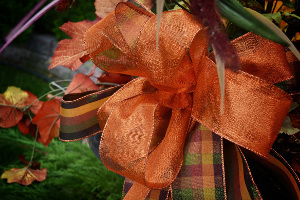
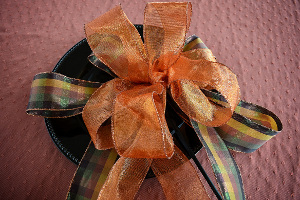
- Now join the two bows by twisting two floral wires together. I put the orange bow on top of the striped bow.
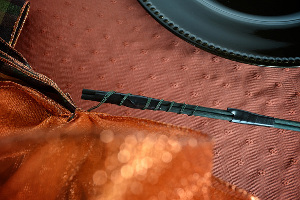
- I taped two floral long floral picks together using black electrical tape to make it very sturdy because this is quite a large bow to support. Then I wrapped the combined floral wire around the double floral pick and secured it with some more electrical tape.
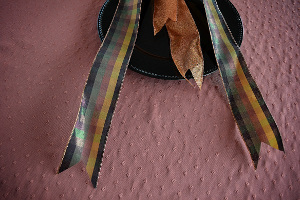
- Now comes the fun part! “Fluff and Poof” up the bow. Working with wired edge ribbon makes this part really easy. You can also bring the four ends around to where you want them to hang down.
- Almost done! The last step is to trim the ends.
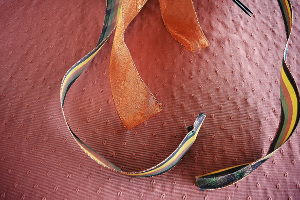
- I loosely folded each end in half and cut out a triangle. When the end is unfolded it looks like this…
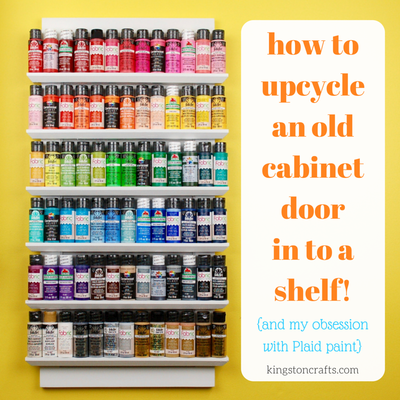
Read NextUpcycled Shelf From a Cabinet Door