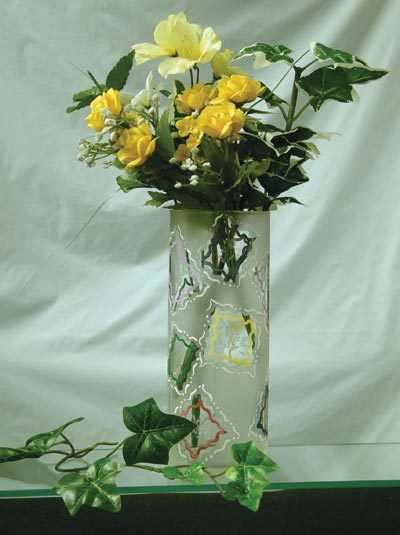
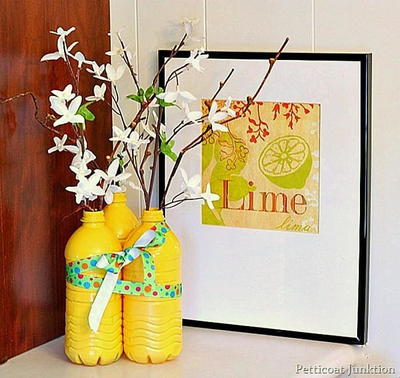
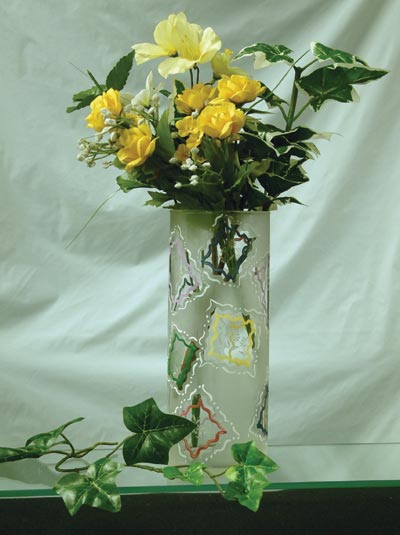
Custom Cut Etched Floral Vase
Brighten your home with a beautiful homemade vase from Etchworld Armour filled with your favorite flower. Stencils simplify this painting project.
Materials:
- Rub N Etch Stencil #20-0454 Miniature Flowers
- 10 oz Armour Etch Cream
- Tall cylinder vase
- Contact Vinyl
- Glass paints or outdoor paint pens for shiny surfaces- White & assorted colors
- Straight & Fancy edged scissors
- Masking tape
- Plastic or rubber gloves
- optional-long sleeve shirt
- 1” Disposable foam craft brush
- Small round artists paint brush
- Glass cleaner, paper towels
- Running water, dish detergent
Steps:
Preparation:
- Wash vase thoroughly with hot soapy water. Remove any stickers or glue. Let dry.
- Cut apart miniature flower stencils from stencil sheet.
- Place a cut out miniature flower stencil on a piece of contact vinyl. Cut a patch of vinyl at least ½” bigger than stencil. With fancy edged scissors, trim back vinyl so it is only about ¼” larger than the blue stencil edge. Repeat for each stencil you plan to use. You can use the same scissor pattern for all the designs, or use a different one for each flower for a varied look.
- Plan out a pattern of where each “patch” will go around vase, and temporarily attach to vase with a piece of tape. Stagger patches randomly straight up and down around vase, or tilted side to side as in our example. Once you like the layout, remove the vinyl backing paper and masking tape and stick patch to the glass. Rub down all edges.
Etching Vase:
- Put on rubber gloves. Also tape a couple of pieces of paper towel around one arm or wear an old long sleeve shirt to protect your skin on the arm that will hold vase. Slip your hand inside vase if wide enough, otherwise hold with a few fingers inside.
- Take foam craft brush and scoop up about ½ teaspoon full of Etch cream onto brush. Starting at top of the upside down vase, spread Etch cream down to bottom of vase in a fairly straight line. Try to do this without stopping, the effect will be more even. After you have gone completely around entire vase, go back and make sure all spots have been covered, but continue to spread in only one direction down vase.
- Wait one minute and wash off all Etch cream.
- Remove vinyl patches and rinse again until all cream is gone. Let dry.
Etching Flowers:
- Rub on miniature flowers in center of each un-etched patch according to your plan and rub down according to the directions on the Rub N Etch package directions.
- Cover all un-etched areas of the patch surrounding the stencil with masking tape, overlapping a little onto etched area.
- Etch flowers according to basic etching instructions. Wash off and let dry.
Decorative Elements:
- Using colored paint pens or glass paints, paint a frame around flower about ¼” INSIDE frosted edge of each patch. Loosely imitate fancy scissor design, either in all one color or in different colors as we did.
- With white paint repeat step 1, about ¼” OUTSIDE of frosted edge. For added element, break up line occasionally with a couple of dots, as shown in picture. Example: ---..---
Read NextUpcycled Shelf From a Cabinet Door