Mini Crochet Pumpkin
These cute little guys are great for the fall season. This wonderful crochet pattern is very simple and will liven any mantle in the house.

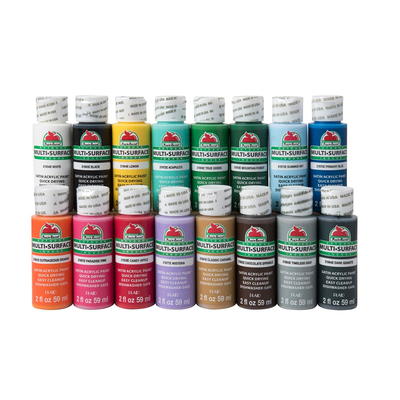
Materials:
- Yarns of your choice (100gms)
- 3.5mm crochet hook
- stitch marker (to end rounds)
- tapestry needle
- little bit of fiberfill for stuffing
Instructions:
Pumpkin
- R1 – single crochet (sc) 6 on Magic Ring -6
- R2 – 2 sc on each stitch (st) - 12
- R3 – * sc 1, 2 sc in the next st * repeat - 18
- R4 – * sc 2, 2 sc in the next st * repeat - 24
- R5 – * 2 half double crochet (hdc) in the same st, 2 hdc in the same st, slip st (slst) 1 * repeat - 40
- R6 – * hdc 4, slst 1 * repeat - 40
- R7 – * hdc 1, double crochet (dc) 2, hdc 1, slst 1 * repeat - 40
- R8 – repeat R7 - 40
- R9 – * sc 1, invisible decrease (invdec) 1, sc 1, slst 1 * repeat - 32
- R10 – * invdec 1, sc 1, slst 1 * repeat - 24
- R11 – * invdec 1, slst 1 * - 16
- Stuff until it’s firm!
- R12 – invdec all - 8
- Fasten off, cut yarn and leave a long tail. First, thread the tapestry needle and weave in the 8 remaining sts to close the center hole. Then, run the yarn outside the pumpkin from the top hole to the bottom hole where the slices were formed. Do this to all slices, then fasten off and weave in ends.
Leaves
- R1 – sc 6 on Magic Ring - 6
- R2 – 2 sc on each st - 12
- R3 – * In the same st [sc 1, chain (ch) 3, sc 1 in the 2nd ch from the hook, sc 1 in the 3rd ch from the hook], sc 1 * repeat
- Fasten off and leave a long tail.
- From here you are going to create the stalk. Thread the tapestry needle and run it under the bottom part of the leaves. Insert the needle through the center hole and go up and out. Now, make a slip not very close to the center hole, and chain 5. Sc 4 from 2nd ch from the hook. Fasten off. Leave a tail for sewing the leaves to the pumpkin or cut the extra yarn and glue the leaves to the pumpkin top. Enjoy your Amigurumi Pumpkin!!!
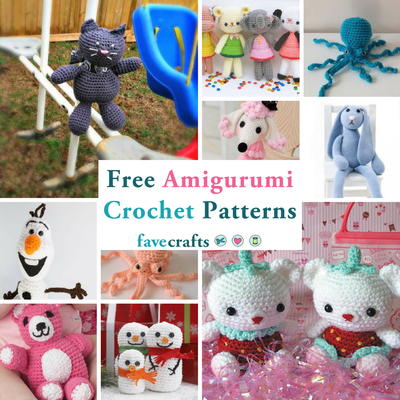
Read Next31 Free Amigurumi Crochet Patterns